20 min. reading

Yulii Cherevko
CEO paintit.ai
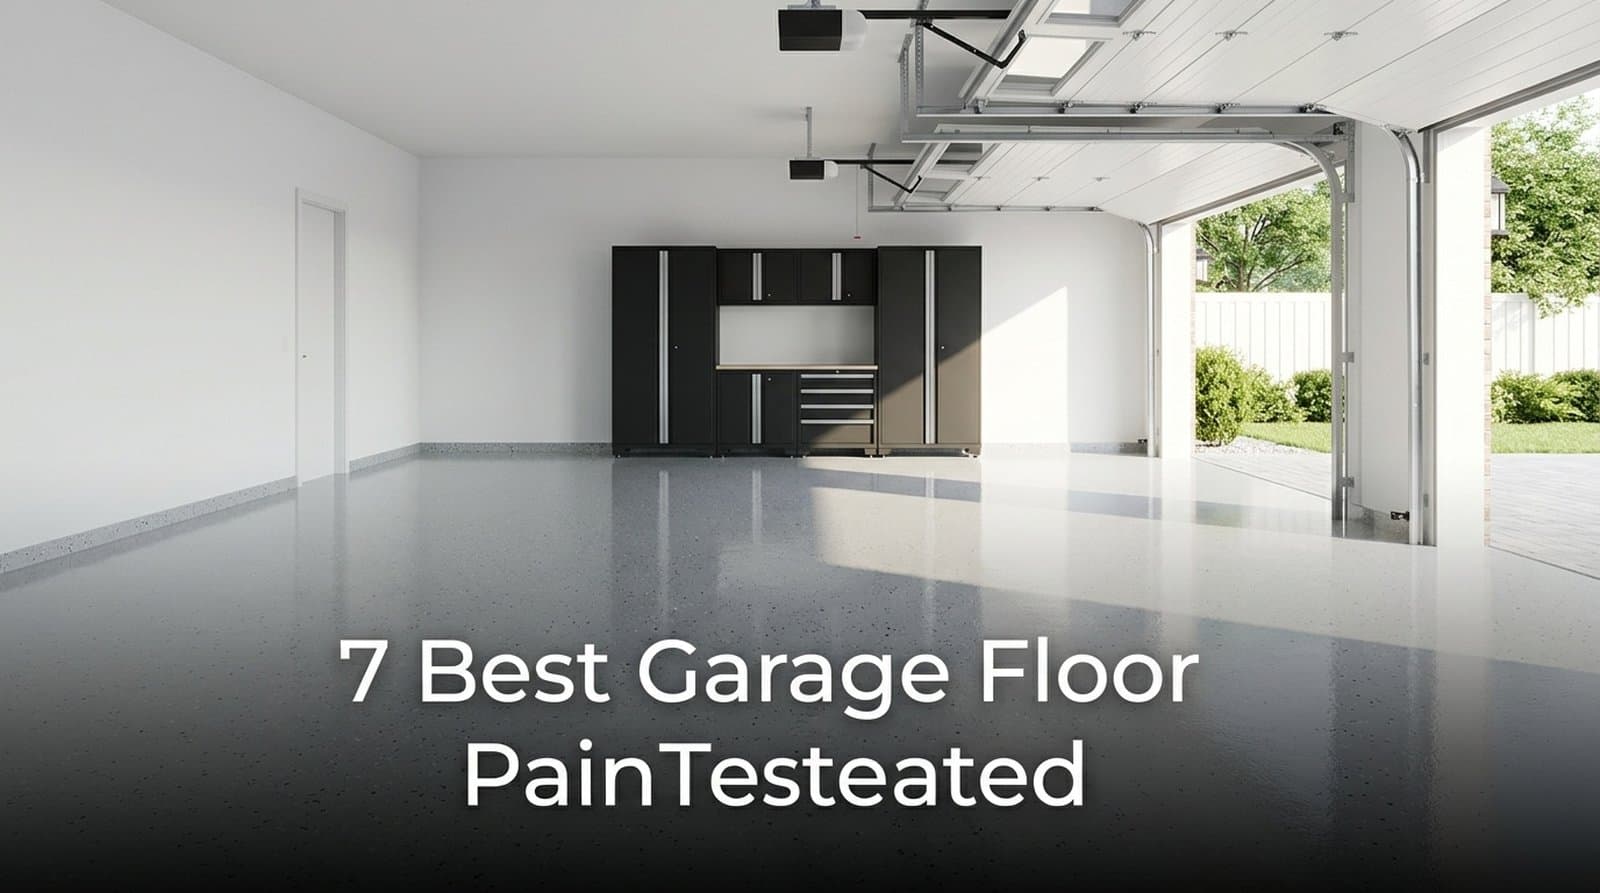
The best garage floor paint is not always the toughest coating you can buy. It is the one that fits your concrete, traffic, prep patience, and the way you want the garage to feel. For a daily-driver garage, a true 2-part epoxy is usually the safer bet; for light storage, a 1-part acrylic epoxy may do the job.
Most bad garage floors fail before the first coat is even opened. Concrete holds moisture, oil hides in tiny pores, and hot tires are surprisingly rude to thin paint films. This guide compares 7 best garage floor paints and coatings using practical homeowner criteria: adhesion risk, hot-tire resistance, application difficulty, finish quality, and how the floor works with the rest of the garage.
Most garage floor paint failures are adhesion failures, not roller failures. Concrete needs open pores, low moisture, and clean surface chemistry before any coating has a fair chance of bonding. If oil, sealer, dust, or vapor pressure sits between the coating and the slab, even a premium product can blister, peel, or lift under tires.
Hot-tire pickup is usually the first failure homeowners notice. After a car has been driven for 20 or 30 minutes, the tires are warm, slightly expanded, and chemically active. When they sit on a thin paint film, they can soften it just enough to stick. The next time the car moves, the tire pulls the coating away from the concrete.
That is why a garage is not the same as a painted basement floor. A basement utility floor may see shoes, storage boxes, and a rolling cart. A garage floor gets hot rubber, road salt, gasoline, brake fluid, dropped tools, and seasonal moisture. The best paint for garage floor use has to be chosen for that real workload.
There are 3 common failure modes to watch for:
At Paintit.ai, we often see homeowners focus on color first and prep second. The visual choice does matter. But the physical condition of the slab decides whether the finish survives 1 winter or 7 years.
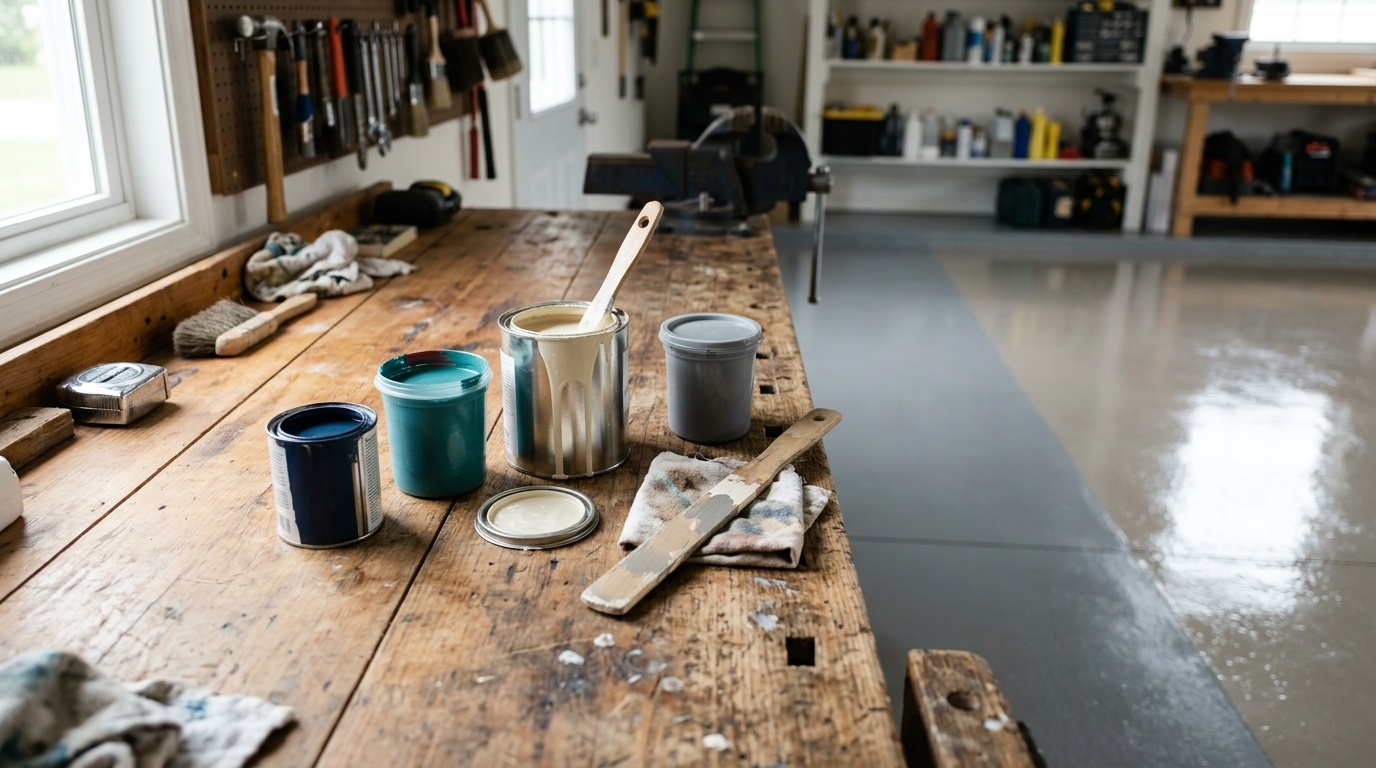
The right formula depends on how your garage is actually used. A 1-part acrylic or 1-part epoxy paint is easier and cheaper, but it dries into a thinner film. A 2-part epoxy cures through a chemical reaction, creating a harder, thicker surface for vehicles, tools, and chemical spills.
Acrylic and latex concrete paints are the simplest group. They are usually water-based, roll on like wall paint, and dry by evaporation. They can reduce concrete dust and make the floor look cleaner, but they are not the best garage floor paint for concrete if you park heavy vehicles every day.
A 1-part epoxy paint is still a single-can product. It often contains an epoxy ester or modified acrylic binder, but it does not use a separate hardener. It is tougher than basic acrylic, easier to apply than a 2-part kit, and useful for mild-use garages, storage zones, laundry-adjacent concrete floors, and workshops without regular vehicle parking.
A true 2-part epoxy uses a resin and hardener. Once mixed, the components cross-link into a dense plastic-like coating. This is why the best epoxy paint for garage floor durability is usually not technically paint at all; it is a coating system with a limited working time after mixing.
The trade-off is effort. A 2-part kit may give you 45 to 90 minutes of pot life, depending on temperature and product chemistry. If your garage is 450 square feet, the floor needs to be cleaned, etched, rinsed, dried, taped, and staged before you mix anything. There is no relaxed coffee break once the reaction starts.
Fumes matter too. Water-based DIY epoxies tend to be lower odor. 100% solids or heavy-duty professional epoxies can produce strong chemical odors during application. For those products, a paper dust mask is not enough; you need serious ventilation and an organic vapor respirator rated for the coating you are using.
A simple decision rule works well:
| Garage use | Better formula | Why |
|---|---|---|
| Storage only, no car | Acrylic or 1-part epoxy | Low cost and easy application |
| One daily car | 2-part water-based epoxy | Better hot-tire resistance |
| Two SUVs or workshop | Heavy-duty 2-part epoxy | Stronger chemical and impact resistance |
| Sun-exposed carport | Textured acrylic or UV-stable system | Better traction and color stability |
| Showroom-style finish | Polyaspartic or hybrid coating | High gloss and fast cure |
If your search started with what is the best garage floor paint, begin with 3 questions: Do you park on it, is the slab dry, and are you willing to prep for at least 1 full weekend?
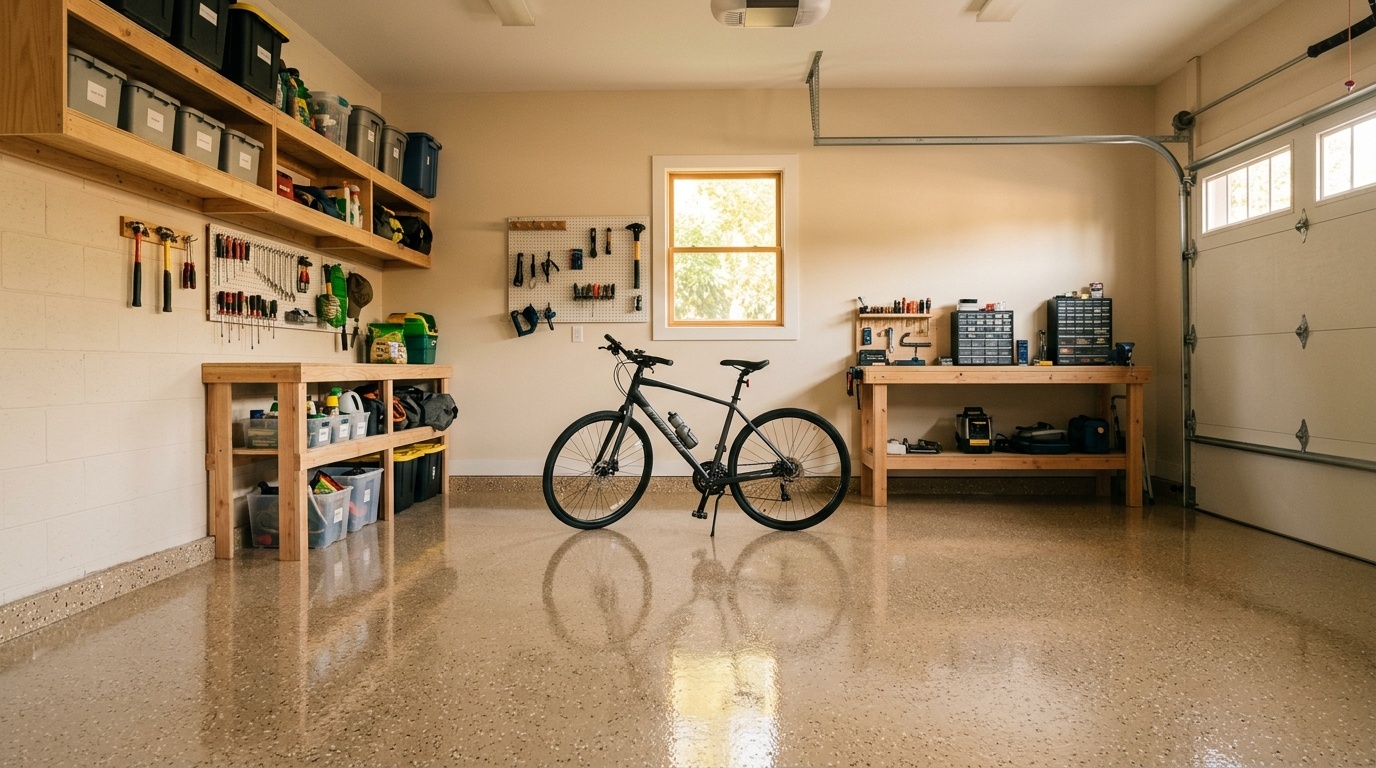
The best garage floor paints in 2026 fall into 7 practical categories: easy refresh, budget durability, retail epoxy kit, professional-grade coating, high-gloss hybrid, all-in-one beginner kit, and textured exterior option. We assessed each against hot-tire risk, prep difficulty, finish quality, cleaning needs, and typical 2-car garage use.
These are not identical products, so price alone is a poor comparison. A $60 to $100 single-can paint and a multi-part coating kit solve different problems. Always check official sites for current pricing, coverage, safety documentation, and updated application windows.
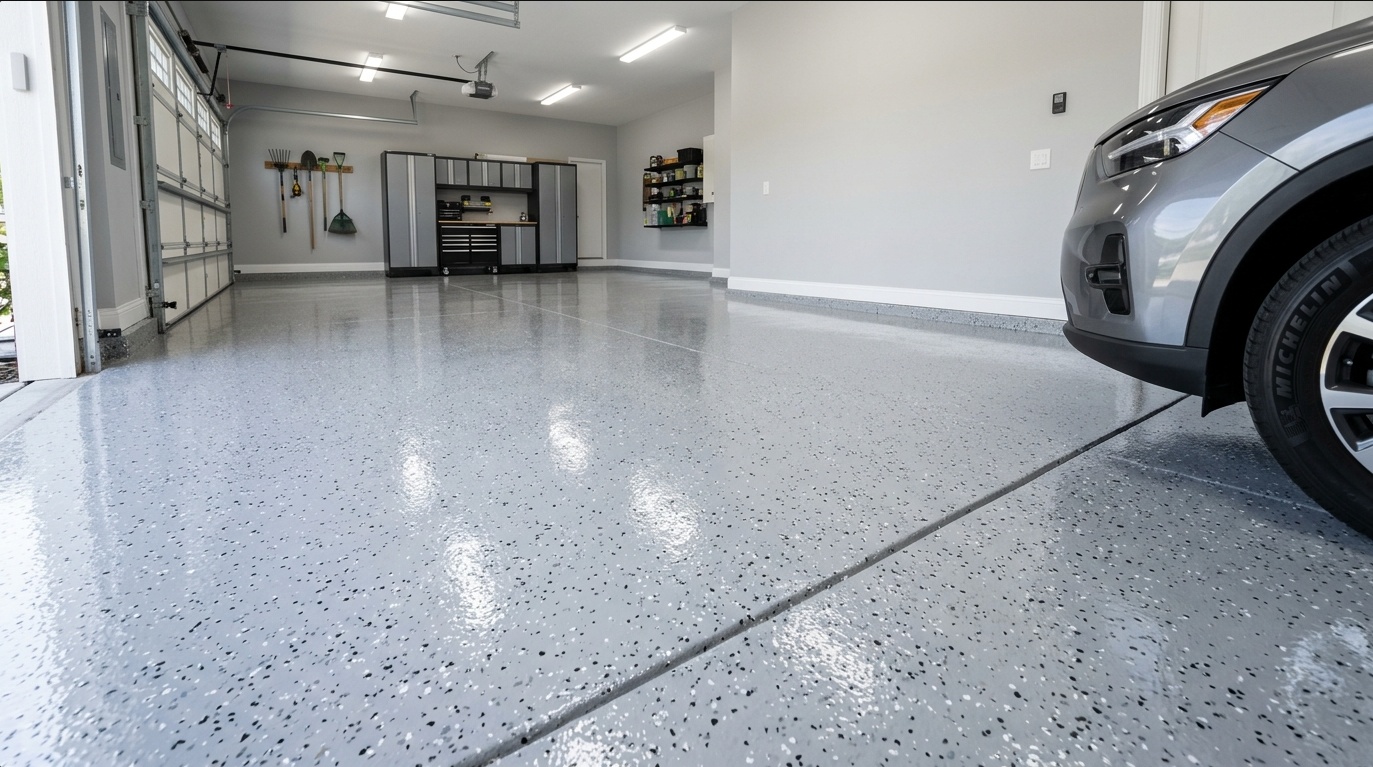
Rust-Oleum EpoxyShield is the best overall DIY 2-part epoxy kit for most active home garages. It uses a water-based epoxy formula, includes decorative flakes, and creates the familiar light gray or tan gloss floor many homeowners picture when they start planning a garage refresh.
Best for: daily vehicle traffic, family garages, and homeowners who want strong durability without moving into contractor-only systems.
Pros: strong hot-tire resistance, good chemical resistance, accessible retail availability, and a polished finish that looks clean under LED shop lights.
Cons: it still needs careful prep. If the slab has oil, sealer, or moisture, the coating can fail. Temperature matters as well; many epoxy kits want a stable range around 50°F to 90°F.
Pricing: check official site.
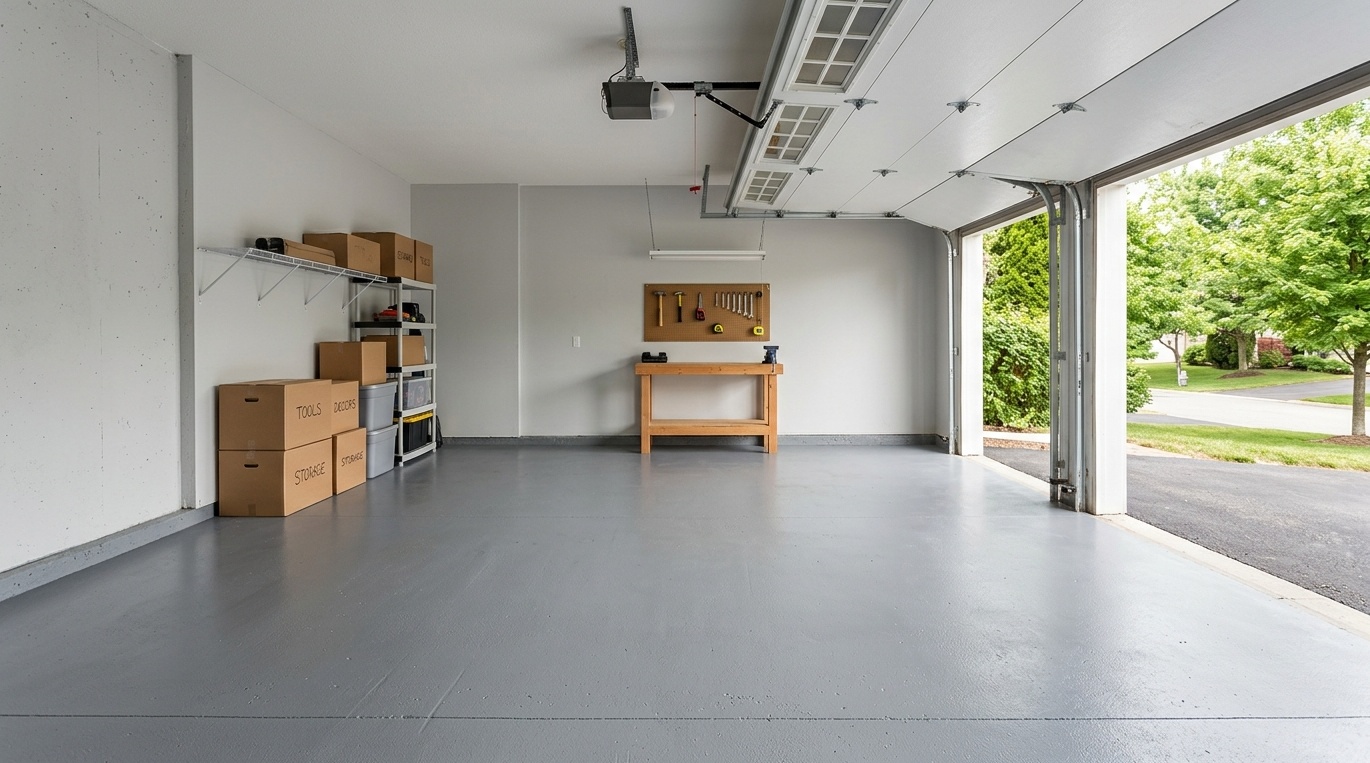
Kilz 1-Part Epoxy Acrylic is the best budget and easy-application pick. It is a single-component water-based acrylic floor paint blended with epoxy binder, so there is no mixing, no pot life pressure, and no complicated timing between components.
Best for: low-traffic storage garages, basement-level utility rooms, and DIYers who want to reduce concrete dust with a simple roll-on product.
Pros: low cost, easy water cleanup, smoother learning curve, and a practical satin finish.
Cons: it is not ideal for frequent hot tires, harsh automotive fluids, or heavy tool impact. If your garage handles 2 vehicles every day, choose a stronger coating.
Pricing: check official site.
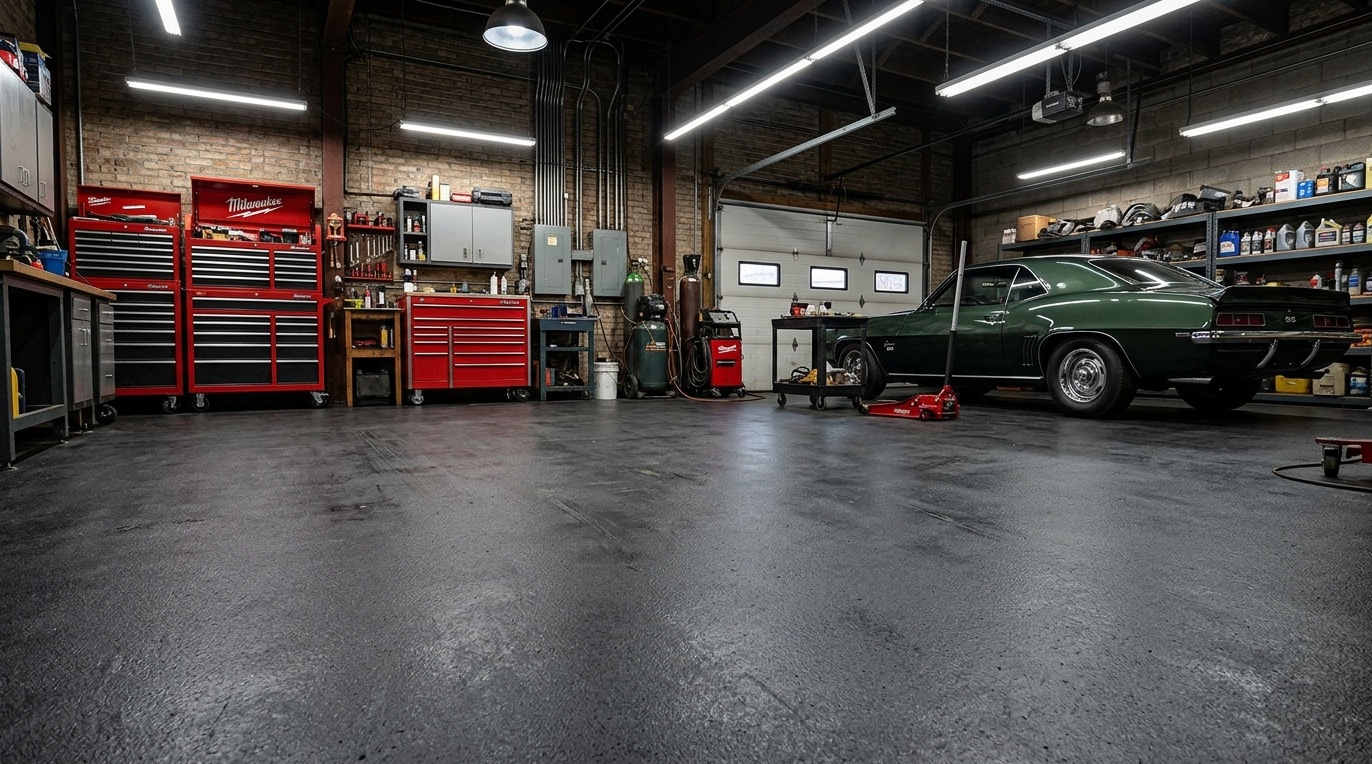
Armorpoxy II is the professional-grade choice for serious workshops and high-impact garages. It is designed as a thicker, industrial-strength epoxy system for homeowners who want maximum film build and stronger resistance to abrasion, chemicals, and hot-tire pickup.
Best for: classic car work, heavy tool use, restoration projects, and high-wear home workshops.
Pros: very high durability, excellent impact resistance, and better ability to hide minor concrete imperfections because of the thicker coating build.
Cons: more expensive, more demanding, and more intense during installation. Strong chemical odor can be an issue, so ventilation and an organic vapor respirator are essential.
Pricing: check official site.
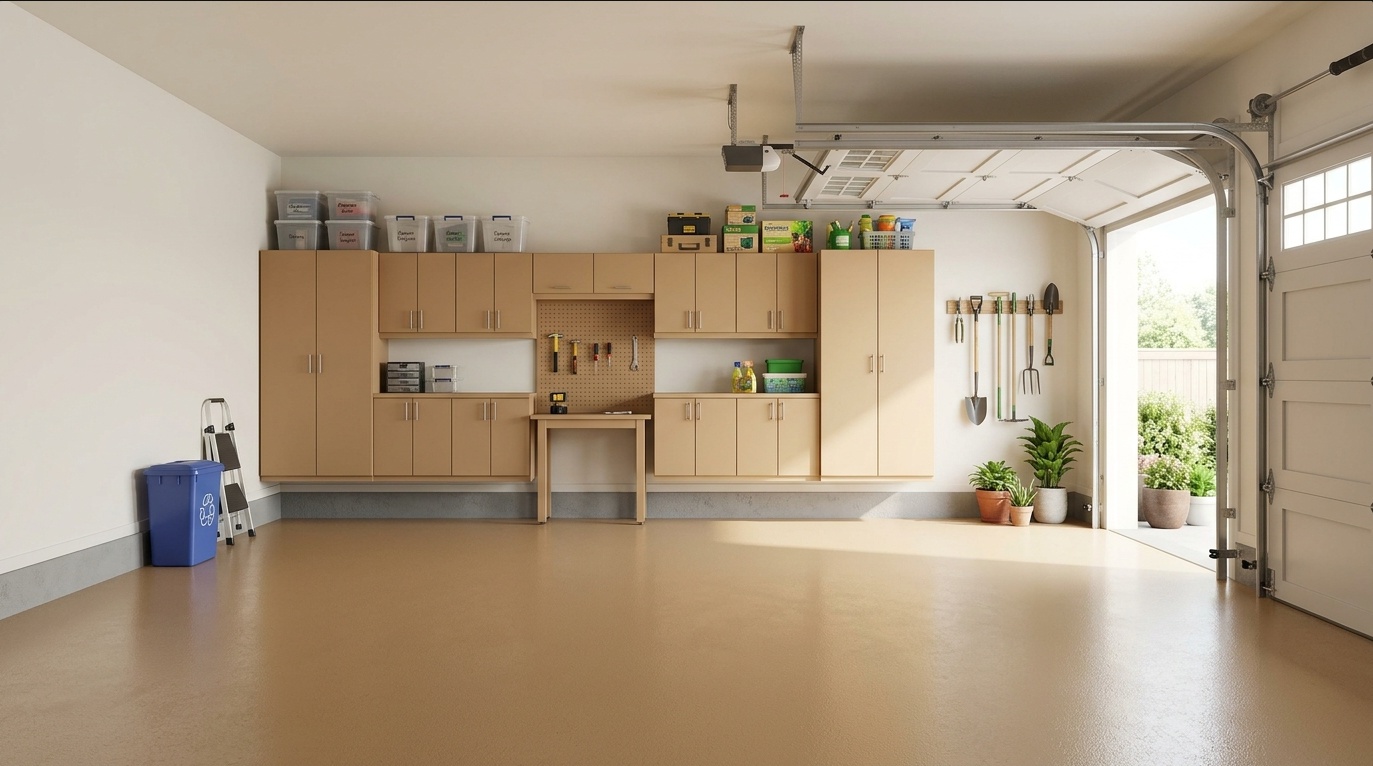
Behr Premium 1-Part Epoxy is the best retail 1-part epoxy for homeowners who want a wider color range without stepping into a mixed chemical cure. It is ready to use and more approachable than a 2-part kit.
Best for: mild-use double garages, clean utility zones, hobby spaces, and homeowners coordinating floor color with cabinets or wall paint.
Pros: easy buying, good color retention, simple application, and more retail color flexibility than many epoxy kits.
Cons: despite the epoxy name, it is still less durable than a true 2-part chemical-cure system. Long dry times before parking are important.
Pricing: check official site.
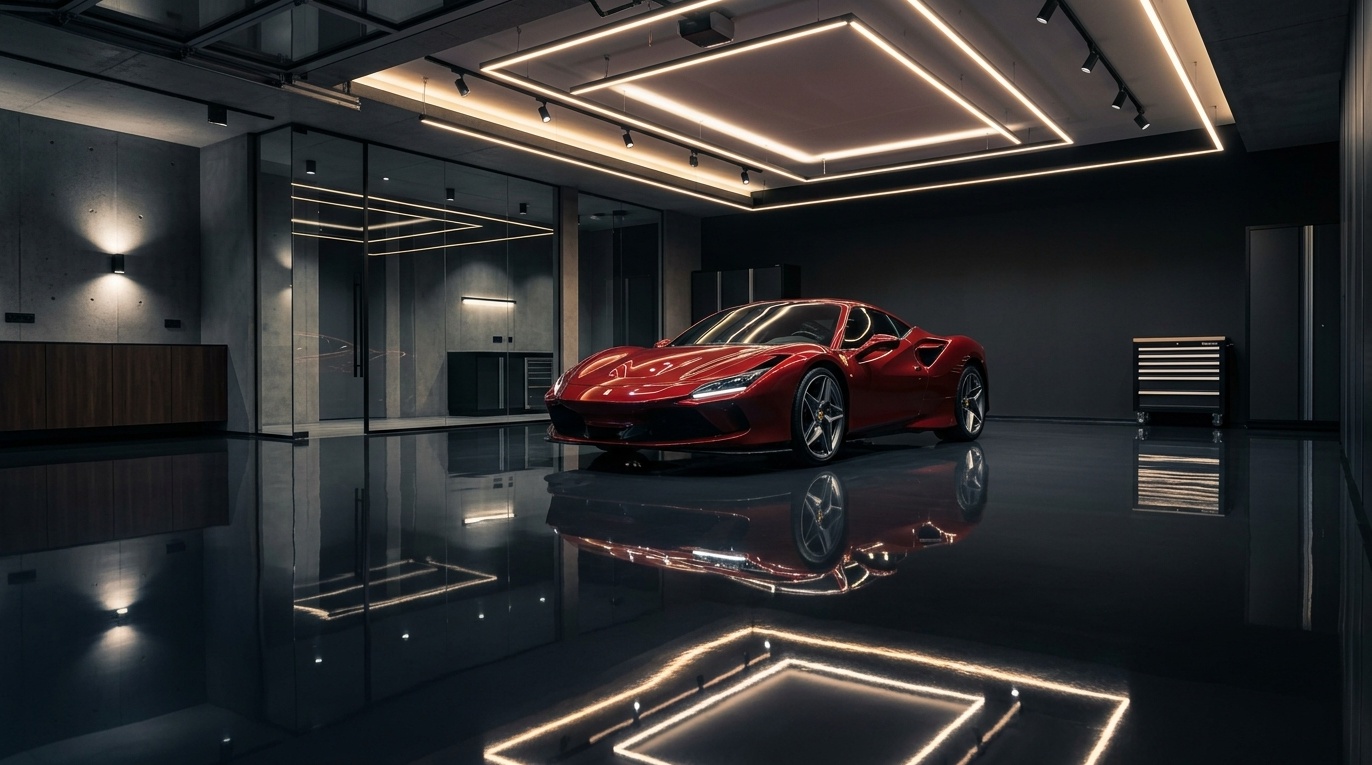
RockSolid Polycuramine is the high-gloss hybrid pick for homeowners who want a showroom-style finish. It cures faster than many traditional epoxy systems and delivers a reflective surface that can make a garage feel brighter and cleaner.
Best for: polished garages, hobby showrooms, and spaces where gloss and chemical resistance matter.
Pros: strong gloss, fast foot-traffic timing, high chemical resistance, and strong tire resistance.
Cons: the fast cure is both a benefit and a risk. You need to work quickly, and beginners may find the timing less forgiving across a 400 to 500 square foot garage.
Pricing: check official site.
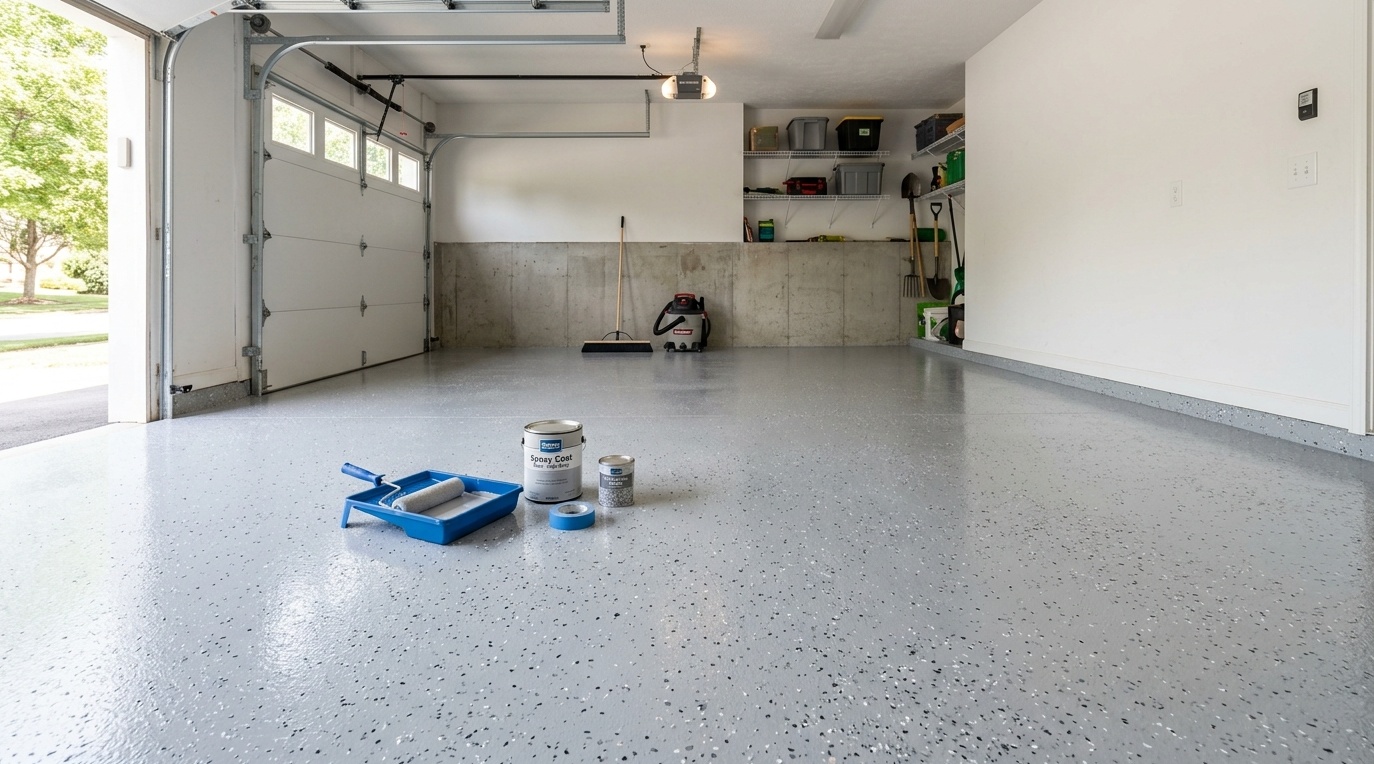
Valspar’s 2-part kit is the best all-in-one retail option for first-time DIYers who do not want to assemble cleaner, etcher, flakes, and coating separately. Having the prep materials in one package reduces the chance of skipping a required chemical step.
Best for: first garage coating projects, standard 2-car garages, and homeowners who want clear instructions.
Pros: beginner-friendly packaging, included prep products, low-VOC water-based formula, and standard decorative flake finish.
Cons: flake coverage can look sparse if broadcast unevenly. Humidity also changes dry time, so a damp garage may require more patience than the label’s fastest estimate.
Pricing: check official site.
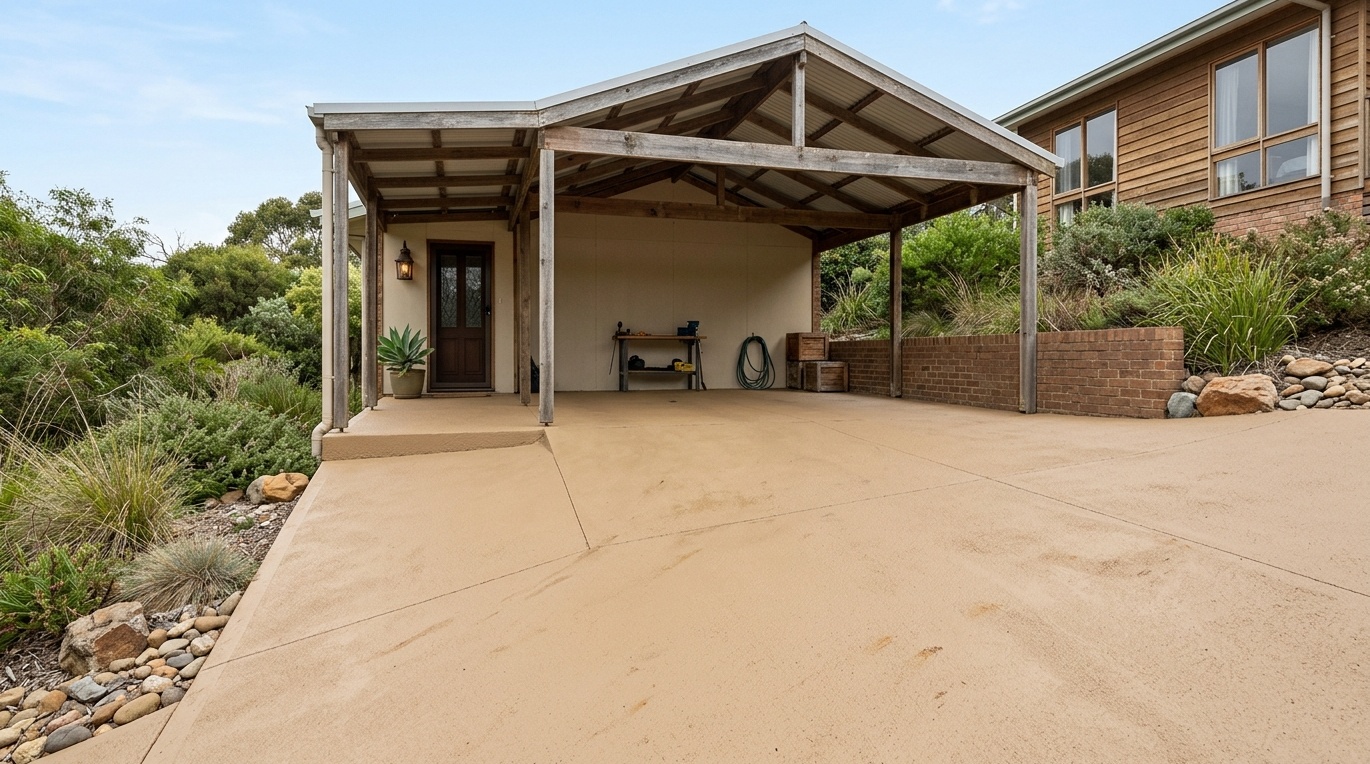
Dyco Tuff Coat is the best non-slip and exterior-facing option. It is a textured acrylic coating designed for traction, UV exposure, and moisture-prone concrete where a slick gloss epoxy could feel unsafe.
Best for: carports, open-air garages, sloped entries, and exterior concrete connected to garage bays.
Pros: strong traction, UV stability, mildew resistance, and a matte practical look.
Cons: the rough texture can trap dust and make sweeping harder. It also does not form the same chemical barrier as heavy-duty epoxy.
Pricing: check site.
Garage floor paint sits inside a larger shift toward durable, cleanable flooring surfaces. Grand View Research valued the global floor coatings market at $3.7 billion in 2025 and projected it to grow from $3.9 billion in 2026 to $6.3 billion by 2033, at a CAGR of 6.9%. Fortune Business Insights reinforces the same long-term direction, valuing the global floor coatings market at USD 4.01 billion in 2026 and projecting it to reach USD 7.59 billion by 2034, growing at a CAGR of 8.30%.
Those figures cover more than residential garages, so they should not be read as a direct return-on-investment promise for one home. They do show that durable floor coatings are being treated less like cosmetic paint and more like protective surface systems. For homeowners, that distinction matters: a garage floor is not just a color choice, but a wear layer that has to handle tires, moisture, cleaning, storage, and daily traffic.
The National Association of Realtors' Remodeling Impact report also connects strategic home remodeling projects with high happiness returns and increased enjoyment of the home after completion. A garage floor coating fits that pattern when it makes a hard-working space cleaner, brighter, safer to walk through, and easier to use every day.
The value case is practical. A light-use garage may not need an industrial coating, but a daily-driver garage benefits from durable floor paint or a true 2-part coating that reduces peeling risk and rework. A finished floor can also support perceived home value by making the garage feel maintained, intentional, and ready for storage, hobbies, or workshop use.
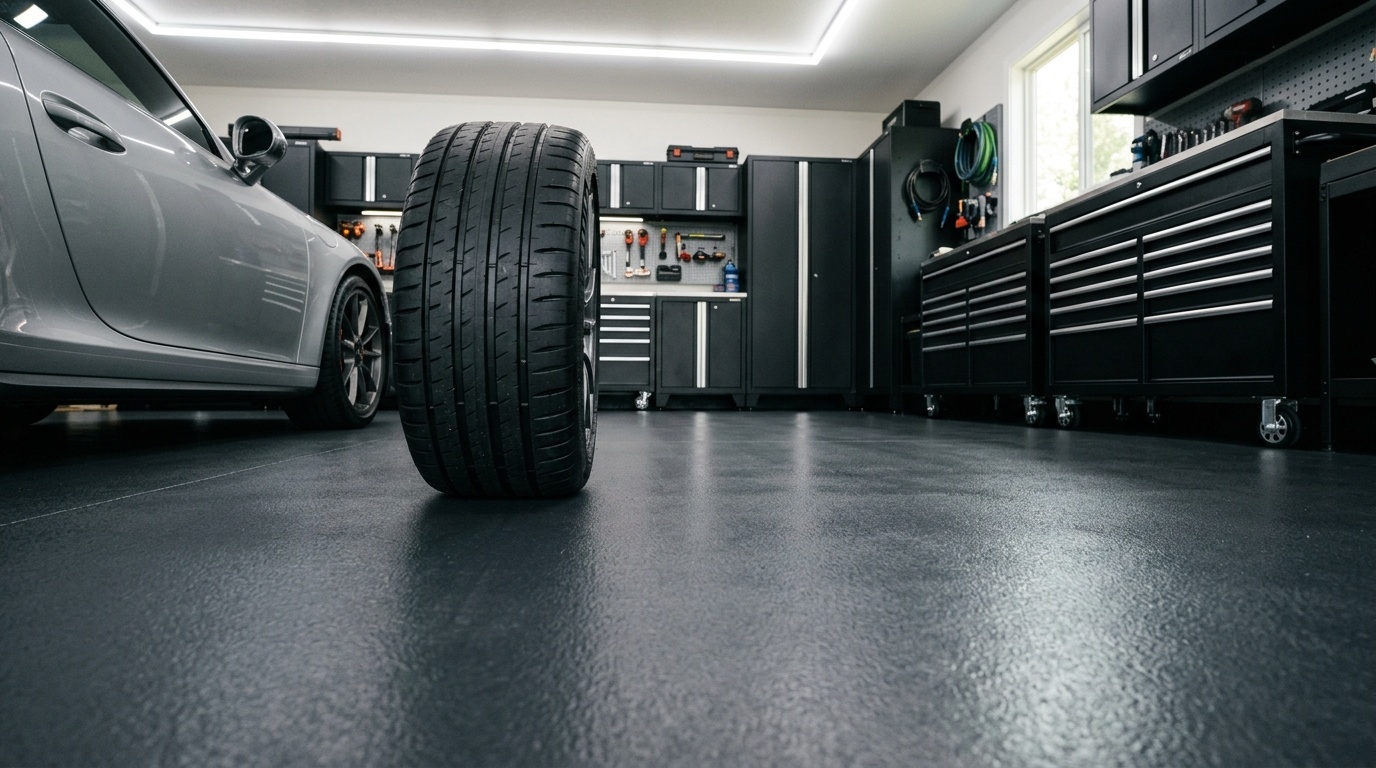
A durable floor paint often costs more upfront, but rework is the expensive part. If a 450-square-foot garage peels after hot-tire pickup, you may need grinding, dust control, new prep chemicals, fresh coating, and another full weekend. That cheaper can starts to look less cheap.
This is where many product lists miss the real decision. The shelf price is only 1 line item. A garage paint floor project also includes degreaser, etcher, rollers, extension poles, spiked shoes for some systems, gloves, tape, plastic, respirator cartridges, and disposal supplies.
For a 2-car garage, budget effort as carefully as money:
| Cost or effort item | Why it matters |
|---|---|
| Degreaser | Oil blocks adhesion before etching even starts |
| Etching solution or grinder rental | Opens pores so coating can mechanically lock |
| Moisture testing time | Prevents blistering under dense coatings |
| Safety gear | Protects lungs, eyes, and skin from chemicals |
| Lighting upgrades | Helps you see wet edge, flakes, and missed spots |
| Rework buffer | Failed coatings are harder to remove than bare concrete is to prep |
A high traffic paint for floor use should be judged over years, not checkout price. If a 2-part epoxy lasts 5 to 8 years in a daily-driver garage while a thin paint fails in 12 months, the stronger system may have the calmer long-term rhythm.
Based on Paintit.ai data from real visualization workflows, homeowners tend to feel more confident when they plan the floor, wall color, storage, and lighting together rather than choosing a coating in isolation. That planning step does not replace prep, but it reduces the chance of investing in a color or finish that feels wrong after curing.
For garage conversions, that broader plan matters even more. If the space will become a workshop, gym, laundry zone, or bonus room, you can test zoning and furniture flow with a complete room mockup before committing to a permanent coating color.
Preparation decides whether garage floor paint bonds or fails. Before coating, the slab must be clean, dry, porous, and free of oil or sealer. The most important checks are moisture testing, degreasing, porosity testing, etching or grinding, and drying for at least 24 to 48 hours.
Here is the practical sequence we recommend before opening any can or kit.
Remove everything from the floor and look for 4 problem areas: oil stains, shiny sealed patches, crumbling concrete, and damp edges near walls. Paint can cover discoloration, but it cannot fix weak or contaminated concrete.
Etching acid reacts with clean concrete. It does not cut through oil. Scrub tire paths and old automotive stains with a heavy-duty degreaser first, then rinse thoroughly. If water still darkens around an oil spot unevenly, repeat the cleaning.
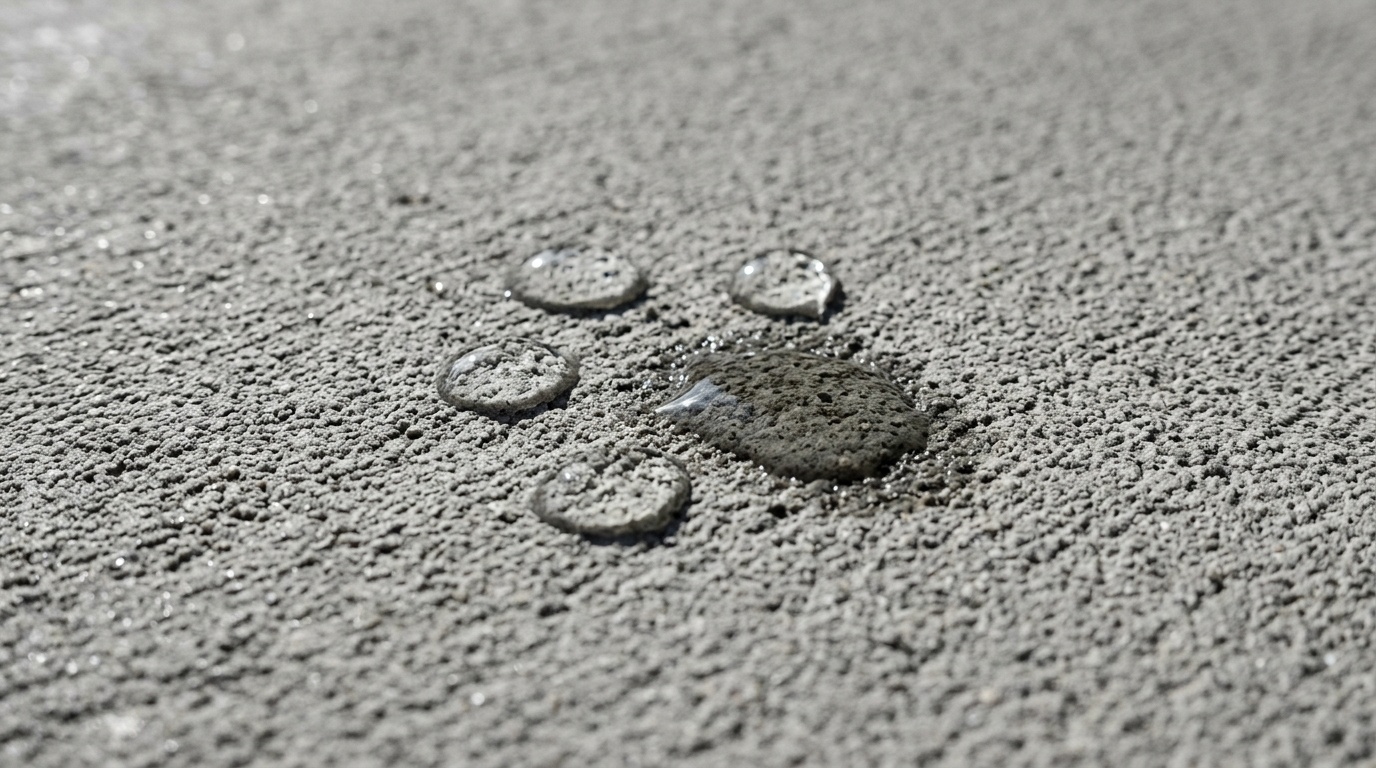
Splash a few water droplets onto several areas of the floor. If the water beads up, the concrete probably has an old sealer or dense surface that paint cannot penetrate. That sealer needs mechanical removal, usually grinding. If the water sinks in within 1 minute, the surface is open enough for etching or coating prep.
This zero-cost test is simple, but it tells you something critical: coatings do not merely sit on top of concrete. They need microscopic grip. If the pores are closed, adhesion is mostly wishful thinking.
Tape a 2-by-2-foot square of heavy plastic to the concrete, sealing all edges with duct tape. Leave it for 24 to 48 hours. If condensation appears under the plastic or the concrete looks dark and damp, wait or investigate the moisture source before applying a dense epoxy.
Skipping this test is one of the fastest ways to ruin a project. Moisture vapor can push upward beneath the coating and create bubbles, blisters, or broad peeling.
For many DIY products, acid etching creates a sandpaper-like profile. For sealed, polished, or very smooth slabs, mechanical grinding may be required. The goal is not to make the floor look rough; the goal is to create enough surface profile for a mechanical lock.
After rinsing, wait at least 24 to 48 hours, longer in damp or cool conditions. A floor can look dry while still holding moisture in the pores. If in doubt, repeat the plastic test before coating.
Paintit.ai can help you choose the look, but it cannot inspect vapor movement, oil contamination, or surface porosity through a photo. Treat visualization and physical prep as 2 separate steps: design first, verify the slab second.
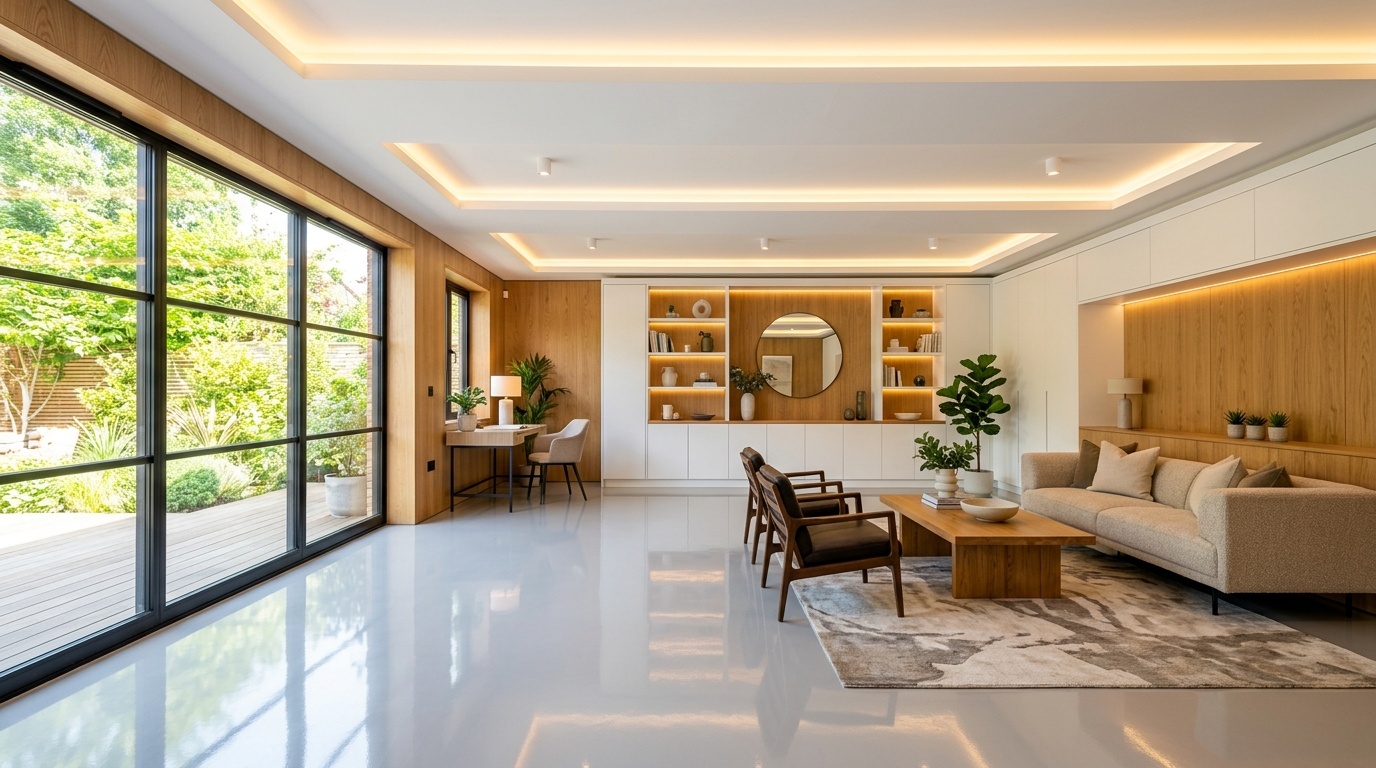
Floor color changes how a garage feels as much as it changes how it cleans. Light gray gloss reflects overhead LEDs and can make a 400-square-foot garage feel brighter. Dark charcoal, matte tan, and heavy flakes can look refined, but they may absorb light or hide small dropped parts.
At Paintit.ai, we often see homeowners struggle to visualize how a dark charcoal floor will affect the overall brightness of their garage, especially when paired with existing wall colors or new cabinetry. A shade that looks smart on a sample card can feel heavy across an entire slab.
This is the design gap most garage coating guides leave open. They discuss flakes, gloss, and durability, but not the room as a complete system. Your floor sits beside white drywall, exposed studs, black storage cabinets, stainless tool chests, overhead doors, LED strips, bikes, and real furniture if the garage doubles as a gym or studio.
In practical design workflows, our users use Paintit.ai's visualizer to test various floor colors and finishes in about 1–2 minutes per render, ensuring their chosen garage floor paint complements their entire space before they commit to the labor-intensive application. You can try color options on your current garage photo and compare slate gray, sand, light concrete, charcoal, or flake-inspired looks in context.
Think of the design process like a playlist. The floor is the bass line. Wall color, storage cabinets, lighting temperature, and workbench materials are the next tracks. If one choice is too loud, the rhythm of the whole room feels off.
A few visual rules help:
If you are coordinating cabinets, car clearance, wall racks, and tool zones, review garage planning examples that include storage flow before choosing a coating color. A floor that looks good empty should still work when 2 cars, 6 bikes, and a workbench return.
For homeowners comparing digital color tools, compare how different visualizers handle paint previews before relying on a single render. AI helps you make a more personal design decision, but it cannot guarantee exact gloss, flake density, or manufacturer color accuracy on your specific slab.
Based on real visualization workflows, we've learned that coordinating your garage floor color with your home's exterior or interior design theme creates a more cohesive and satisfying result, moving beyond just utility to true aesthetic integration. For open garages and carports, preview the exterior connection so the floor tone does not fight the trim, driveway, or door color.
Choose the simplest product that can honestly survive your garage. For light storage, 1-part epoxy acrylic is enough. For daily parking, choose a 2-part epoxy. For workshops, use a professional-grade system. For wet or sun-exposed areas, prioritize traction and UV stability over gloss.
Here is the short version:
| Your garage situation | Best match |
|---|---|
| You only want to stop dust in a low-use space | Kilz 1-Part Epoxy Acrylic |
| You park 1 or 2 vehicles daily | Rust-Oleum EpoxyShield |
| You want a retail paint with more color flexibility | Behr Premium 1-Part Epoxy |
| You are building a serious workshop | Armorpoxy II Heavy Duty |
| You want showroom gloss | RockSolid Polycuramine |
| You want a beginner kit with prep included | Valspar 2-Part Epoxy Kit |
| You need traction in a carport or slope | Dyco Tuff Coat |
If you want a durable floor paint but do not want a complex chemical installation, stay in the 1-part epoxy category and accept the limits. If you want long-term hot-tire resistance, do not ask a thin film to do a thick coating’s job.
The best garage floor paint for most active home garages in 2026 is a well-prepped 2-part water-based epoxy kit. The best low-effort choice is a 1-part epoxy acrylic. The best professional result is a heavy-duty epoxy or polyaspartic-style system installed with strict prep, ventilation, and timing.
The simplest workflow is: inspect the concrete, choose the formula, visualize the color, buy the coating, then prep with patience.
Garage floor paint questions usually come down to 5 practical issues: coating type, peeling risk, moisture, etching, and cure time. If you answer those before buying, you can avoid most expensive mistakes and choose a product that fits your garage instead of copying a generic recommendation.
Garage floor paint is usually a 1-part water- or oil-based product that dries through evaporation. A garage floor coating, such as a 2-part epoxy, cures through a chemical reaction and forms a thicker, harder surface that bonds mechanically with properly prepared concrete.
Yes, standard acrylic or latex floor paint can peel under hot tires. This is called hot-tire pickup. To reduce the risk, use a 2-part epoxy or stronger coating, remove oil and sealer, test moisture, and follow the full cure time before parking.
Tape a 2-by-2-foot square of heavy plastic to the floor and seal every edge. After 24 to 48 hours, lift it. If the underside has condensation or the concrete below looks dark and damp, the slab is releasing too much moisture for many dense coatings.
Often, yes. Acid etching opens the concrete pores and creates a light surface profile so paint or epoxy can grip. If water beads on the slab, etching may not be enough because an old sealer may need mechanical grinding first.
Many products dry to the touch within 24 hours, but vehicle traffic usually requires longer. A common safe window is 7 to 10 days before parking, though you should always follow the manufacturer’s label for your exact product, temperature, and humidity.