21 min. reading

Yulii Cherevko
CEO paintit.ai
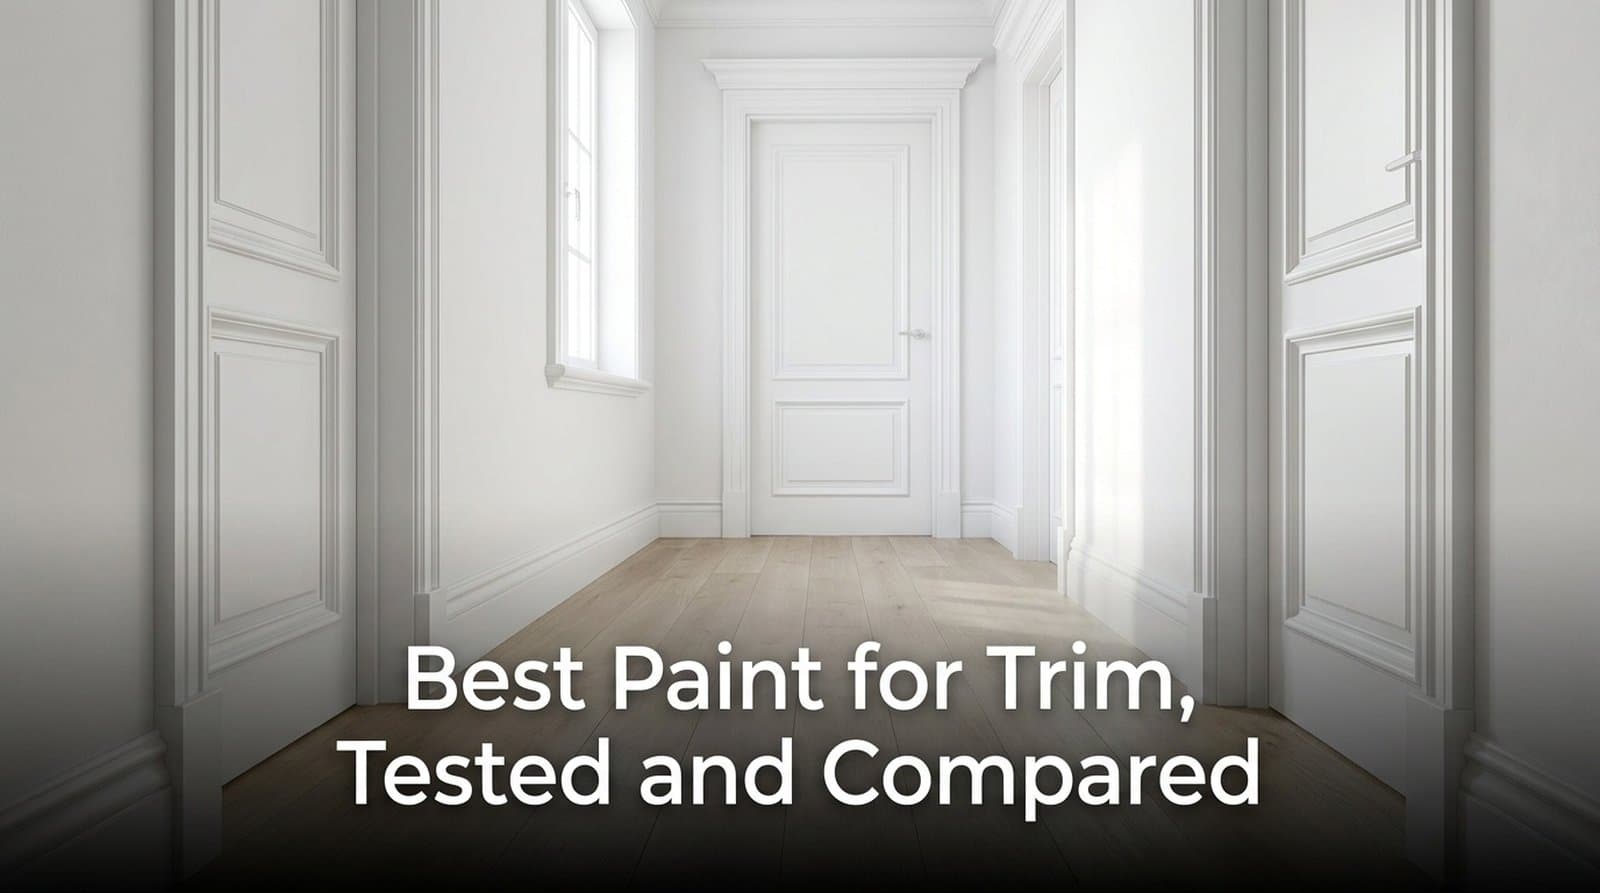
The best paint for trim in 2026 is usually a waterborne alkyd or urethane-acrylic enamel, not ordinary wall paint. These formulas level more smoothly, cure harder, and put up with shoes, vacuums, pets, and hands on doors far better than typical interior latex.
If your trim project is part of a bigger room refresh, choose the color in rhythm with the walls, flooring, lighting, and the furniture you actually own. A crisp white baseboard can look clean in one room and oddly harsh in another. That is why it helps to plan the full visual flow before buying paint. You can use Paintit.ai to shape the room concept around your trim finish before you commit to a can.
Most competing guides cover the obvious names: Benjamin Moore Advance, Sherwin-Williams Emerald Urethane Trim Enamel, Behr’s trim enamels, and popular whites like Chantilly Lace or Alabaster. The gap is usually the same. They skip the chemistry, mix up dry time and cure time, and rarely explain how to test old paint before putting a modern water-based product over it.
The best result comes from treating trim paint as a small technical system: substrate, old coating, primer, enamel type, sheen, application method, cure time, and color fit. Miss one part, and even expensive paint can peel, block, or show brush marks.
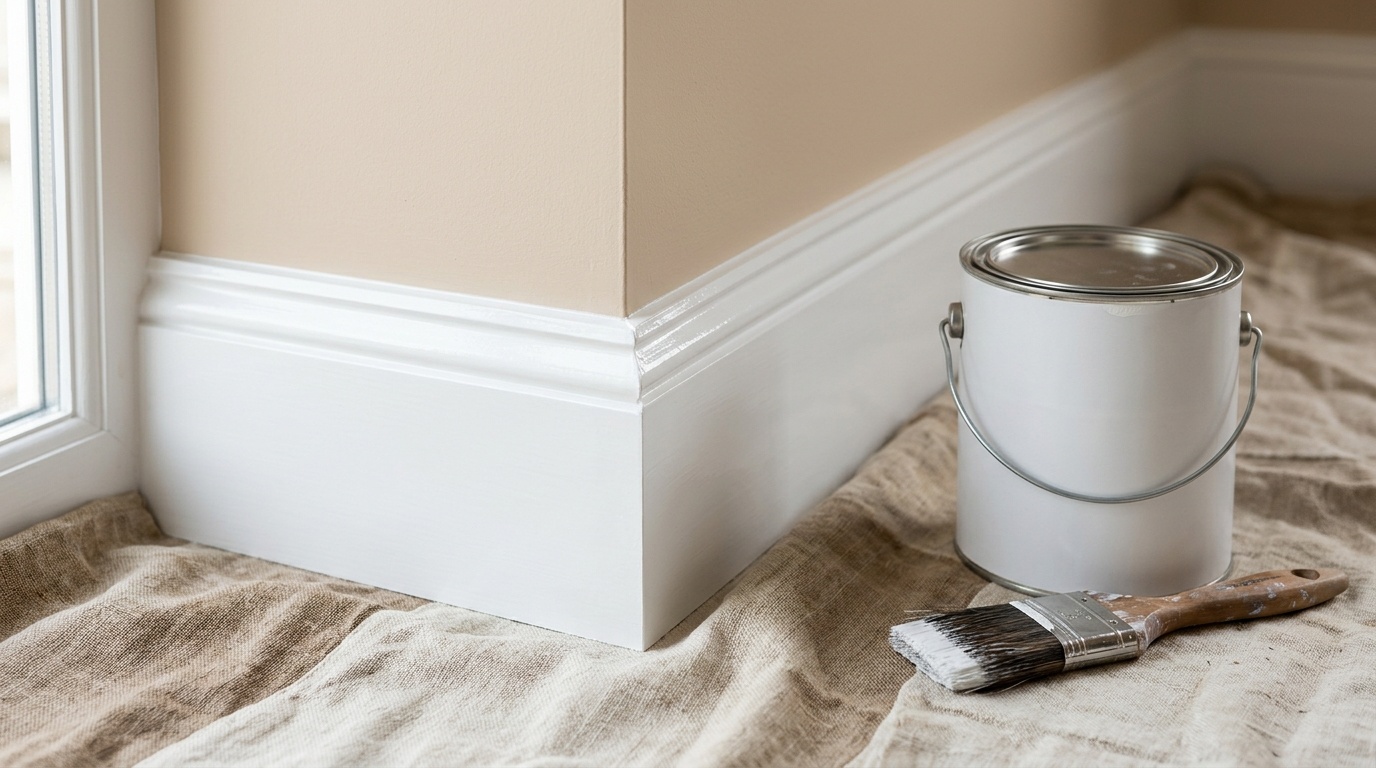
Trim paint needs a harder film than wall paint because baseboards and doors get direct contact every day, often from 3 common sources: shoes, cleaning tools, and hands. The best interior trim paint uses resins that dry into a denser, smoother coating with better washability and chip resistance.
Wall paint is made for broad, low-contact surfaces. It needs coverage, color consistency, and easy touch-ups. Trim paint has a different job. It has to survive repeated abrasion on narrow edges, raised profiles, door jambs, and baseboard corners.
That is why flat or eggshell wall paint usually lets people down on trim. It can stay a bit soft, collect dirt, and mark easily. It may look fine for the first week, then start showing grey smudges around door casings and scuffs along lower baseboards.
That move from general wall latex to dedicated enamel reflects a wider coatings trend. MarketsandMarkets projects the European architectural coatings market to grow from $20.93 billion in 2026 to $25.49 billion in 2031 at a 4.0% CAGR. For a trim project, the practical point is simple: higher-performance architectural coatings are becoming more important, and baseboards, doors, and casing are exactly where harder resins and better leveling matter.
A waterborne alkyd, such as Benjamin Moore Advance, suspends alkyd resin in a water-based system. Water evaporates first, then the alkyd resin keeps hardening through oxidation. You get a smoother, oil-like finish with soap-and-water cleanup.
This is often the answer when someone asks what type of paint for trim if they want a classic, furniture-like surface without the smell and cleanup of traditional oil paint. The trade-off is patience: waterborne alkyds can feel dry in hours but may take up to 30 days to fully cure.
Urethane-acrylic trim paints, such as Sherwin-Williams Emerald Urethane Trim Enamel, use acrylic resin strengthened with urethane. They tend to resist chipping well, hold color cleanly, and avoid the yellowing linked to many older oil-based paints.
If you are asking what kind of paint for trim works best for busy homes, this category is usually the safest modern choice. It is especially useful on doors, stair trim, and hallway baseboards where impact is more likely.
Acrylic enamel is a fast, practical choice for many DIY projects. Insl-X Cabinet Coat is a strong example in this group, often used on trim, doors, built-ins, and cabinets because it adheres well and creates a tough washable surface.
Acrylic enamels usually do not level quite like the slowest alkyds, but they can shorten a project by 1 to 2 days because they dry and recoat faster. For a guest room, nursery, or weekend update, that timing matters.
Drying means the surface feels dry to the touch. Curing means the paint film has reached most of its final hardness through polymerization or resin hardening. Not the same thing. Confusing the two is one of the most common reasons trim gets scratched early.
A trim enamel may be touch-dry in 1 to 4 hours, ready for another coat later the same day or the next day, but still vulnerable for 7 to 30 days. During that window, avoid aggressive scrubbing, slamming doors, reinstalling tight hardware too quickly, or pushing furniture against baseboards.
Think of curing as the quiet final track in the project playlist. The paint looks finished, but the coating is still finding its rhythm.
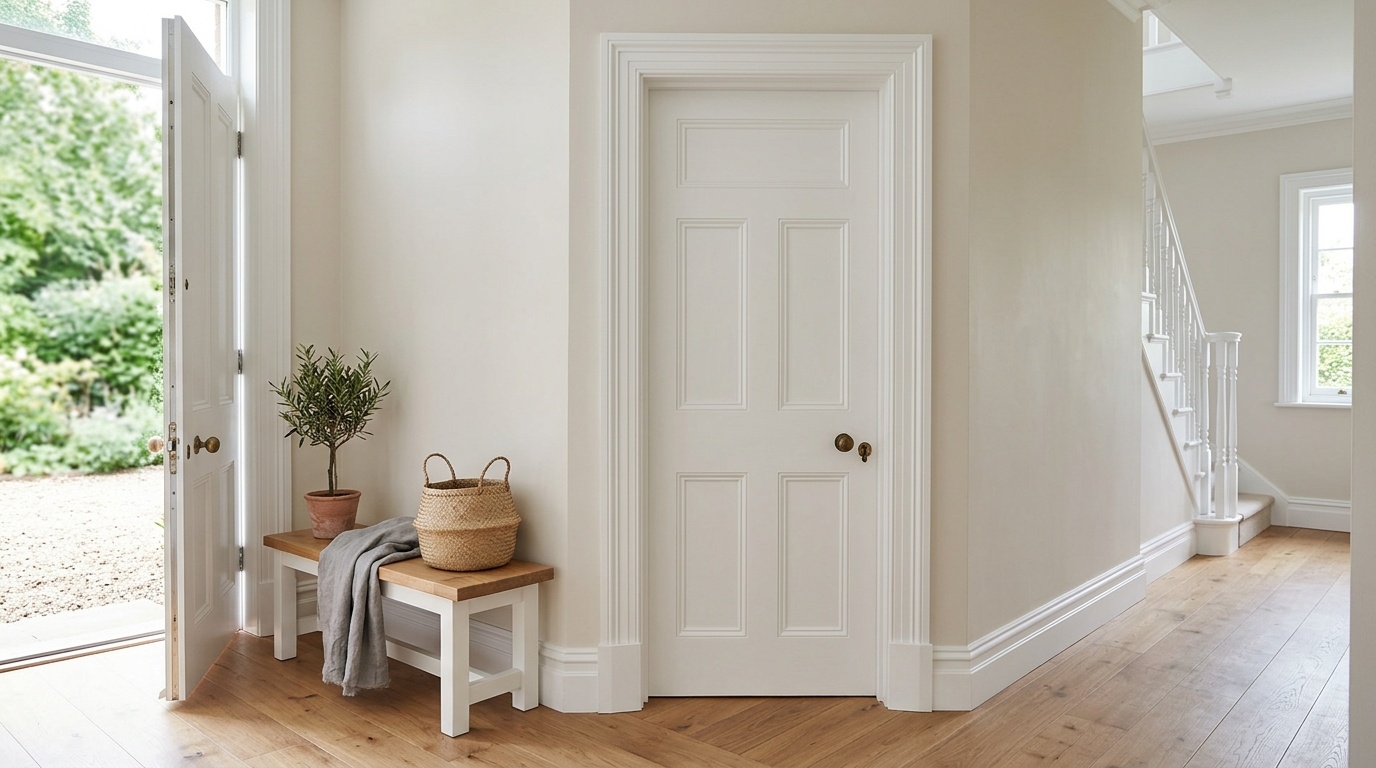
The best paint for trim depends on how much cure time, brush marking, odor, and project speed you can tolerate. For most interior doors and baseboards, 5 products stand out: Benjamin Moore Advance, Sherwin-Williams Emerald Urethane, Insl-X Cabinet Coat, Behr Urethane Alkyd, and Benjamin Moore Regal Select.
| Paint | Paint type | Best use | Main strength | Watch-out |
|---|---|---|---|---|
| Benjamin Moore Advance | Waterborne alkyd | Doors, trim, cabinets | Excellent self-leveling | Longer cure time |
| Sherwin-Williams Emerald Urethane Trim Enamel | Urethane-acrylic hybrid | High-traffic trim and doors | Strong chip resistance | Can show technique flaws if overworked |
| Insl-X Cabinet Coat | Acrylic enamel | Fast DIY trim and cabinets | Strong adhesion and quick workflow | Less oil-like flow than slow alkyds |
| Behr Urethane Alkyd Enamel | Waterborne alkyd | Budget-conscious trim work | Good hardness for the price | Needs careful prep |
| Benjamin Moore Regal Select | Premium acrylic latex | Low-impact trim, touch-ups | Easy application | Not as hard as dedicated trim enamel |
Benjamin Moore Advance remains a benchmark because it flows out beautifully. On flat door panels and long baseboard runs, brush marks tend to relax as the paint levels. That is what people usually mean when they talk about a factory-style finish.
The main constraint is time. If you paint a door and close it too soon, the edges can stick to the jamb. This is called blocking. For doors, leave a 24-hour handling buffer where possible and avoid heavy use while the coating cures.
Emerald Urethane is a strong candidate for the best paint for doors and trim because it balances toughness, color stability, and modern water-based convenience. It fits entry halls, children’s rooms, kitchens, and rental properties where trim gets touched often.
Use a high-quality synthetic brush and do not overbrush. Apply the paint, tip it off lightly, and move on. Reworking partially set enamel can create ridges that stay visible after drying.
Insl-X Cabinet Coat is popular because it feels intuitive for practical DIY work. It adheres well, dries efficiently, and works on trim, doors, cabinets, and built-ins where you need a smooth finish without stretching the job across a full week.
It is a smart choice when you need 2 coats over a weekend, especially on previously painted trim that has been cleaned, dulled with sanding, and wiped free of dust.
Behr Urethane Alkyd Enamel gives many homeowners a durable trim finish at a lower price point than premium brands. It is not a shortcut around prep, but it can perform well if the surface is properly cleaned, sanded, primed when needed, and given enough cure time.
This is often the practical answer to type of paint for trim and doors when the project includes several rooms and the budget is very real. Funny how budgets always are.
Benjamin Moore Regal Select can work well on interior trim that does not take heavy abuse. It is smooth, familiar, and easier to touch up than many harder enamels. Professional painters have used it successfully for years, especially in satin or semi-gloss.
For stair risers, mudrooms, and heavily used doors, a dedicated enamel is still the stronger choice.
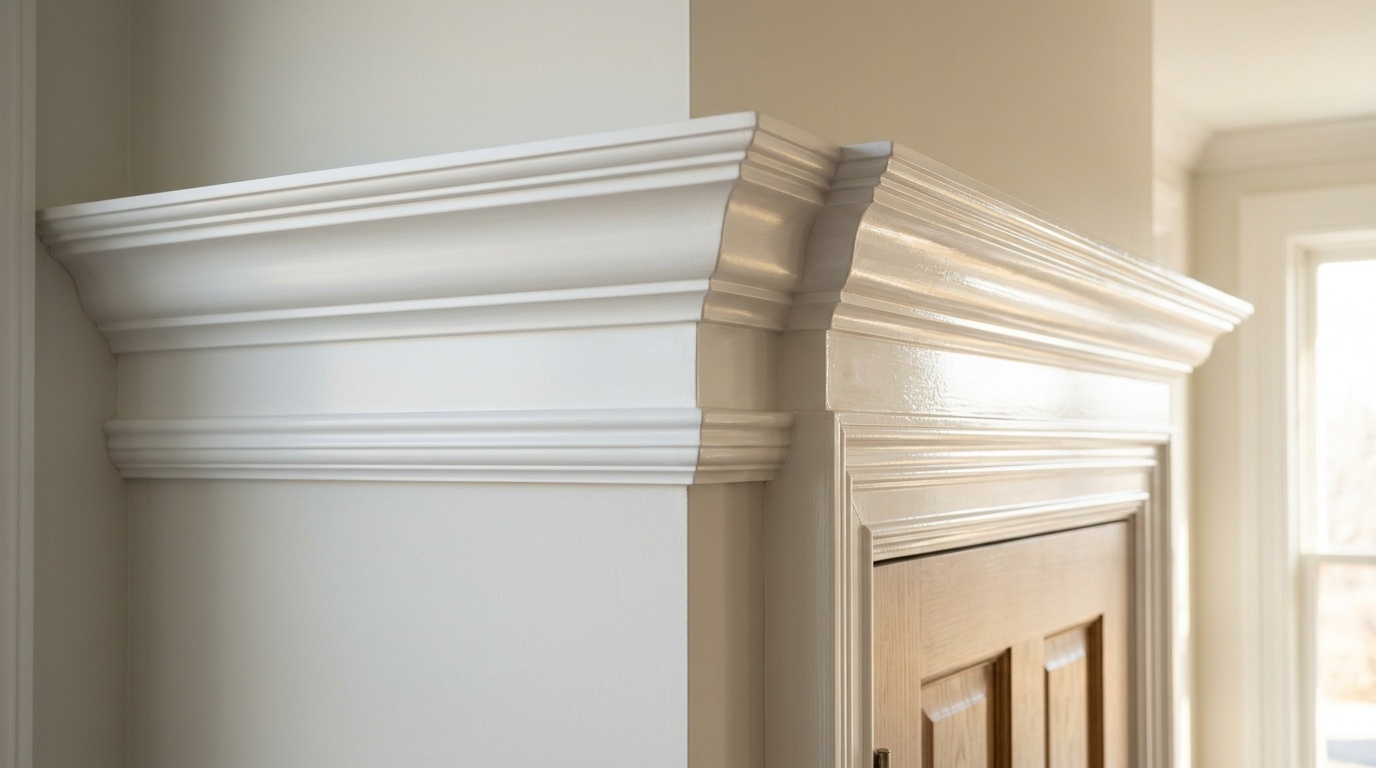
Semi-gloss is the standard sheen for trim because it reflects enough light to define edges and cleans more easily than low-sheen finishes. Satin looks quieter and more architectural, but it needs a high-performance enamel to match semi-gloss durability on 2 high-contact areas: doors and baseboards.
If you are deciding on the type of paint for baseboards, start with sheen before color. A white in semi-gloss can look brighter and sharper than the same white in satin because the surface reflects more light. You will notice it on sunny walls, dark floors, and narrow hallways.
Semi-gloss is the practical default for baseboards, door frames, and window trim. It resists moisture and fingerprints better, and it is easier to wipe with a damp cloth after shoes or a vacuum leave marks.
It also highlights flaws. If the trim is old, dented, or badly caulked, semi-gloss will make those problems more obvious under side lighting. Spend extra time filling nail holes and sanding ridges if you choose this finish.
Satin trim feels more modern and understated. It works especially well in minimal interiors where the goal is a seamless transition between wall and trim rather than sharp contrast.
The trade-off is maintenance. Satin hides surface flaws better, but cheaper satin paints can burnish when scrubbed. If you want satin on baseboards, choose a true trim enamel rather than standard satin wall paint.
Full gloss can look beautiful on historic doors, lacquered-style trim, or high-contrast rooms. It also asks a lot from your prep. Every brush ridge, dust nib, and caulk ripple becomes easier to see.
For most homes, gloss is best used selectively: a front interior door, a library casing, or a stair handrail. For 8 or more rooms of baseboards, semi-gloss or satin is usually easier to live with.
If you are comparing digital planning methods before you choose sheen and color, our guide to preview workflows for paint decisions explains how visualizers differ in realism, speed, and control.
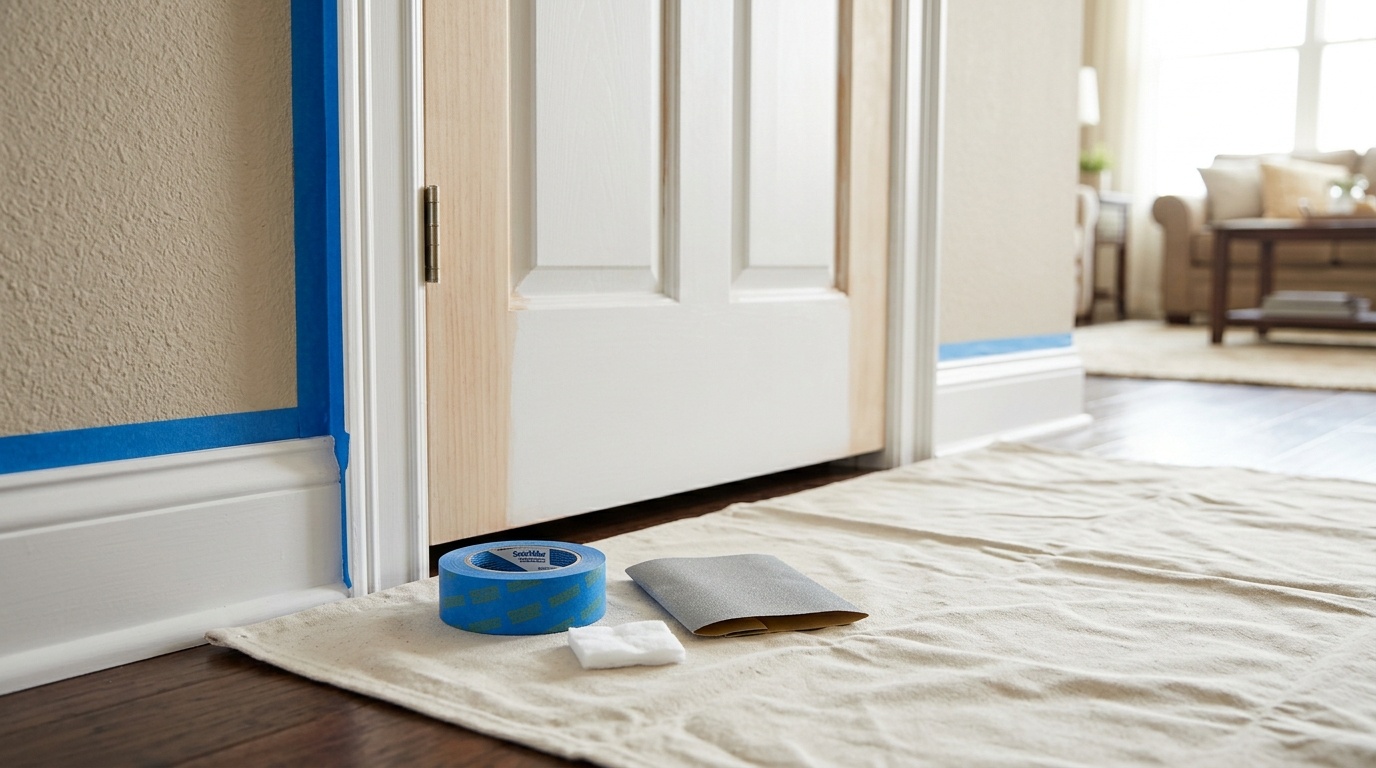
Preparation decides adhesion more than the paint brand does. A 6-step process works reliably: clean, test old paint, sand, repair, prime when needed, then apply thin coats. Skipping the test is risky because modern water-based enamel can peel from old oil-based gloss without bonding primer.
Trim collects skin oils, floor dust, polish residue, pet hair, and cleaning-film buildup. Wash it first with a mild degreasing cleaner, then rinse with clean water. If you sand before cleaning, you can grind contamination into the surface.
Give the trim at least 30 minutes to dry before sanding. Longer is better in damp rooms.
This simple test answers a critical question: is the existing coating oil-based or water-based?
Moisten a cotton pad with isopropyl alcohol. Rub a hidden area of trim firmly for 15 to 30 seconds. If paint transfers to the pad or the coating softens, it is likely latex or acrylic water-based paint. If the pad stays clean and the finish does not change, it is likely old oil-based paint.
This matters because water-based enamel applied directly over glossy oil paint can fail as a sheet. The new film may sit on top instead of bonding, then peel when scratched or taped.
If the test suggests oil-based paint, sand thoroughly to dull the sheen and use an adhesion primer. Shellac-based bonding primers or specialist acrylic bonding primers are common routes, depending on odor tolerance, substrate, and product instructions.
Use 100 to 150 grit sandpaper for old glossy trim, then follow with 180 to 220 grit if the surface needs smoothing. You are not trying to remove every layer. You are creating a fine scratch pattern that gives primer or paint something to hold.
After sanding, vacuum the trim and wipe with a tack cloth or slightly damp microfiber cloth. Dust left in the corners will show as bumps in the finish.
Fill nail holes with wood filler or spackle, depending on the trim material. Sand repairs flush. Caulk gaps between trim and wall using paintable acrylic latex caulk, then smooth it with a damp finger or caulk tool.
Prime bare wood, MDF, repaired patches, stained areas, and any surface that failed the alcohol test. Primer is not just for color coverage; it controls porosity and adhesion.
For most trim enamels, 2 thin coats look better than 1 heavy coat. Heavy coats sag on vertical door casing, pool along baseboard profiles, and extend cure time.
Use a 2-inch angled synthetic brush for profiles and a small foam or microfiber roller for flat door panels. Brush into corners first, roll flat areas, then lightly tip off if needed.
Painter’s tape often struggles on carpet because fibers move and paint can seep under the edge. A better method is the cardboard guard.
Slide a thin, rigid piece of cardboard or a wide metal taping knife under the baseboard. Press it down so the carpet pile bends away from the trim. Paint a short section, then move the shield forward while the edge is still clean. This 1 tool can prevent dozens of tiny paint marks in carpet fibers.
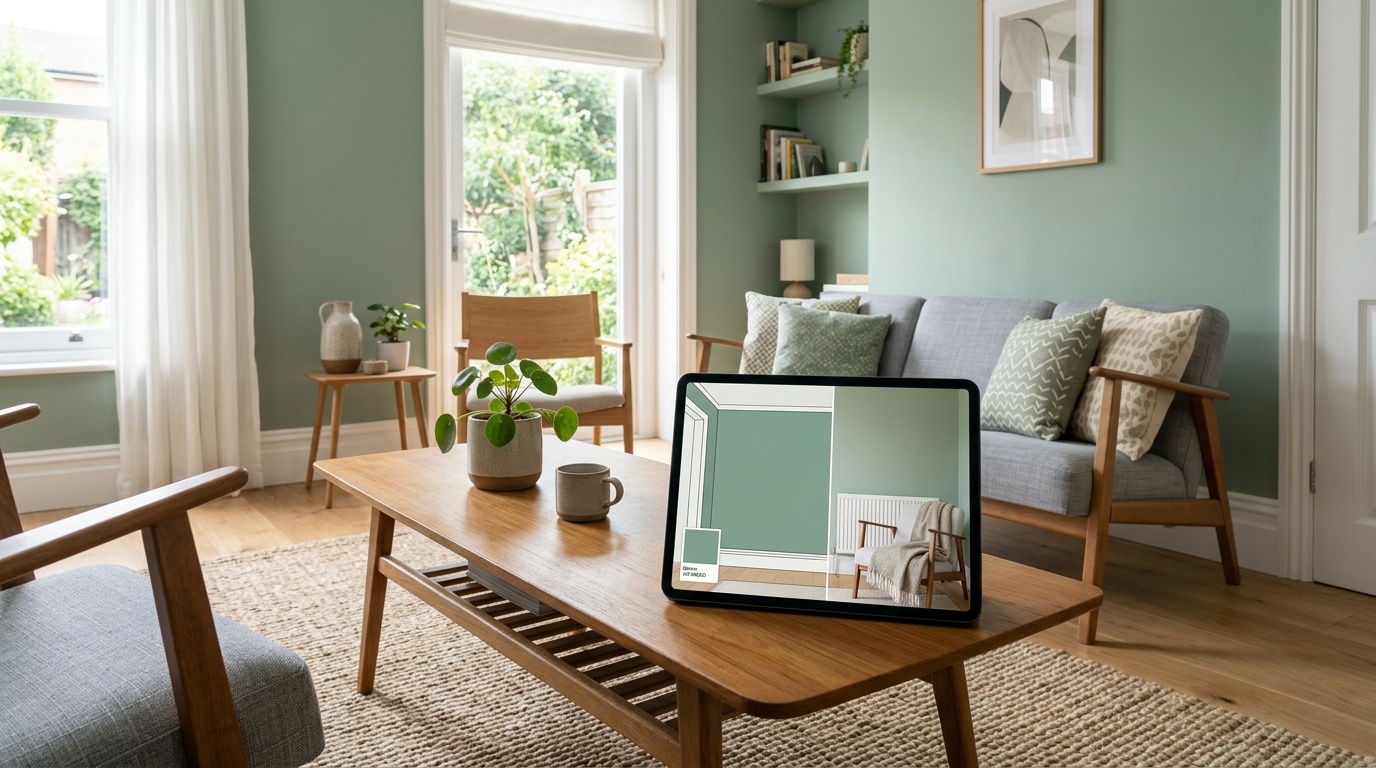
Digital visualization helps answer the color-fit question before you spend money on paint, brushes, and supplies. In 3 minutes, a room photo can show whether warm white trim, crisp white trim, or dark contrast trim works with your walls, flooring, daylight, and furniture.
Color choice also carries resale weight. Zillow’s paint color research found that sage green was the only shade to rank among the highest positions in every analyzed room, showing how paint color can influence buyer perception and market appeal. Trim is a smaller surface than walls, but its undertone frames every doorway, baseboard line, and wall color, so visualization is an economic safeguard as much as a design step.
At Paintit.ai, we often see users struggling to visualize how different white trim shades, like a warm Sherwin-Williams Alabaster versus a crisp Benjamin Moore Chantilly Lace, will interact with wall colors in real-room lighting. Based on Paintit.ai data from real visualization workflows, users tend to test multiple white and off-white options because the fear of mismatch is a real barrier before painting.
The best white paint for trim and baseboards is not always the brightest white. Chantilly Lace can look precise and clean beside cool grey, navy, or black accents. Simply White can feel softer in traditional rooms. Alabaster often works better with warm floors, cream walls, and natural textures.
A practical workflow looks like this:
You can try the color pairing on your own room photo before buying paint. The process is instant enough to keep the design flow moving, but it still respects reality: AI can guide taste, contrast, and direction, while physical samples confirm undertone and sheen under your exact lighting.
For a more advanced prompt, describe the room like this: “Keep my room layout unchanged. Repaint the baseboards and door trim in a warm white satin finish. Keep the wall color soft sage green. Preserve the floor tone and furniture.”
If you use Pinterest references in Paintit.ai, stack them in 3 parts: an anchor reference for the main style, a material reference for wood or flooring tone, and a mood reference for softness or contrast. Add the constraint: “Use this reference for style, palette, materials, and mood. Do not copy exact composition. Keep my room layout unchanged.”
This is useful for choosing trim color, not for replacing physical prep. AI will not detect rotten wood, failing caulk, moisture problems, or old oil paint. The alcohol test and real sample boards still matter.
DIY trim painting is cost-effective when the surface is sound and the project covers 1 to 2 rooms. Hiring a painter is often worth it for full-house trim, stained wood conversions, staircases, or sprayed doors, where prep time, masking, and finish quality drive the result.
The professional side of the market is growing as well. The Business Research Company reports that the global painting and wall covering contractors market will grow from $229.73 billion in 2025 to $237.54 billion in 2026. That does not make every bedroom a pro-only job, but it does show why homeowners keep paying for finish-critical work: careful masking, sanding, priming, and enamel handling take time.
Trim looks simple because the surface area is small. The labor tells a different story. A single room may include 4 walls of baseboards, 1 or 2 doors, 2 window casings, and dozens of edges that need clean cutting.
DIY makes sense when the trim is already painted, firmly attached, and not peeling. If you are repainting white over white or moving from off-white to a similar tone, the project can stay contained and personal.
A typical small bedroom may need 1 quart of trim enamel, 1 brush, 1 small roller, 1 sanding block, caulk, filler, and tape or a shield. The real investment is time: cleaning, sanding, filling, and waiting between coats.
Consider hiring a pro if the trim was previously stained and varnished, if you need a sprayed finish on 10 or more doors, or if your baseboards have old oil paint across the entire house.
A painter also helps when trim is highly profiled. Ornate casing can trap paint in grooves, and overapplication creates rounded details. Professional technique keeps the profile crisp.
Interior trim paint is not automatically suitable for exterior doors, window trim, or porch details. Exterior coatings must handle UV exposure, temperature movement, and moisture.
If you are planning outside work alongside interior doors and baseboards, Paintit.ai can help you check exterior color balance on the actual facade before choosing dark frames, white trim, or a painted front door.
The decision rule is simple: DIY the room where mistakes are low-cost and easy to fix. Hire for the spaces where brush marks, peeling, or delays would be expensive.
Most trim failures come from 5 avoidable mistakes: using wall paint, skipping the old-paint test, painting over dirt, applying coats too thickly, and using the trim before it cures. The paint brand matters, but process errors can defeat even premium enamel.
The first mistake is choosing the wrong product. If you are asking what type of paint for trim, the answer is not leftover wall paint from the garage. Use enamel designed for trim, doors, cabinets, or high-contact surfaces.
The second mistake is rushing prep. Dirty trim can reject paint. Glossy trim can prevent adhesion. Old oil paint can cause peeling unless it is sanded and primed correctly.
The third mistake is overworking the paint. Modern enamels have a working time. Once the paint starts to set, brushing it again leaves drag marks. Load the brush, apply evenly, tip off lightly, and leave it alone.
The fourth mistake is closing doors too quickly. Fresh enamel can stick to door stops and weatherstripping, then tear when opened. If possible, remove doors and paint them flat, or leave them open long enough for the coating to firm up.
The fifth mistake is cleaning too soon. A baseboard can be dry enough to touch but not hard enough to scrub. Wait through the cure period before aggressive cleaning, especially in the first 7 to 30 days.
These 6 answers cover the practical questions people search before painting baseboards, doors, and casing. The short version is consistent: choose a trim enamel, test old paint first, sand glossy surfaces, use 2 thin coats, and wait for curing before heavy cleaning.
The best choice is usually a waterborne alkyd enamel or a urethane-acrylic enamel. Both create a harder, smoother film than standard wall paint while still offering easier cleanup than traditional oil paint. Use semi-gloss for maximum washability or satin for a quieter modern look.
Yes, if the existing trim is glossy, slick, dirty, or previously painted with oil-based paint. Sanding creates a fine grip pattern for primer or enamel. Use 100 to 150 grit for deglossing, then a finer grit if you need a smoother finish before painting.
If you paint directly over glossy oil-based paint without sanding and bonding primer, the new coating may peel in sheets. Use the rubbing alcohol test first. If alcohol does not soften the old finish or transfer color, assume oil-based paint and prep accordingly.
Semi-gloss is more practical for baseboards because it is easier to wipe clean and resists visible dirt better. Satin looks softer and more current, but it should be a durable trim enamel, not ordinary satin wall paint, if used in high-contact rooms.
Benjamin Moore Chantilly Lace, Benjamin Moore Simply White, and Sherwin-Williams Alabaster are widely used because they cover different undertone needs. Chantilly Lace is crisp, Simply White is softer, and Alabaster is warmer. Always test against your wall color, floor tone, and daylight.
Yes, and it is usually smart to do so. The best paint for doors and trim should be durable enough for hand contact, cleaning, and edge wear. A trim enamel in satin or semi-gloss gives doors and casing a consistent finish and helps the room feel intentional.
The safest 2026 choice is a dedicated trim enamel, matched to your timeline and prep conditions. Choose Benjamin Moore Advance for maximum leveling, Sherwin-Williams Emerald Urethane for busy rooms, Insl-X Cabinet Coat for speed, and semi-gloss or satin based on the look you want.
The best paint for trim is not only about the can. It is about the full sequence: identify the old coating, sand correctly, prime when needed, apply 2 thin coats, protect carpet with a shield, and allow the finish to cure before hard use.
Color is the other half of the decision. Before buying materials, test warm white, cool white, and contrast trim in your actual room photo. If you are planning a larger exterior or whole-home paint update, this preview-first route for seeing the result early can help you move from idea to buy with less second-guessing.
Your space. Your rhythm. Choose the style like a track, transition smoothly, then let the finish do its quiet work.