5 min. reading
Yulii Cherevko
CEO paintit.ai

Painting is one of the most personal and instant ways to transform how a space feels. It’s no surprise that 91% of homeowners plan to use paint to decorate their walls, according to a survey by Houzz. Taking on a painting project yourself also saves money. The real challenge isn't just the physical labor; it’s committing to a color based on a tiny swatch and hoping it truly works on all four walls.
Honestly, the biggest problem in any painting project happens before you even open a can: picking the wrong color. At Paintit.ai, we see this frustration all the time. The answer isn't just buying more physical sample pots; it’s about better visualization. This guide will show you how to paint a room, starting with the crucial first step many people skip: seeing the finished result before you even begin.
Traditional color testing is rarely accurate. You buy sample pots, paint small patches on your wall, and then struggle to imagine what an entire room will truly feel like. Those patches look different in morning light, under artificial lamps at night, and are always influenced by the old color surrounding them. It's an expensive, often inaccurate guessing game.
This is exactly why so many DIY projects fail. In fact, 80% of DIYers admit to making mistakes, with nearly half saying they’ve "completely butchered" a project, as reported by the National Association of REALTORS®. The most common and expensive mistake? A full repaint because of color regret.
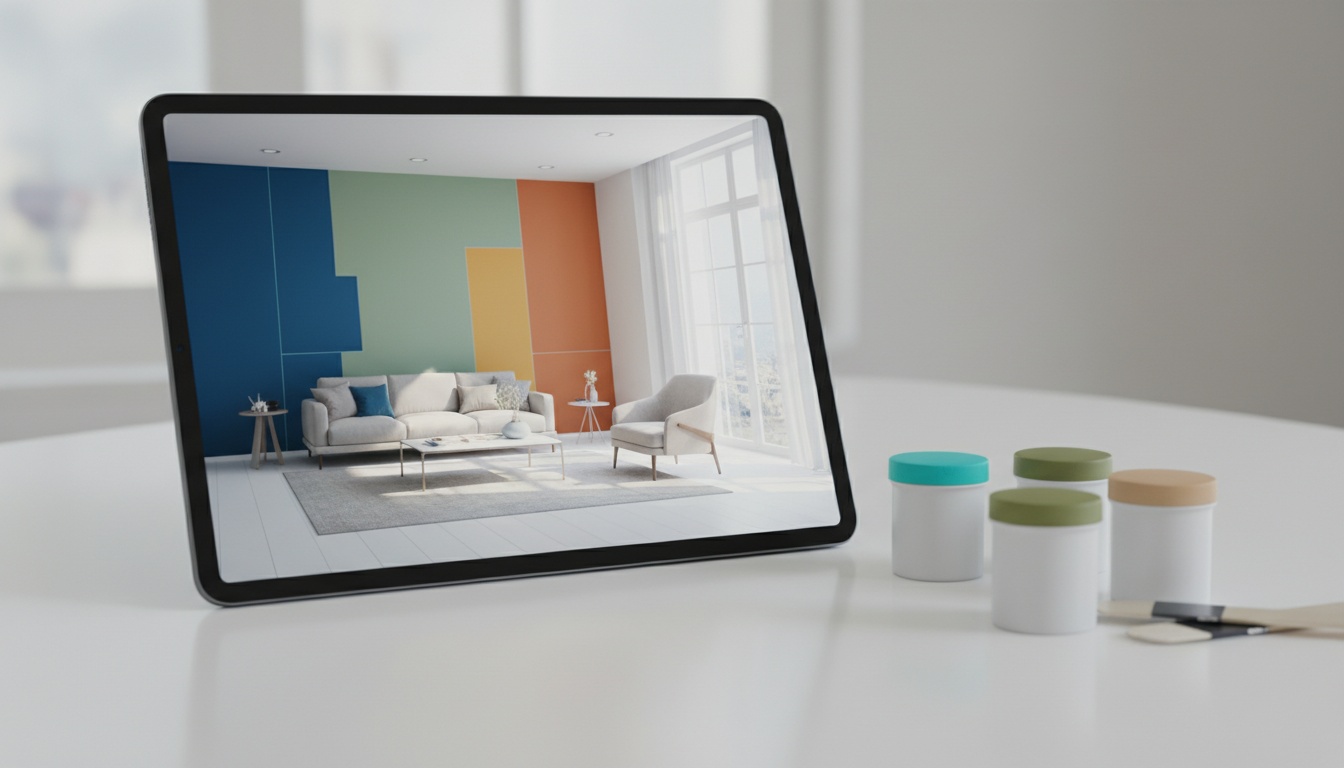
AI visualization transforms how we approach this. Instead of guessing, you can upload a photo of your actual room and test hundreds of colors in seconds. Based on Paintit.ai user data, we’ve observed that the most effective design process is iterative. People don't just pick one color; they refine it. We see thousands of prompts with phrases like "make it a bit warmer" or "a slightly darker shade of blue." This intuitive flow of decision-making is something only a dynamic tool can support, allowing you to find the perfect shade for your specific lighting and furniture. By using our virtual house painter, you can cycle through options and gain confidence in your choice.
Once you have a clear visual direction, you can move on to the physical materials with confidence.
The key to getting a truly useful digital preview is providing the right context. In our analysis of over 13,000 user sessions, we found that nearly 70% of homeowners use simple, short prompts like "paint the walls beige." While this works, adding a little more detail creates a much more accurate result. For instance, less than 10% of users specify lighting conditions (e.g., "warm afternoon light," "bright, indirect sunlight").
To get the best way to paint a room previewed accurately, try adding modifiers like:
This process turns a simple color test into a full design preview. It helps you anticipate how the final painting interior will truly feel. This is an essential part of painting walls for beginners who want a professional outcome.
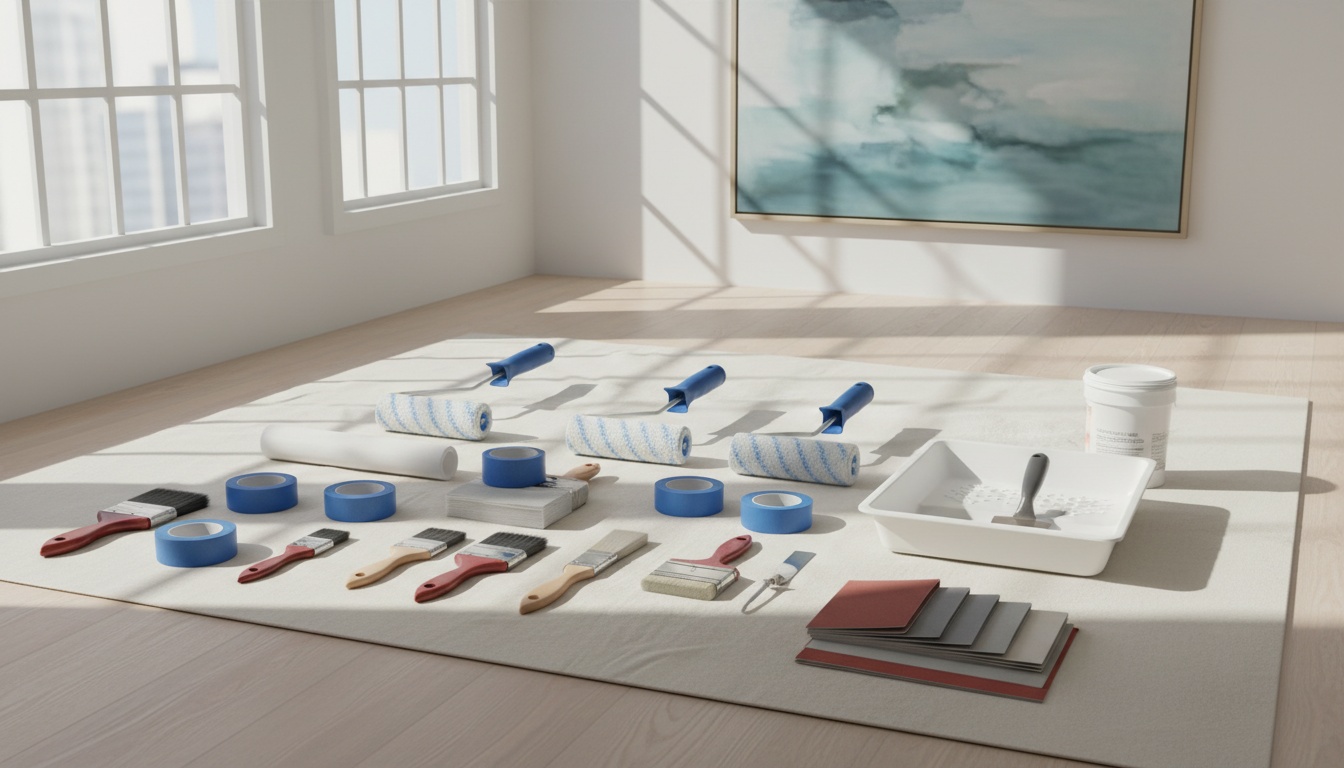
With your color confidently chosen, it’s time to shop. Here’s a basic checklist:
Proper preparation is what separates an amateur job from a professional one. It’s tedious, yes, but absolutely essential for a smooth, lasting finish. This is a core lesson in how to paint a room for beginners.
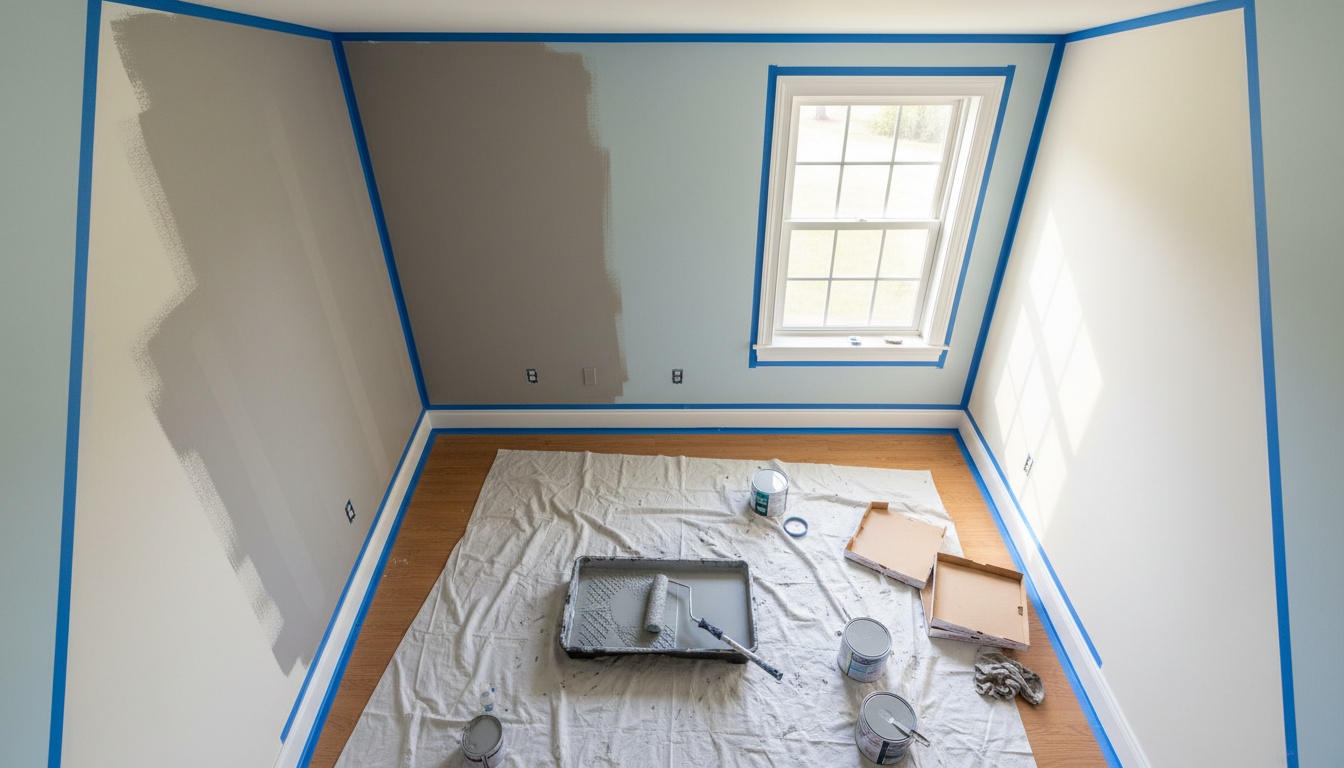
Move as much furniture out of the room as possible. For any large items you can't move, push them to the center and cover them securely with a drop cloth. Make sure to cover the entire floor too. Then, use a simple solution of mild soap and water to wipe down the walls. This removes any dust, grease, and grime. Let them dry completely.
Inspect your walls closely for any holes, cracks, or imperfections. Apply spackle with a putty knife, slightly overfilling each hole. Once dry, sand the patch until it’s perfectly smooth, flush with the wall. Wipe away any sanding dust with a damp cloth.
Apply painter’s tape along the top edge of baseboards, around window and door frames, and along the ceiling line (if you're not painting it). Press down firmly on the edge of the tape to create a tight seal. This stops paint from bleeding underneath. This one step is critical to learning how to paint walls correctly.
With the prep work done, you can finally paint a room. The key is a methodical approach and the right technique. Learning how to paint a room step by step saves you from fixing drips or mistakes later.
If you’re making a drastic color change (like dark to light), painting over stains, or working on new drywall, it’s essential to prime. Primer seals the surface, ensures even paint absorption, and helps the true color of your paint show through beautifully. Apply one full coat just as you would with paint.
Pros follow a specific sequence to manage drips and ensure clean lines, every time:
“Cutting in” means painting the edges and corners with a brush, reaching spots a roller can't. This technique is essential for anyone wanting to know how to paint a room like a pro.
Let the first coat dry completely according to the manufacturer's instructions (usually 2-4 hours) before applying a second coat for a rich, even color. For many homeowners, a digital preview of the project with our AI room design tool can serve as a constant reference during this phase.
Once your final coat is dry to the touch (but not fully cured), carefully remove the painter's tape. Pull it off at a 45-degree angle to avoid peeling any new paint. Allow the paint to cure for the recommended time (often several days) before moving furniture back against the walls. This is when you can finally step back and truly enjoy the space you've created — a space you saw and approved of with confidence long before you even began.
The ability to preview your painted house with AI doesn’t just save you from color regret; it gives you the confidence to start the project at all. You can apply the same logic to furniture and decor with our virtual staging tool or learn exactly how to virtually repaint your room as a smart first step.
A general rule is one gallon per 400 square feet of wall space. To calculate, add the lengths of all walls, multiply by the room height, and then subtract the area of windows and doors. It's always wise to buy a little extra for touch-ups.
It's highly recommended if you're painting over a dark color, a glossy finish, or bare drywall. Primer ensures better adhesion and a more uniform final color. If you are painting over a similar, flat-finish color, a paint-and-primer-in-one product may suffice.
Check the paint can for specific instructions, but a typical wait time is 2 to 4 hours for latex paint. Rushing the second coat can cause the first coat to peel off with the roller.
For latex (water-based) paint, use soap and warm water. For oil-based paint, you'll need mineral spirits or turpentine. A painter's comb can help remove excess paint from brush bristles. Clean your tools thoroughly if you want them to last for the next project.
Yulii Cherevko
CEO paintit.ai