8 min. reading
How to Save, Compare and Organize Designs in Paintit Projects
Yulii Cherevko
CEO paintit.ai
Page Contents:
- 1. Why Projects Matter
- 2. When to Save a Version
- 3. How to Structure Projects for Clarity
- 4. How to Compare Designs Better
- 5. A Practical Versioning System
- 6. Multi-Room and Client Workflows
- 7. Advanced Organization Tips
- 8. Frequently Asked Questions
- 9. Related articles
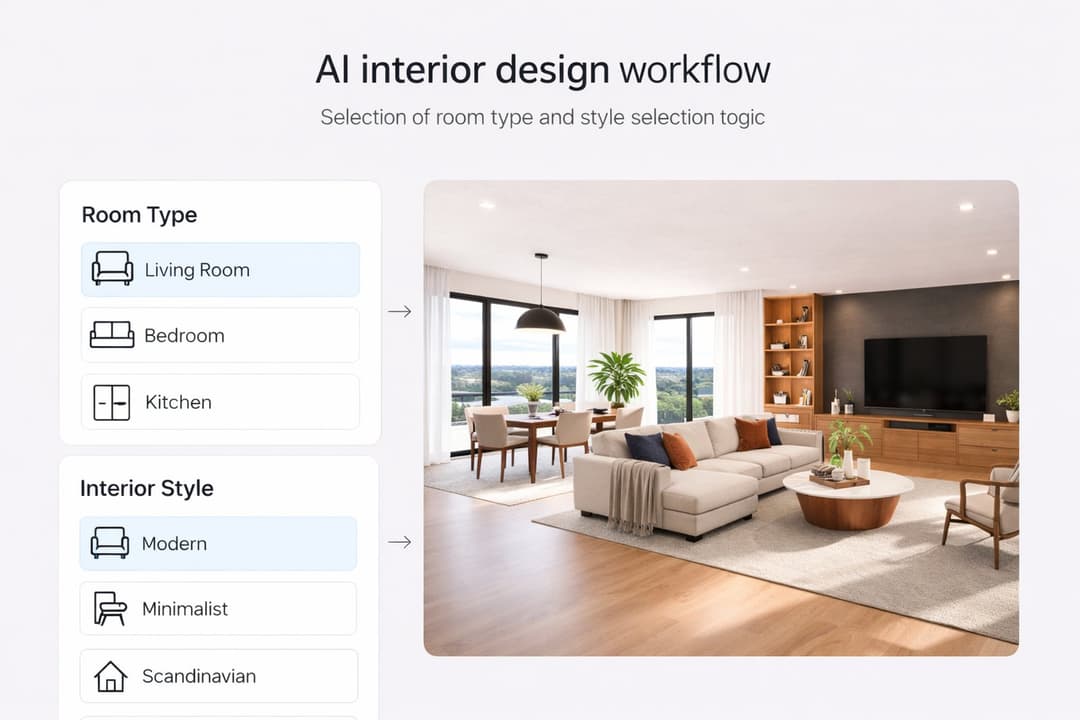
Paintit Projects become much more powerful when you use them as a working system, not just a place to store images. This guide shows how to save stronger versions, compare concepts faster, organize rooms more clearly, and keep your design workflow easier to manage.
Why Projects Matter
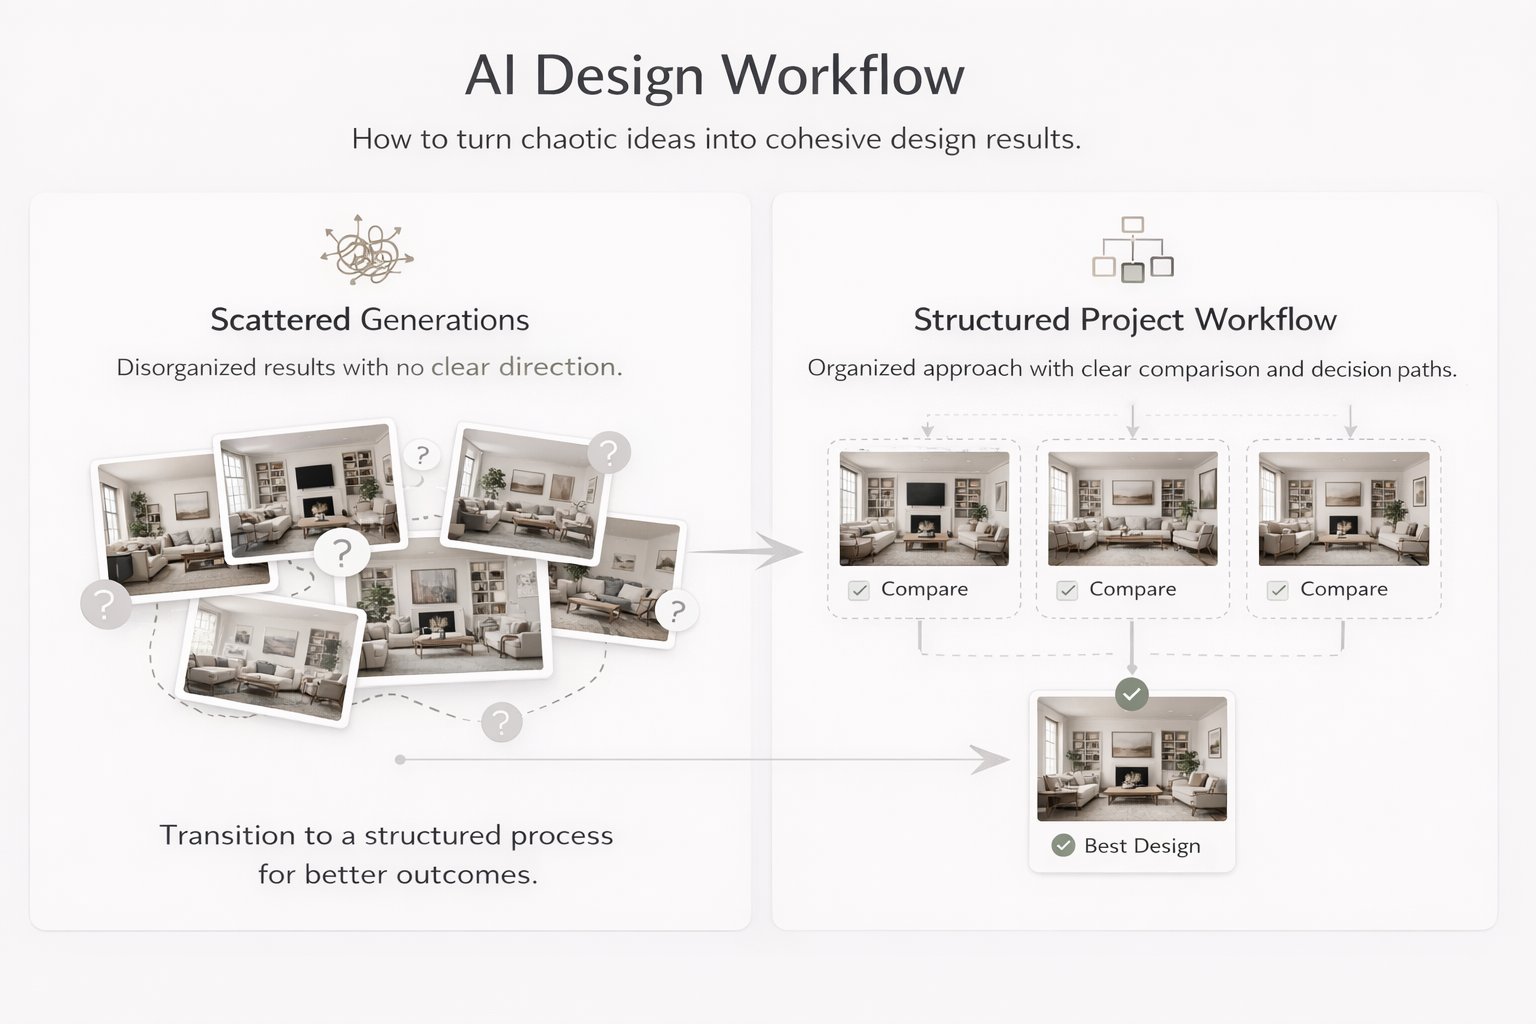
The real value of Projects is not storage. It is decision quality.
Most users lose time because they keep generating new images without a clean way to organize them. After a few iterations, the strongest direction becomes harder to identify. Projects solve this by turning scattered generations into a structured design workflow.
What Projects improve the most
Version clarity — you stop losing strong directions inside random generations.
Comparison speed — it becomes easier to review safe, bold, warm, minimal, or premium options side by side.
Project memory — you keep a record of what worked, what did not, and what should be refined later.
Multi-room control — you can keep separate logic for living room, bedroom, kitchen, exterior, or client zones.
This matters even more when you work on several rooms, several design directions, or client-facing concepts.
When to Save a Version
Do not save everything. Save decision points.
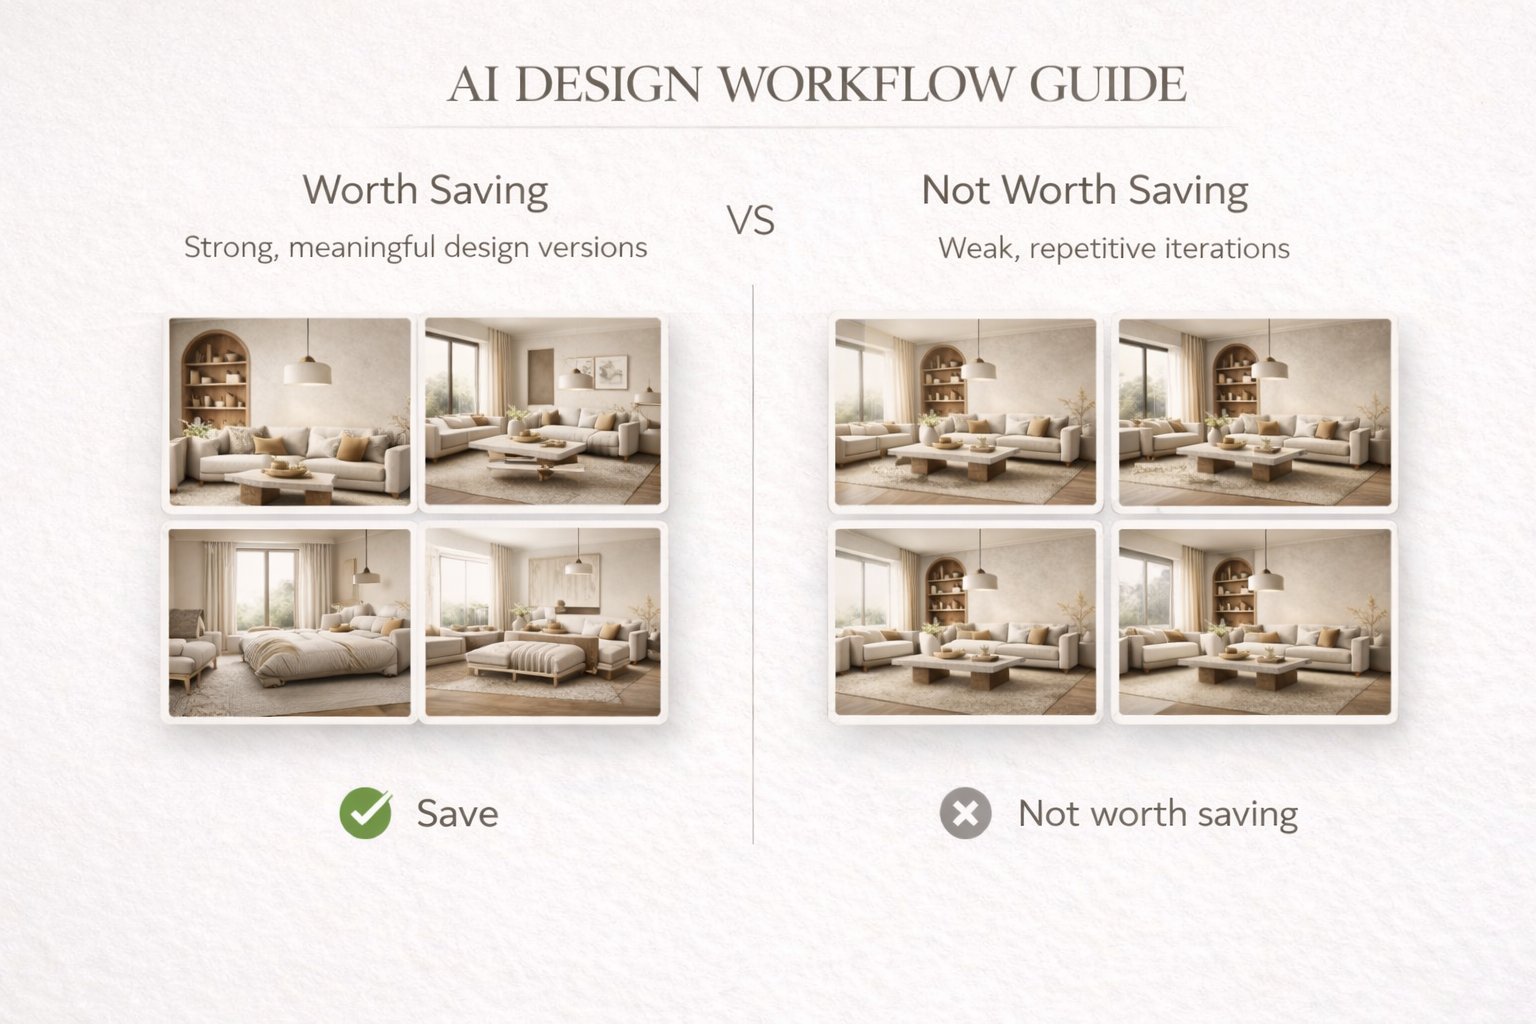
One of the easiest ways to create clutter is to save too many weak or nearly identical images. A better approach is to save only meaningful versions — the ones that represent a useful direction, a strong improvement, or a clear alternative.
Save a version when
The concept direction changes — for example, Scandinavian versus Organic Modern.
The room function becomes clearer — for example, a guest room versus a home office.
The palette or mood changes meaningfully — warmer, softer, darker, more premium, more minimal.
The result becomes more realistic — better scale, cleaner composition, stronger logic.
The image is presentation-worthy — good enough to show, compare, or return to later.
A useful rule is this: if you would explain why this version is different, it is probably worth saving. If you cannot explain the difference clearly, it probably is not.
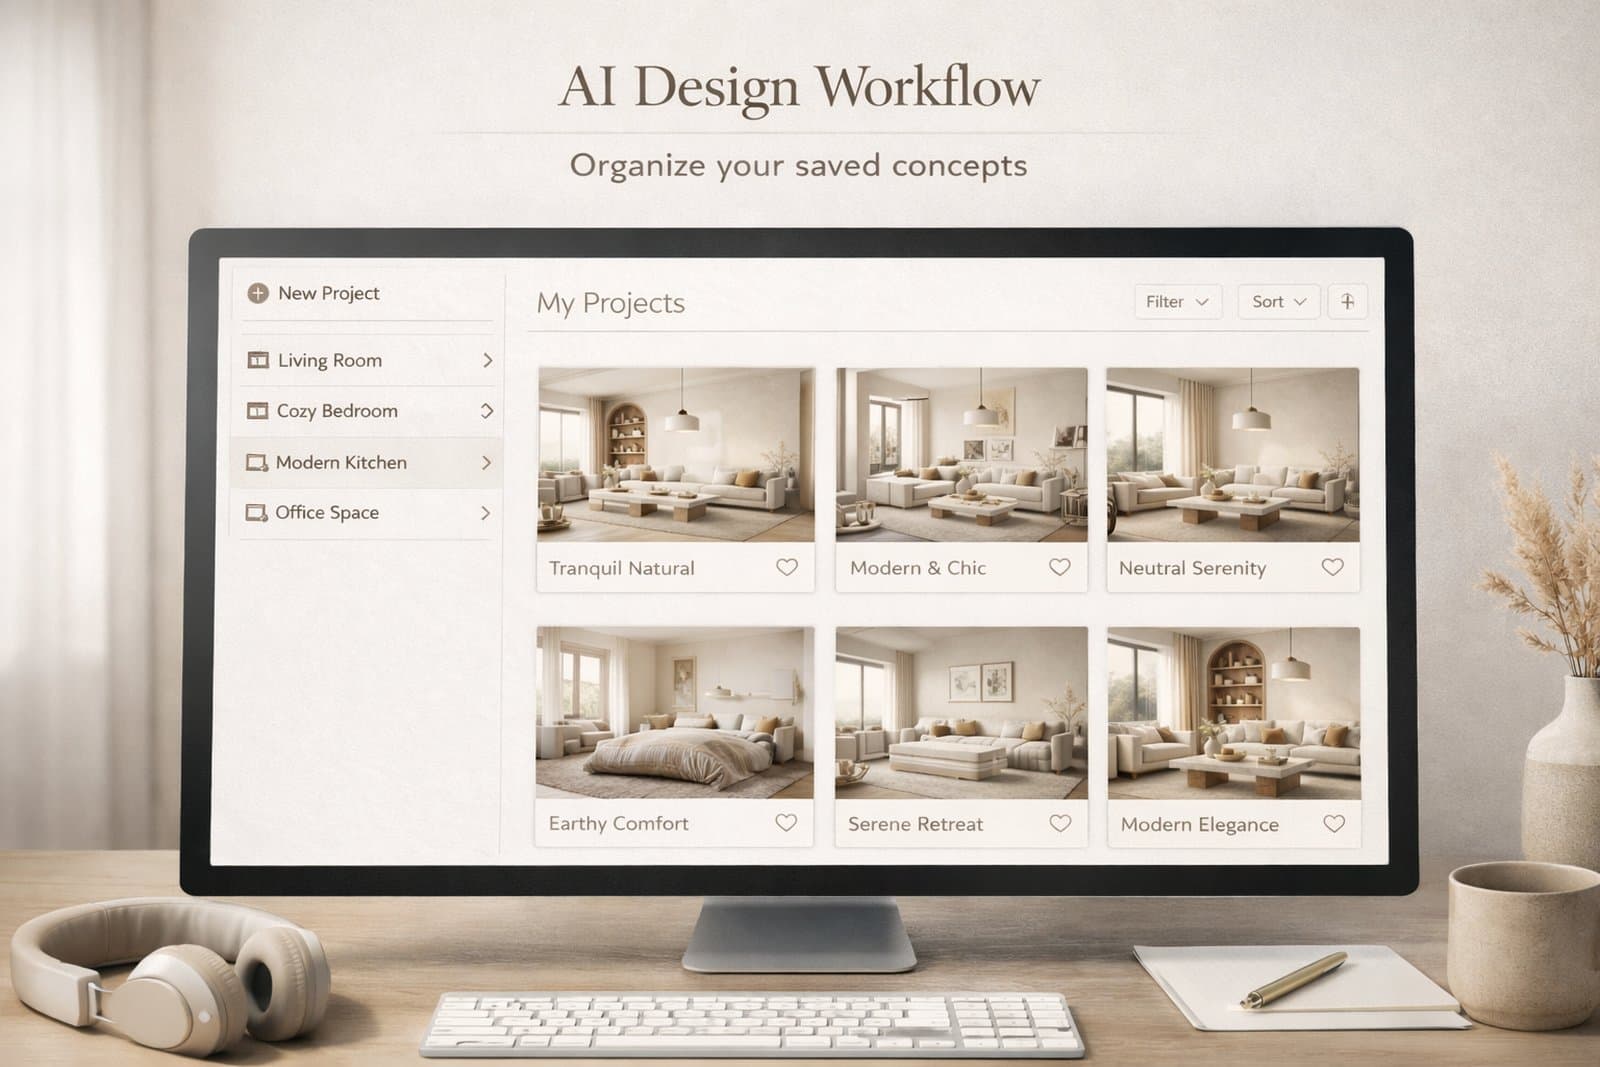
How to Structure Projects for Clarity
A clean structure reduces decision fatigue and makes refinement much faster.
The biggest mistake in project organization is mixing too many unrelated versions into one flat folder-like space. A stronger system gives every saved image a role.
A simple structure that works well
Project level — one property, one client, one apartment, one house, or one design goal.
Room level — separate the living room, bedroom, bathroom, kitchen, office, exterior, and other spaces.
Direction level — safe, warm, premium, minimal, bold, rental-friendly, client option A, client option B.
Status level — draft, shortlist, finalist, ready to present.
Even if Paintit does not force this structure formally, you should think this way while saving and comparing work. It prevents the project from becoming visually noisy.
How to Compare Designs Better
Comparison is more useful when every version answers a different question.
Most users compare too many weakly separated versions. A better method is to make each saved option represent a clear design hypothesis.
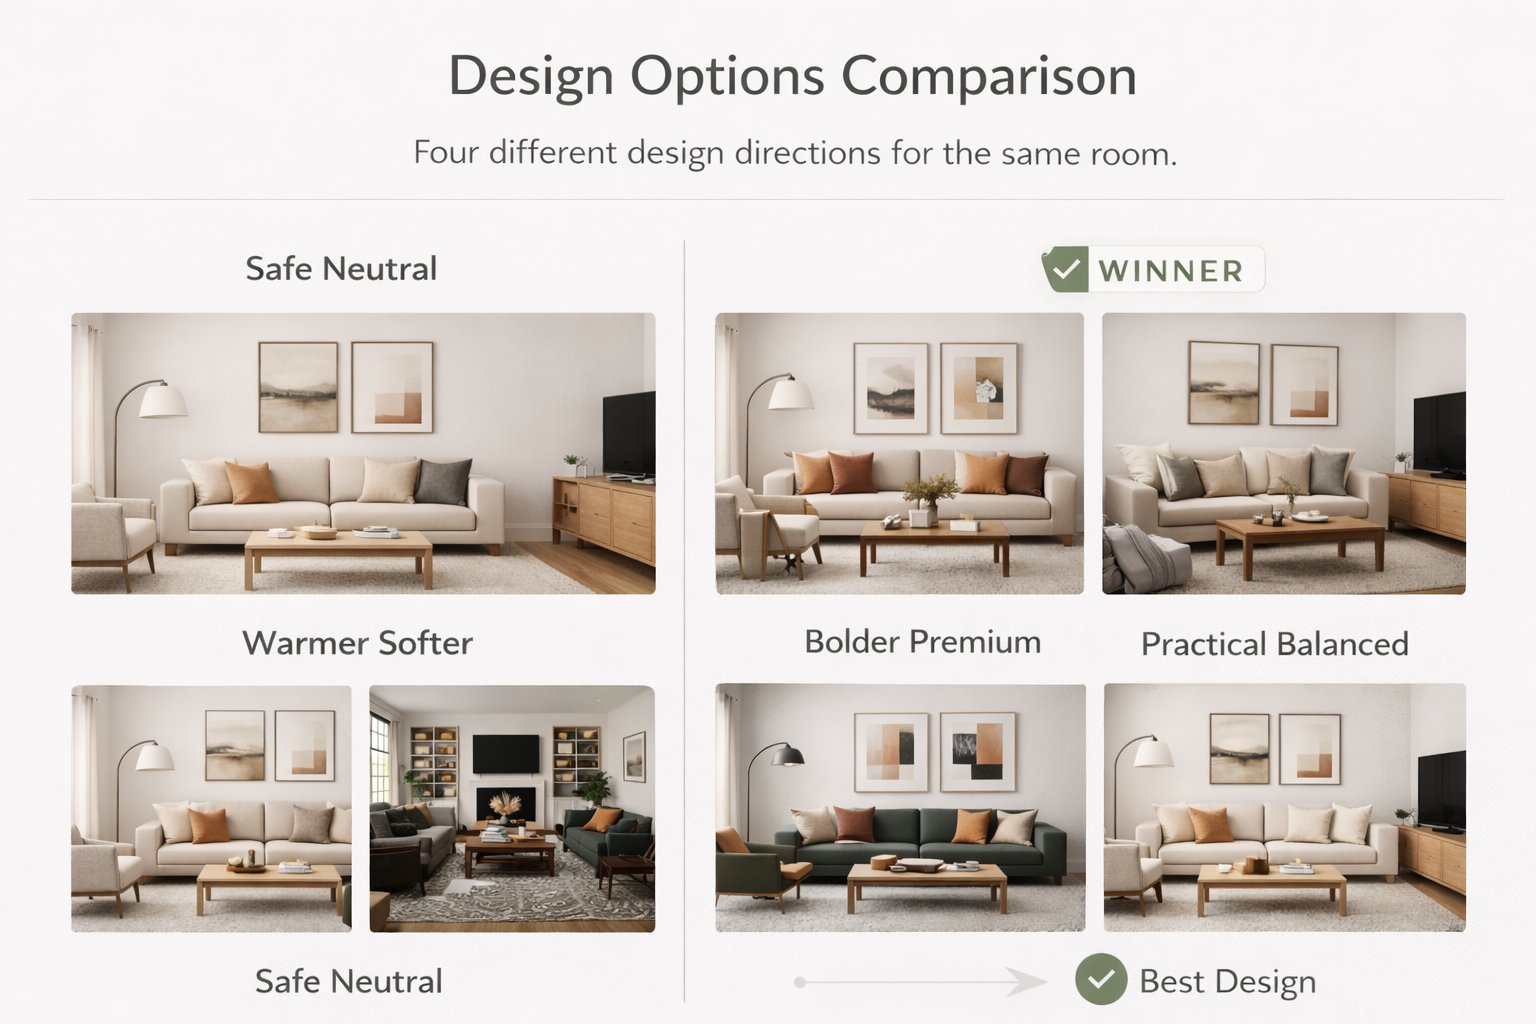
A strong comparison set usually includes
One safe option — commercially clean, broadly appealing, easy to approve.
One warm or softer option — more emotional, cozy, or relaxed.
One bolder option — more premium, more editorial, or more distinctive.
One practical winner — the version that balances realism, taste, and usability best.
This is much better than saving four versions that all look almost the same. Strong comparison depends on contrast with purpose.
A Practical Versioning System
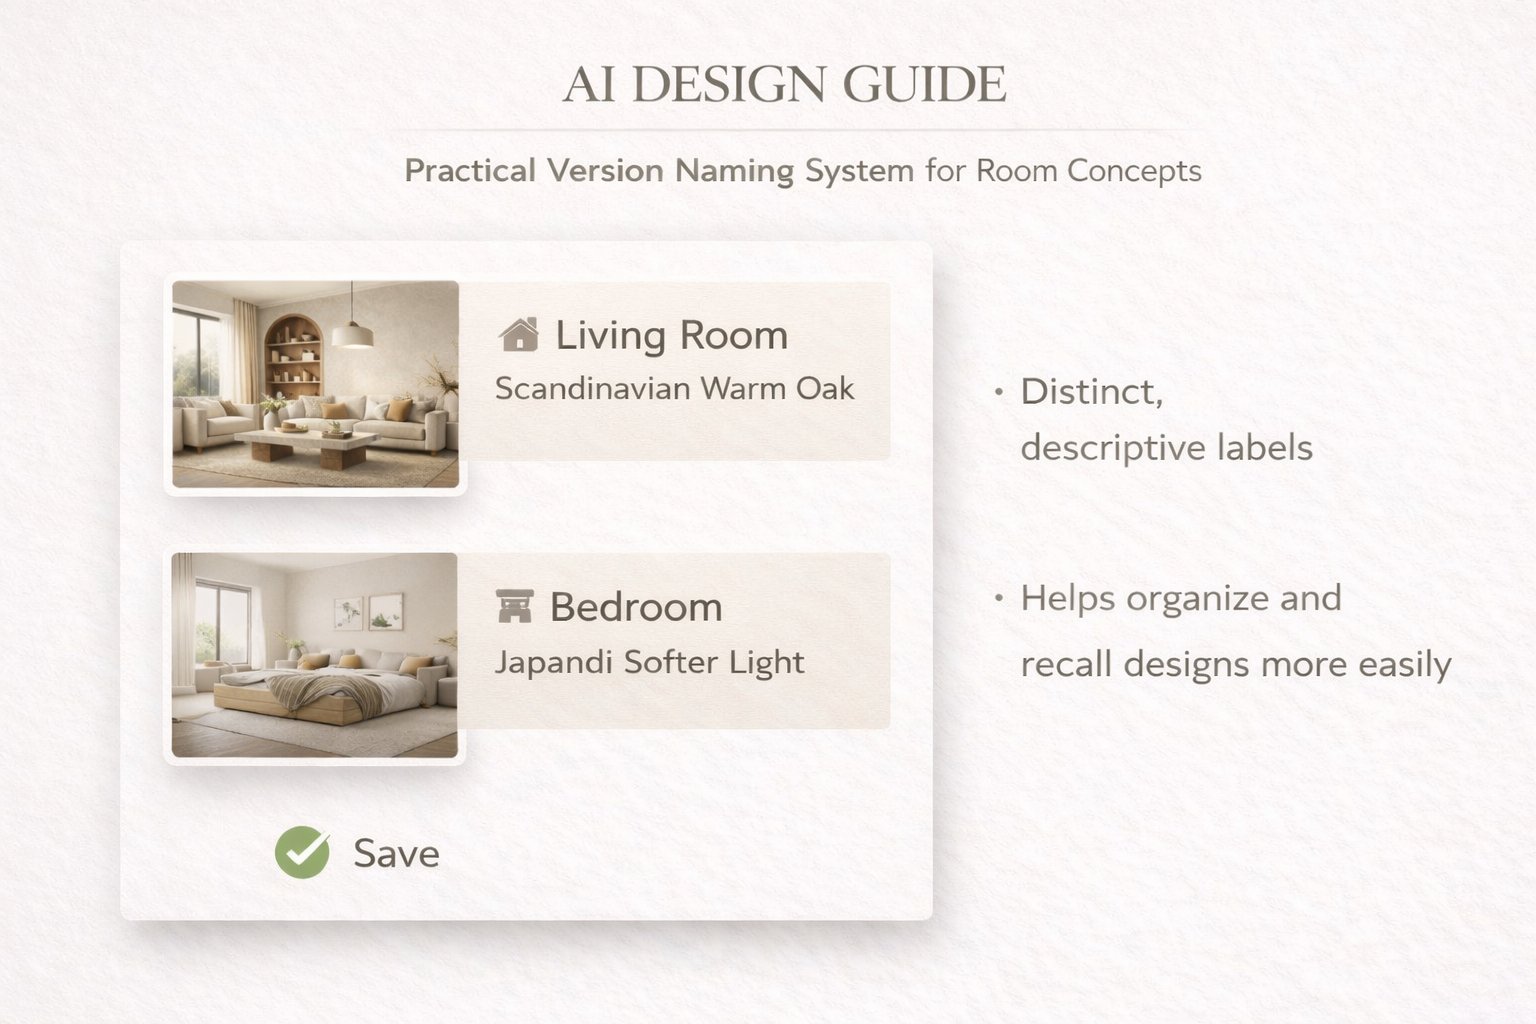
The easiest way to stay organized is to name versions by what changed.
Good versioning is not about numbering images randomly. It is about making it obvious why one version exists. This helps both personal workflows and team or client review.
A simple naming pattern
[Room] + [Direction] + [Key change]
Examples:
Living Room — Scandinavian — Warm Oak
Bedroom — Japandi — Softer Light
Bathroom — Spa — Beige Stone
Exterior — Organic Modern — Dark Frames
This is especially helpful when you return to a project after a few days. A clear name brings back the logic faster than a random sequence of visually similar images.
Technical workflow tip
Name the version according to the strongest visible change, not according to the prompt length. The name should help you compare outcomes, not remember the wording of the prompt.
Multi-Room and Client Workflows
Projects become much more valuable when you treat each room as part of a larger decision system.
For multi-room work, the goal is not only to make each room look good. It is to maintain coherence across the whole project. For client workflows, the goal is to present differences clearly and avoid visual chaos.
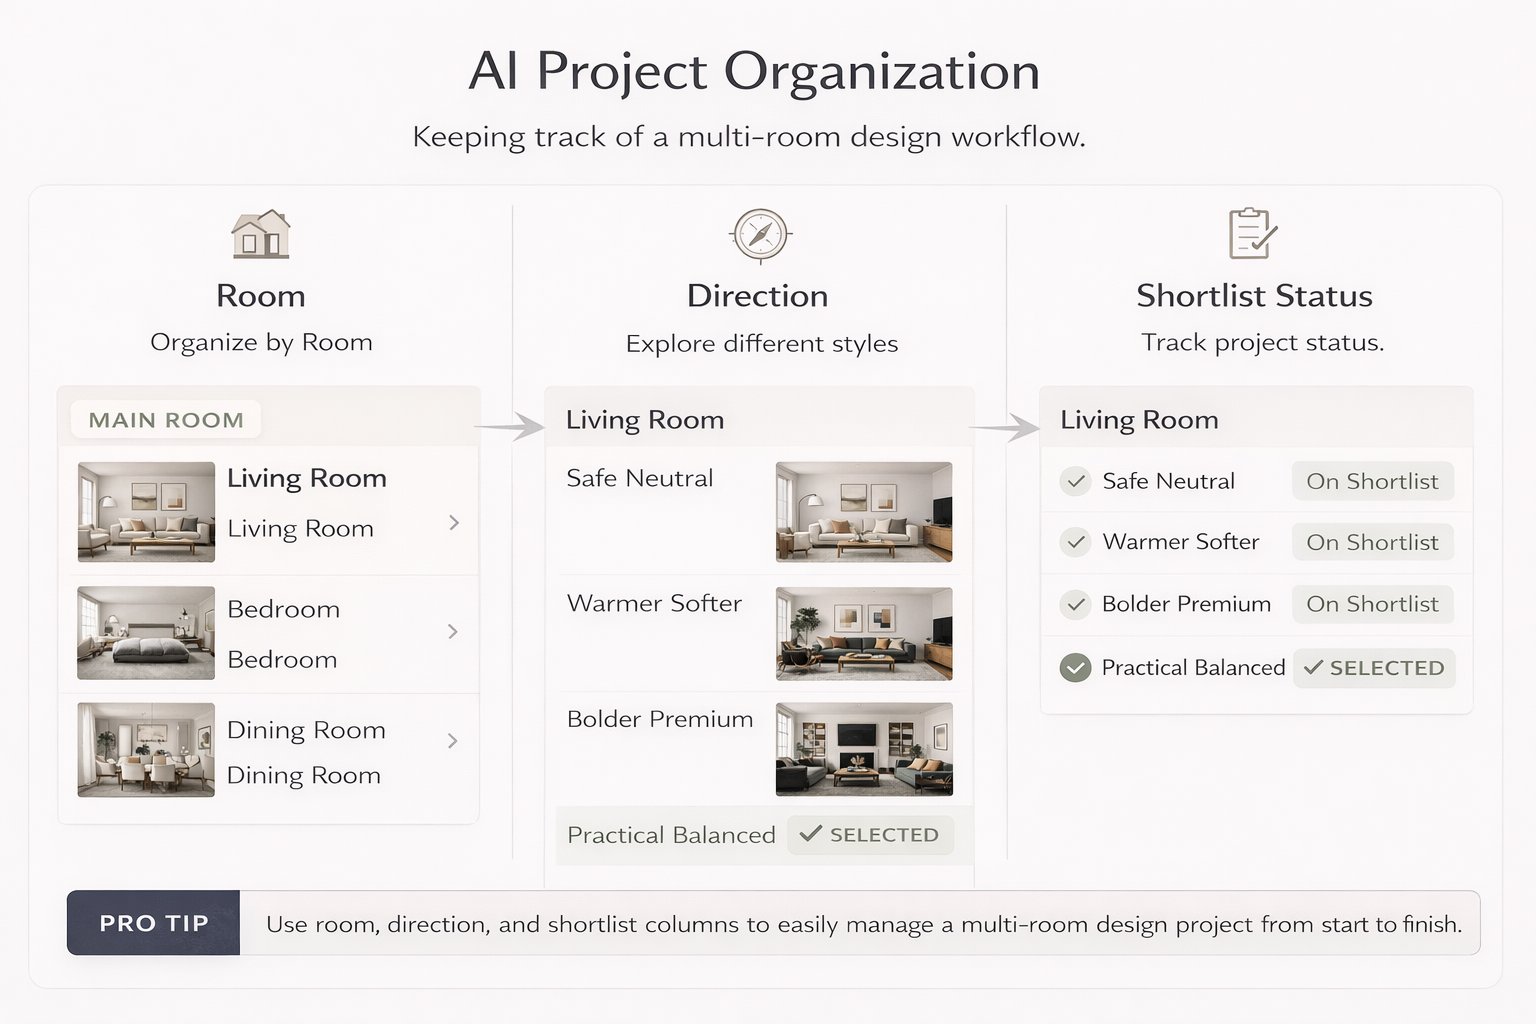
How to organize multi-room work
Room-first — organize by living room, bedroom, kitchen, bathroom, office, exterior.
Direction-second — inside each room, separate minimal, warm, premium, bold, or client A / client B routes.
Presentation-third — keep a smaller shortlist of the strongest directions only.
For client review, fewer stronger options almost always work better than a large uncontrolled set. The best project workflows reduce noise before presentation.
Advanced Organization Tips
These techniques help when you want a more professional, less chaotic workflow.
Tip 1 — Separate exploration from selection
Keep draft experimentation mentally separate from shortlist-quality versions. Do not review both in the same way.
Tip 2 — Save contrast, not noise
Save versions that answer different questions. Avoid filling the project with tiny low-value variations.
Tip 3 — Keep one “decision path” per room
For each room, try to maintain one logical evolution from broad concept to refined winner.
Tip 4 — Revisit your shortlist after distance
After a break, the strongest versions usually become more obvious. Good organization makes this easier.
Tip 5 — Use projects as memory, not only as storage
A good project tells the story of how the idea evolved and why the final direction was chosen.
This is one of the biggest differences between casual generation and professional workflow. Professionals do not only generate. They organize decisions.
Frequently Asked Questions
Should I save every generation?
No. Save decision points, strong alternatives, and versions that are meaningfully different or presentation-worthy.
What is the best way to compare options?
Compare a small set of clearly different directions, such as safe, warm, bold, and practical winner.
How should I organize multi-room work?
Start by room, then by direction, then by shortlist or status. This keeps the project easier to navigate and present.
What makes a version worth saving?
If the version changes the concept, palette, function, mood, realism, or presentation quality in a meaningful way, it is usually worth saving.
Is this useful only for professionals?
No. Even for homeowners, good project organization makes decisions much easier and reduces confusion after multiple iterations.
What is the biggest project organization mistake?
Saving too many weak or similar versions without a clear logic for comparison or refinement.
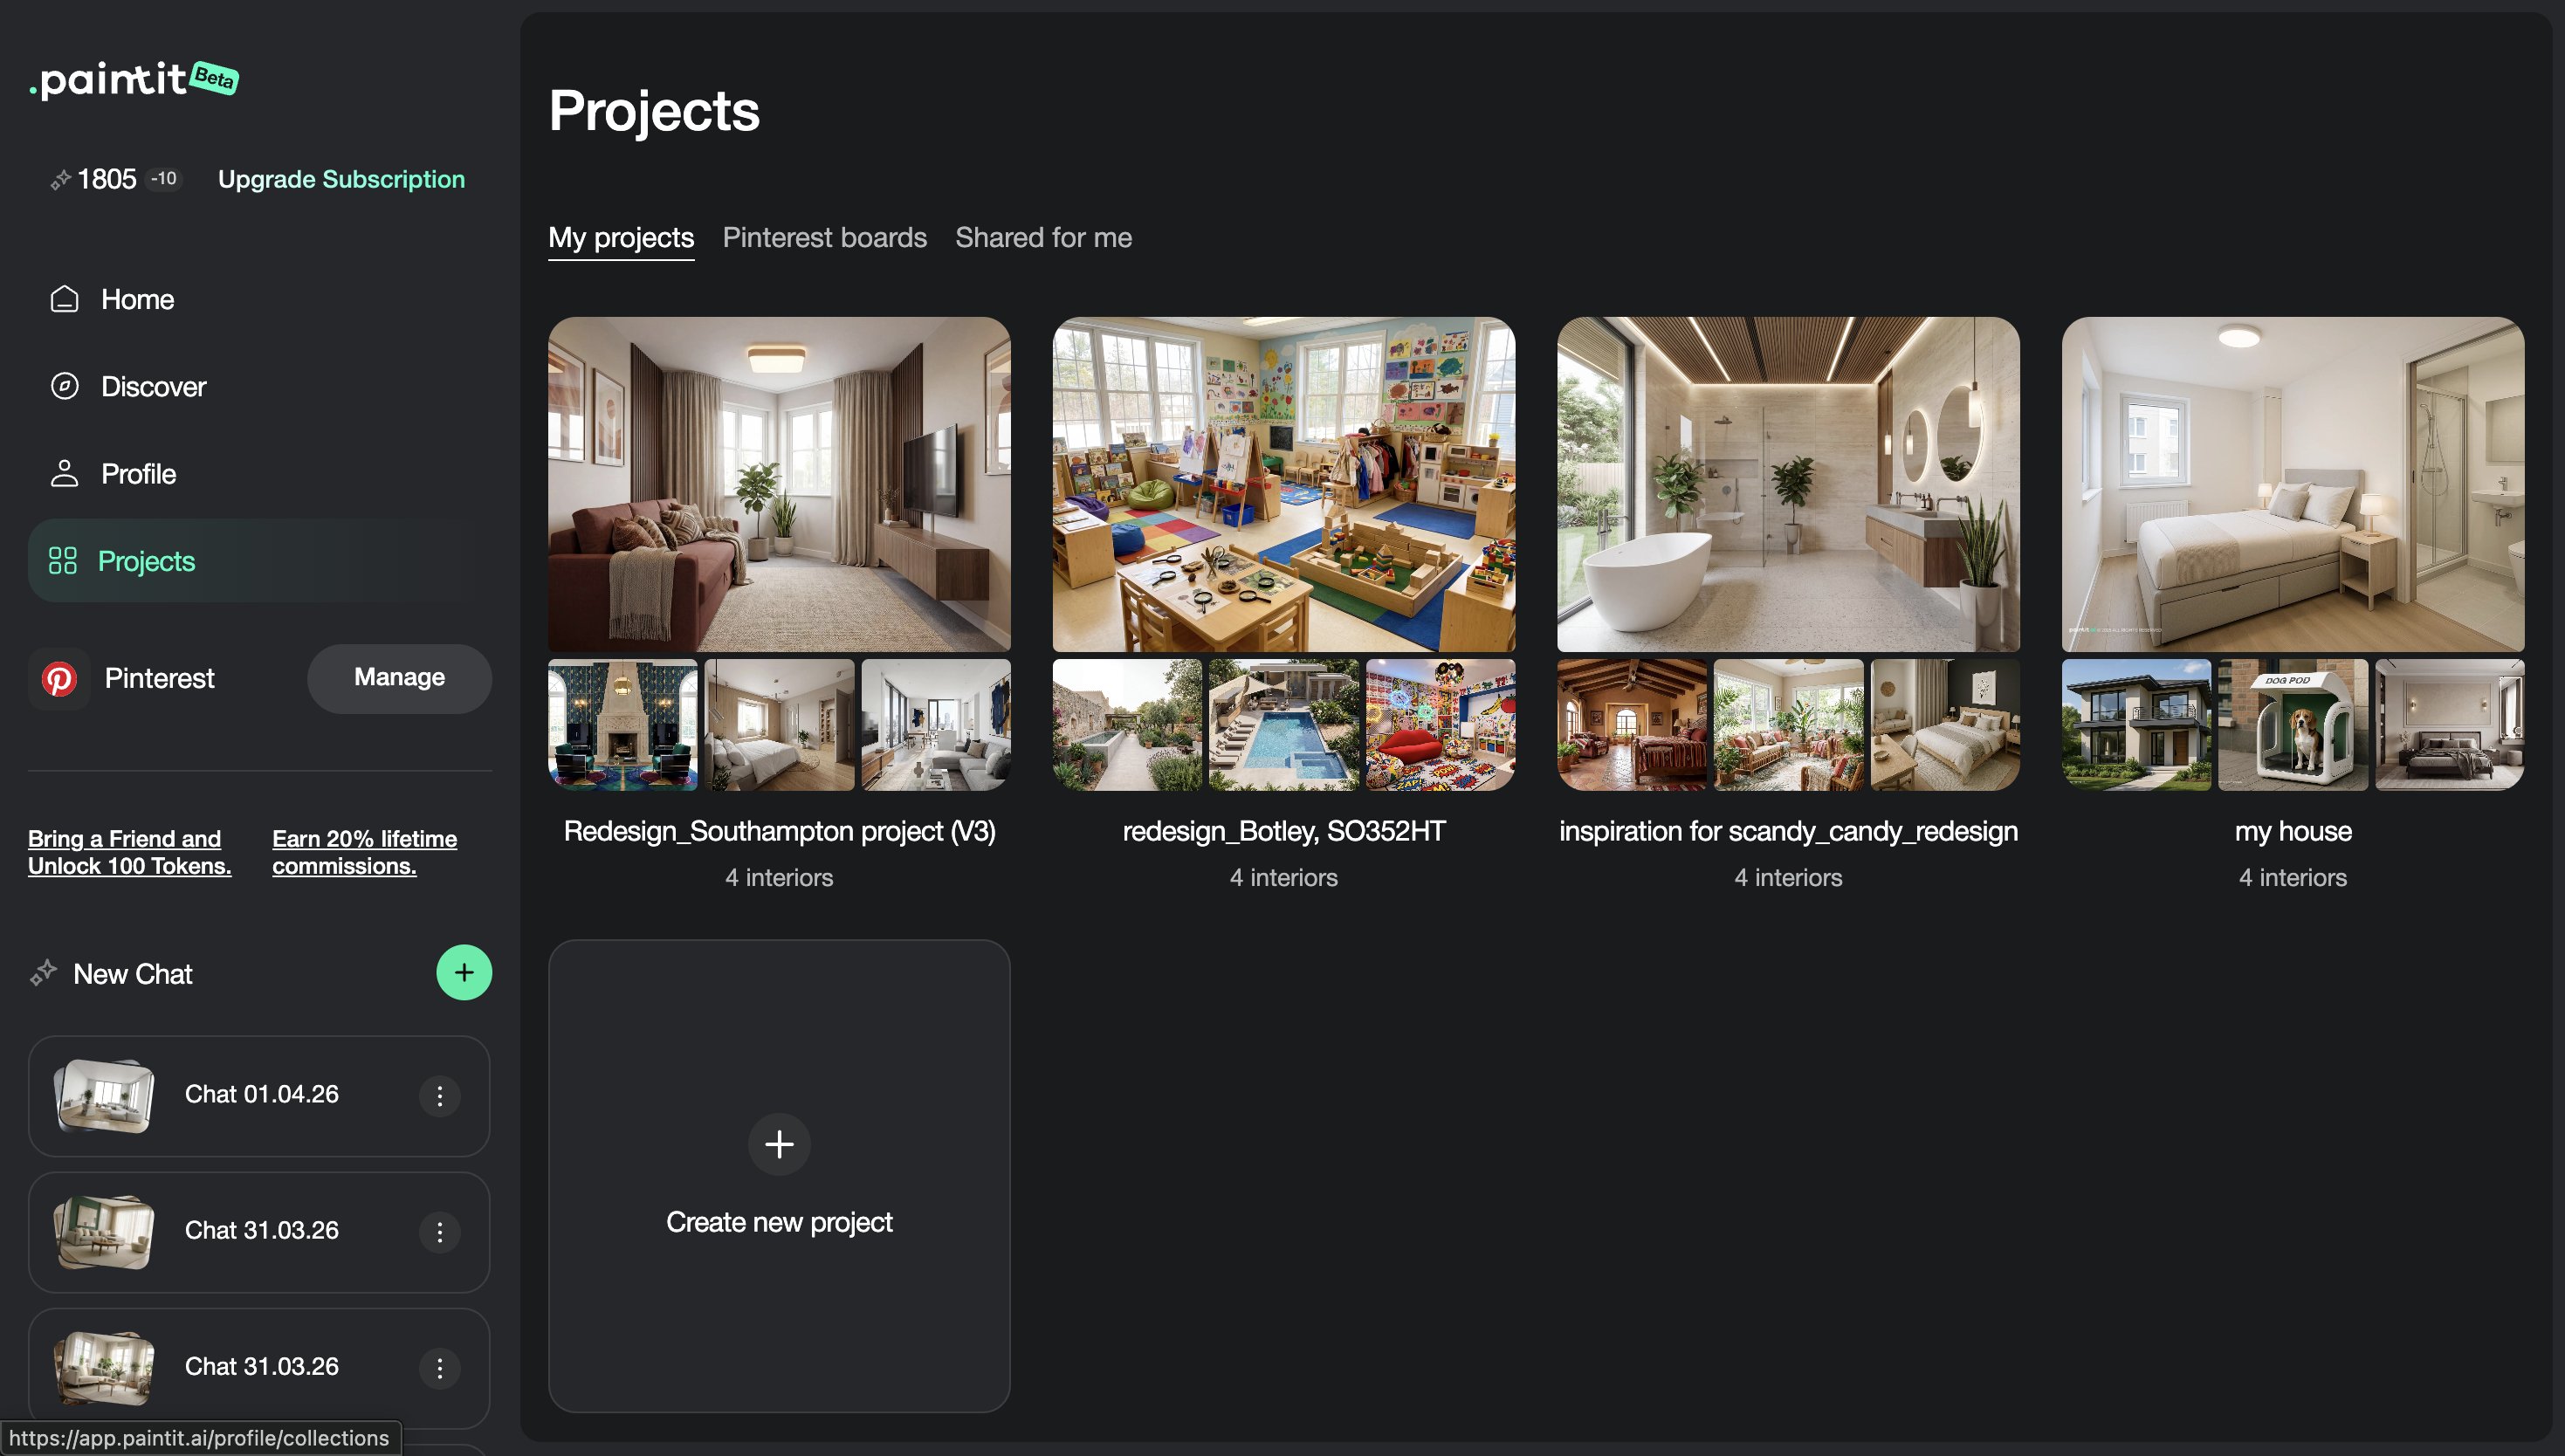
Create a Project
Save cleaner directions, compare stronger options, and turn scattered generations into a more professional design workflow.
Related articles
Trending
How to Save, Compare and Organize Designs in Paintit Projects
How to Use Pinterest Inspiration in Paintit.ai
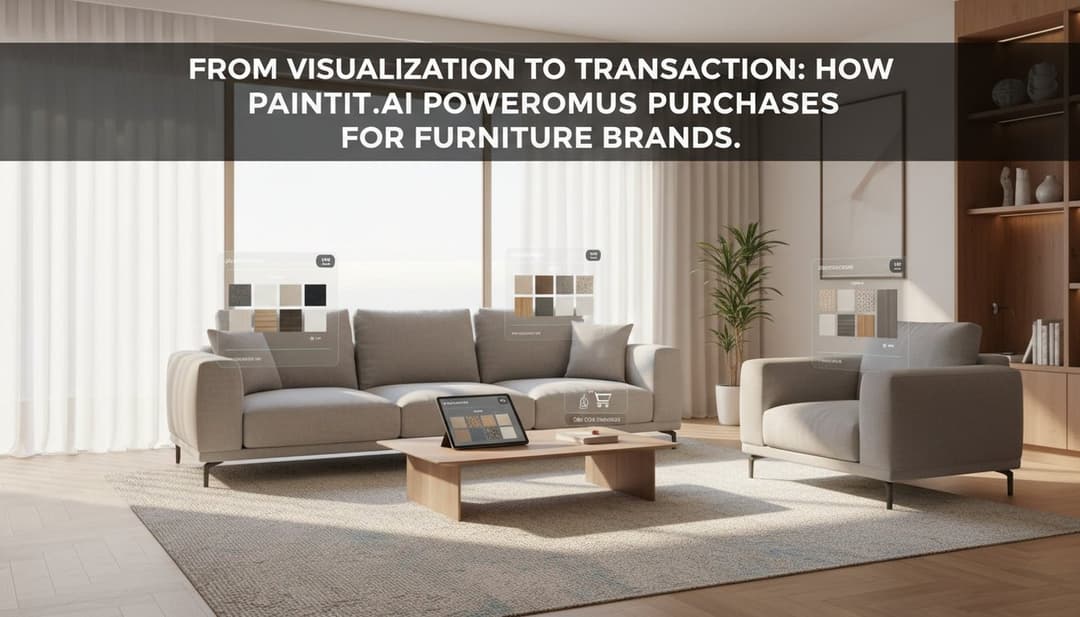
From Visualization to Transaction: How Paintit.ai Powers Autonomous Purchases for Furniture Brands
Stager AI Alternatives & Competitors in 2026: Full Review
How to Use Space Type and Design Style in Paintit.ai
Related articles
9 min read
How to Redesign a Living Room with Paintit.ai
Learn how to redesign a living room with Paintit.ai using better layout logic, stronger focal points, realistic furniture scale, cleaner prompts, and more professional comparison workflows
Yulii Cherevko
CEO paintit.ai

8 min read
How to Save, Compare and Organize Designs in Paintit Projects
Learn how to save, compare, and organize designs in Paintit Projects to manage versions better, structure multi-room work, review alternatives faster, and make clearer design decisions
Yulii Cherevko
CEO paintit.ai
9 min read
How to Use Pinterest Inspiration in Paintit.ai
Learn how to use Pinterest inspiration in Paintit.ai with better reference selection, stronger prompt control, cleaner style transfer, and more realistic interior and exterior design results
Yulii Cherevko
CEO paintit.ai
5 min read
From Visualization to Transaction: How Paintit.ai Powers Autonomous Purchases for Furniture Brands
Bridge the gap between browsing and buying. Learn how Paintit.ai uses Visual-to-transaction AI and photorealistic rendering to power autonomous furniture sales
Yulii Cherevko
CEO paintit.ai