17 min. reading

Yulii Cherevko
CEO paintit.ai
Published: Updated:

Useful AI prompts for interior design describe a change you can see: a sage wall instead of a white one, linen curtains instead of heavy drapes, or a smaller sofa that leaves a doorway clear. When you start from a photo, the prompt also needs to say what belongs to the room and must stay.
The 30 AI interior design prompts below cover living rooms, bedrooms, kitchens, bathrooms, virtual staging, and small rented spaces. Copy the closest example, replace details that do not match your home, and inspect the result against your original photo. These are starting instructions, not tested guarantees of a particular output.
Start with the task, not a string of adjectives. “Repaint the walls” and “redesign the furniture” are different requests. If you ask for both, say which existing elements can change. Otherwise, a new floor or missing radiator may pass unnoticed because the result looks attractive.
For a photo-based edit, use this interior design prompt template:
Use my uploaded [room] photo as the starting image. Change [specific elements] to [materials, colors, or shapes]. Keep [windows, doors, fixed finishes, furniture, and other retained features]. Show [lighting conditions] from the same viewpoint. Do not add [the particular change you want to avoid].
| Ingredient | Too Open | More Useful Instruction |
|---|---|---|
| Task | Make it better | Replace the sofa and curtains; leave the floor and walls unchanged |
| Style | Modern and luxurious | Simple walnut furniture, plain cream upholstery, and restrained brass details |
| Materials | Natural finishes | Matte oak, woven linen, and a wool rug |
| Light | Beautiful lighting | Keep the current window daylight; add a shaded reading lamp beside the chair |
| Retained features | Keep the room | Keep the bay window, chimney breast, radiator, and doorway in their original positions |
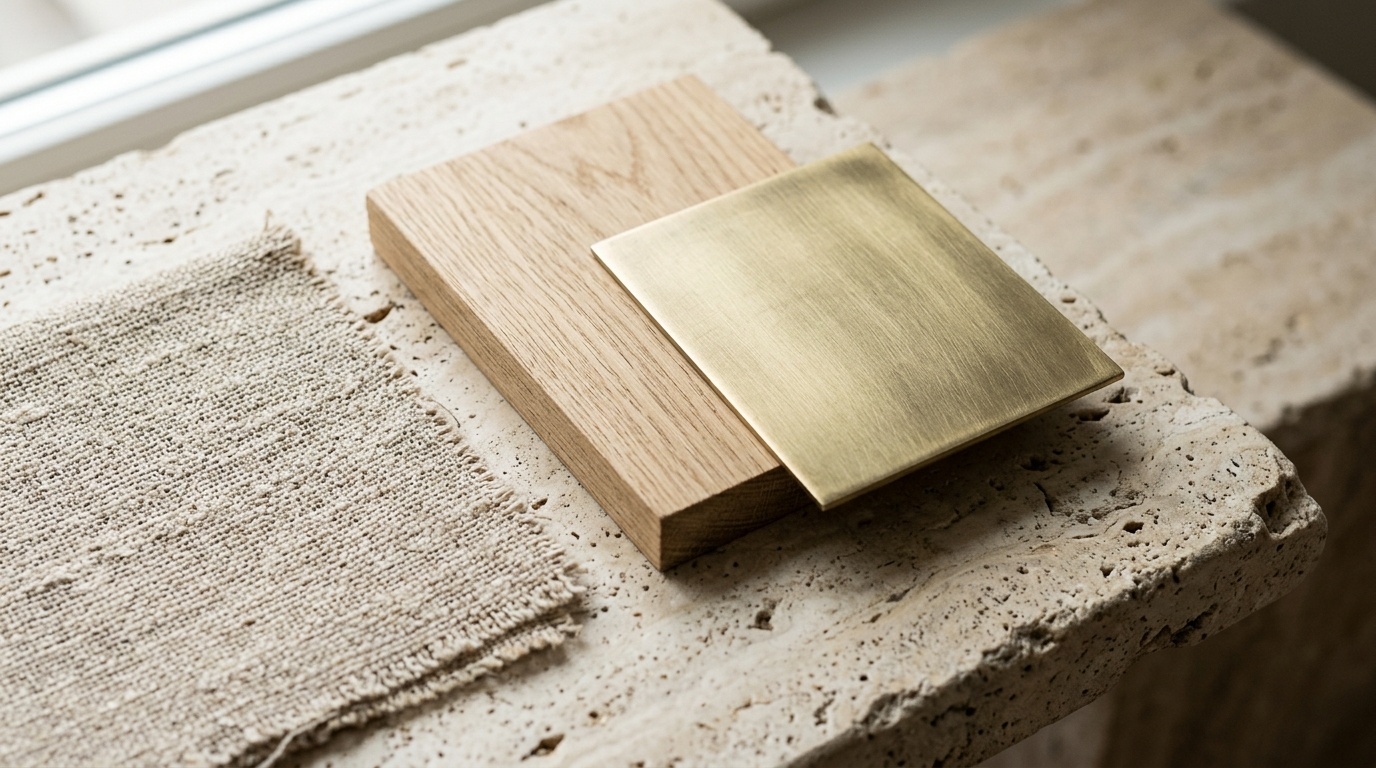
Materials give the image a visible target. Adobe's guidance on descriptive image prompts also recommends concrete detail rather than vague instructions. That is a useful writing principle, not evidence that every image tool follows the same syntax.
Instead of “make my living room cozy,” try:
Use my living room photo. Keep the gray sofa, oak floor, window, radiator, and TV position. Replace the patterned curtains with plain warm-white linen, add a rust-colored throw and a cream wool rug, and place a shaded floor lamp beside the sofa. Keep the current daylight and camera viewpoint. Do not add a fireplace or change the walls.
The second version defines a modest styling task. It does not claim that the room has gained floor area or that a particular rug will fit. For an image-based workspace, room redesign from an existing photo keeps the starting space relevant to the brief.
These living room design prompts explore furniture and styling first. If you want to replace a floor or add architectural features, make that a separate, explicit concept rather than an accidental part of a makeover.
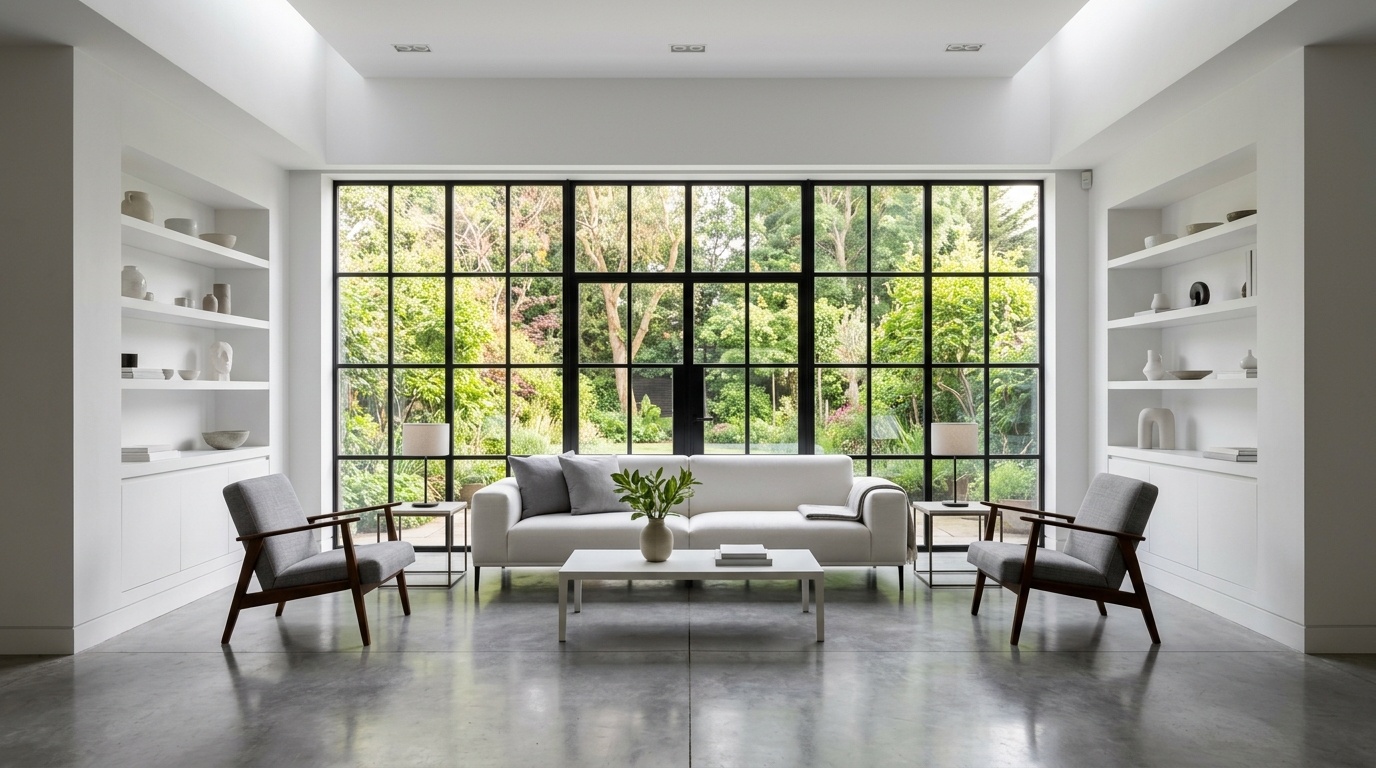
Restyle my living room photo in a restrained Japandi direction. Keep the existing floor, windows, doors, and ceiling. Use a simple oak coffee table, cream linen upholstery, a textured neutral rug, and a few ceramic objects. Keep the seating area in its current position and preserve the visible route through the room.
Check: Compare the window frames and floorboards with the original before judging the furniture.
Give my living room a quiet-luxury finish using a tailored cream sofa, a dark wood side table, plain curtains, and a shaded table lamp. Retain the walls, window sizes, flooring, and camera viewpoint. Keep furniture within the existing seating area; do not widen the room or add wall paneling.
Check: The concept should feel more considered because of its finishes, not a higher ceiling.
Update this living room with pale wood side furniture, a soft gray sofa, a wool throw, and warm shaded lamps. Keep the current windows, floor, radiators, and doorway clear. Use the daylight already visible in the photo. Avoid a stark all-white treatment or new built-in storage.
Check: Lamps and textiles should add warmth without replacing the room's actual daylight.
Explore mid-century furniture in my living room: a walnut media unit, a sofa with visible tapered legs, an olive accent chair, and a small brass reading lamp. Keep the TV wall, windows, doors, floor, and room proportions. Leave space around the chair rather than filling every corner.
Check: Measure any shortlisted chair and media unit; their illustrated scale is only a suggestion.
Add industrial accents to my existing living room using black metal side furniture, a cognac-colored sofa, a woven rug, and a simple task lamp. Keep the present wall surfaces, windows, ceiling, and floor. Do not invent exposed brick, steel beams, factory windows, or a double-height ceiling.
Check: The industrial character should come from furnishings, not fabricated architecture.
A bedroom makeover prompt is more useful when it states whether the bed stays. Retaining the bed position makes it easier to compare bedding, headboards, curtains, and bedside lighting without also reviewing a new layout.
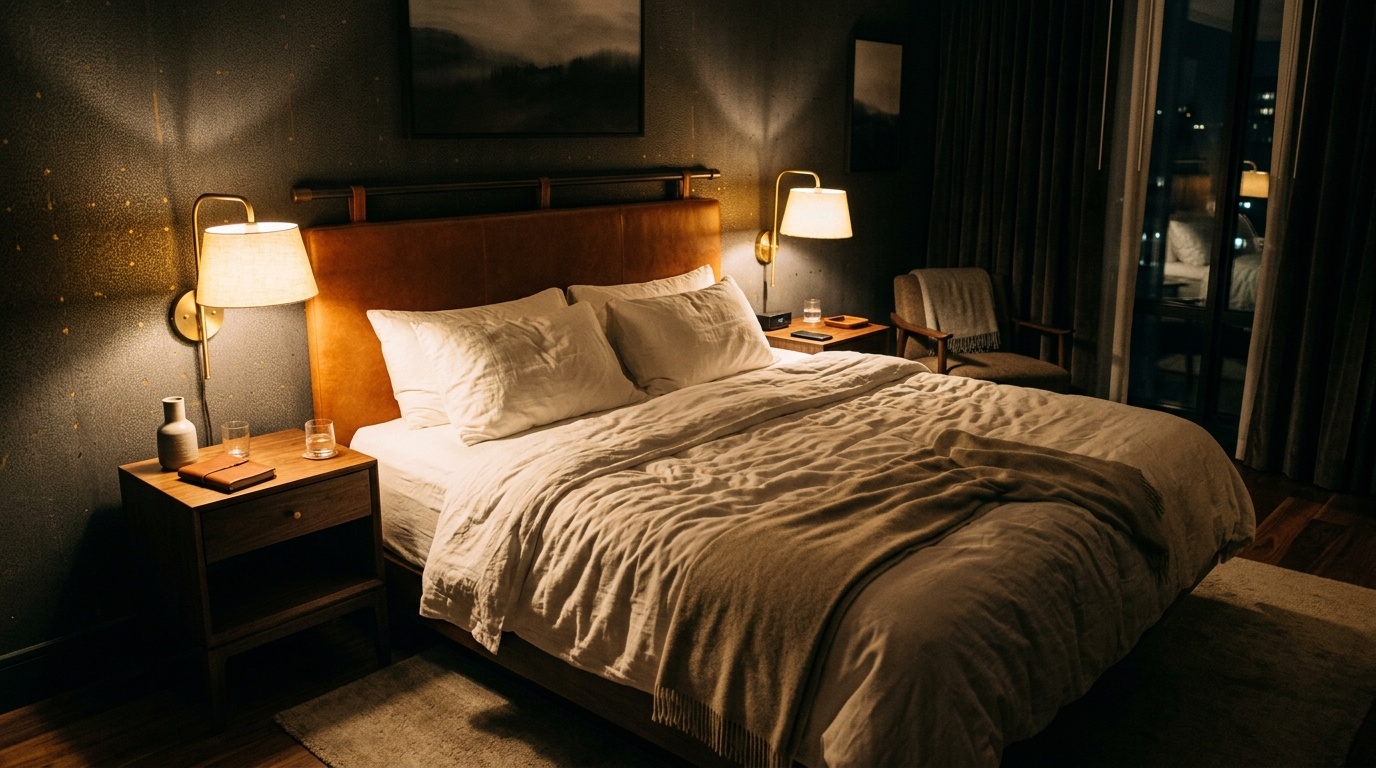
Simplify my bedroom using plain ivory bedding, two compact bedside tables, and discreet warm lamps. Keep the bed size and position, floor, wardrobe doors, windows, and ceiling. Remove excess decorative objects but retain practical storage. Keep the room lived-in, with no new platform or raised floor.
Check: Wardrobe doors and access beside the bed should remain visible.
Give my bedroom a boutique-hotel look with a padded charcoal headboard, layered white and taupe bedding, dark wood bedside tables, and shaded lamps. Keep the existing bed footprint, windows, curtains' mounting position, and floor. Use gentle evening light without adding concealed architectural lighting or changing the ceiling.
Check: A taller headboard must not cover a window or switch you need.
Introduce a biophilic direction with linen bedding, a natural wood bedside table, an earthy green accent, and one modest plant near the existing window. Keep the floor, bed position, doors, and room size. Retain the photographed daylight; do not replace a wall with glazing or add a garden view.
Check: Choose any real plant for the available light and household needs, not its rendered appearance.
Restyle my bedroom with a softly upholstered headboard, pleated lamp shades, plain warm-white curtains, and small antique-brass accents. Keep the existing bed, floor, doors, windows, and wall structure. Avoid ornate moldings or oversized furniture. Show a balanced, comfortable room rather than a formal hotel suite.
Check: Look at bedside table width and access before choosing decorative details.
Style my bedroom with oatmeal linen bedding, a rust throw, a dark wood stool, and a simple reading lamp. Keep the bed position, window, built-in storage, wall color, and floor unchanged. Use the existing daylight and realistic fabric texture. Avoid dramatic spotlights, glossy bedding, or additional furniture.
Check: Separate the appeal of the styling from the room's real light at bedtime.
Kitchen design prompts should distinguish a finish study from a remodel. The examples here keep cabinet runs and appliances in place. They do not demonstrate that a new island, countertop material, or electrical fitting can be installed.
Explore a modern finish for my kitchen with simple matte warm-gray cabinet fronts and restrained brushed-metal handles. Keep every cabinet run, appliance, sink, window, countertop, and floor in its current position. Do not add an island, remove upper cabinets, or alter the room's perspective.
Check: Count cabinet doors and drawers; generated panels can merge or disappear.
Show a warm Shaker-style finish concept for the cabinetry in my photo, using muted green fronts and small aged-brass handles. Retain the existing cabinet footprint, countertop, backsplash, appliances, sink, window, and floor. Keep the current lighting conditions and do not add shelves or move plumbing.
Check: Changing a door profile is a replacement concept, not proof that repainting produces that shape.
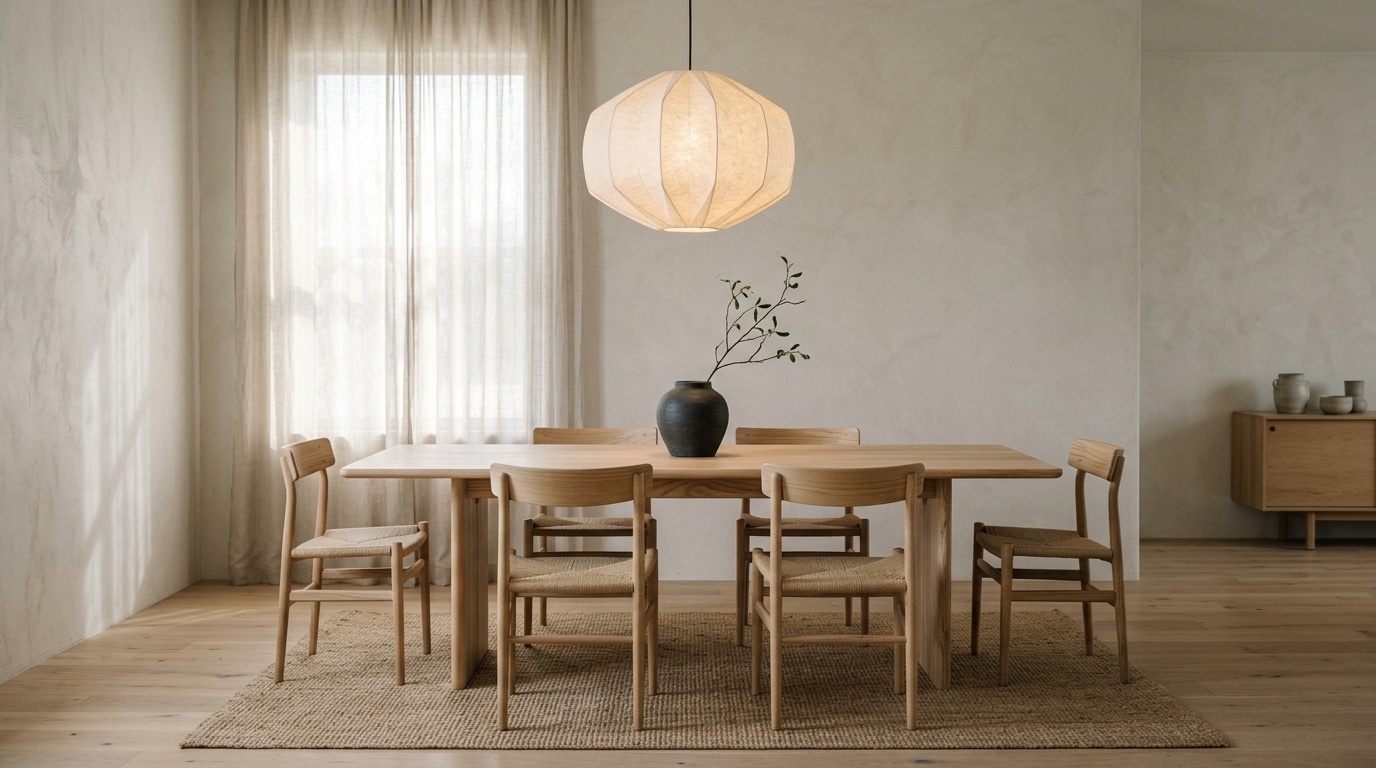
Restyle this dining area with a simple oak table, comfortable woven-seat chairs, plain linen curtains, and a soft paper-shade pendant concept. Keep the existing window, wall positions, floor, and dining zone. Use restrained neutral finishes and leave the route to the adjacent room clear.
Check: Confirm chair pull-out space and have pendant placement checked before installation.
Give my dining area industrial accents with a wood table, slim black metal chairs, and one simple pendant concept. Retain the existing walls, floor, ceiling, windows, and table location. Keep the room's domestic scale. Do not add exposed ducts, brickwork, or a commercial restaurant setting.
Check: The table should not occupy a door swing or the route into the kitchen.
Explore a softly veined, pale marble-look countertop finish on my existing kitchen. Keep the countertop outline, cabinet colors, backsplash, handles, appliances, window, and lighting unchanged. Show subtle veining rather than large dramatic bands. Do not add a waterfall island or extend the work surface.
Check: The picture compares appearance only; choose the real material for its maintenance and installation requirements.
Keep the shower, toilet, basin, and bath positions explicit. A visual finish study cannot establish drainage, waterproofing, electrical safety, or the suitability of a tile.
Explore a calm bathroom finish with warm-gray tile, a natural wood vanity finish, and plain cream towels. Keep the current basin, toilet, shower or bath, mirror, window, and door positions. Retain the existing layout and viewpoint. Do not add a freestanding tub, recess, or larger shower.
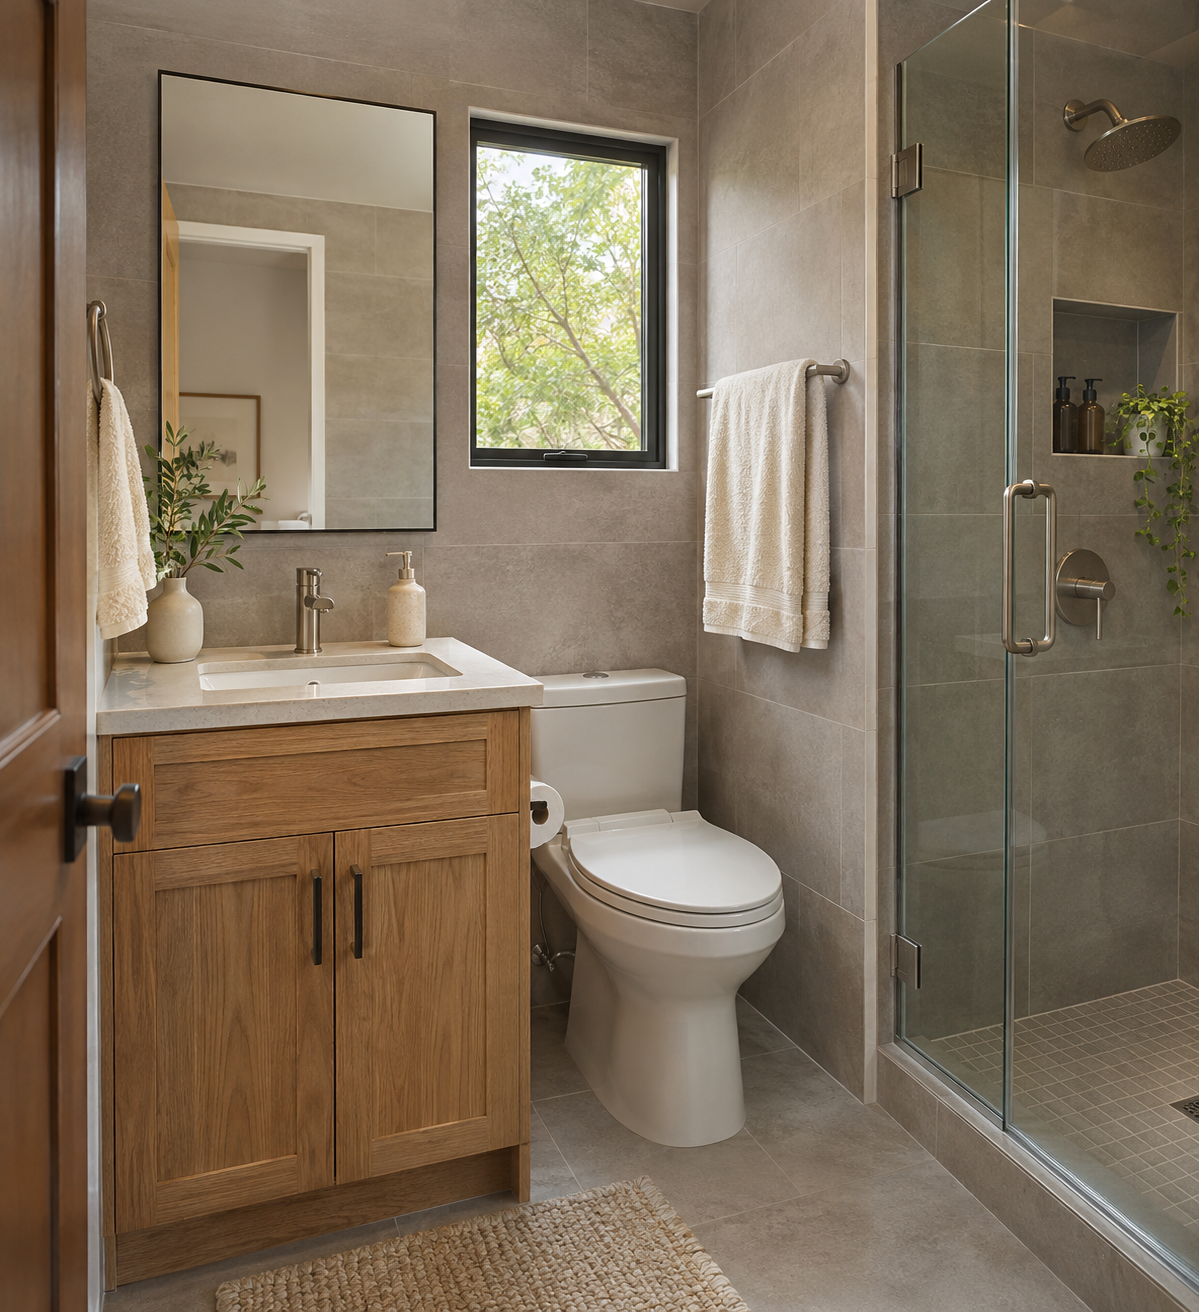
Check: Compare fixture positions and the bathroom's visible floor area with the original.
Show a dark bathroom palette using charcoal wall tile, a walnut-colored vanity finish, and restrained warm metal accents. Keep the existing fixtures, mirror size, window, door, and floor plan. Maintain enough visible detail to assess the finishes. Do not hide corners or change the room's proportions.
Check: A dramatic rendered light effect is not a bathroom lighting calculation.
Restyle my compact bathroom with pale neutral finishes, a simple mirror frame, matching towels, and minimal countertop items. Keep all fixtures, the window, door, floor, and storage footprint unchanged. Show the same camera viewpoint without making the room wider or adding a double vanity.
Check: Reject extra space created by an altered camera angle or missing fixture.
Explore a small-scale terrazzo-look finish only on the vanity backsplash visible in my photo. Keep the rest of the wall tile, floor, fixtures, mirror, and lighting unchanged. Use a cream base with restrained gray and muted terracotta chips. Do not spread the pattern to other surfaces.
Check: Verify that the pattern stays within the requested area.
Explore a classic bathroom finish using softly veined white marble-look wall tile and a dark wood vanity finish. Keep the existing tile boundaries, fixtures, mirror, door, window, and layout. Use the current light direction. Avoid new arches, columns, oversized slab patterns, or extra fittings.
Check: Vein scale and joins need a real sample and installer review, not image interpretation.
Use these as furniture concepts for genuinely empty spaces. Keep permanent features visible and unchanged. Before using an edited image in a listing, check the relevant platform's rules and required disclosure; a staging prompt does not make an image publication-ready.
Furnish this empty living room concept with a neutral sofa, a modest coffee table, a rug, and one reading lamp. Keep the photographed walls, floor, windows, doors, sockets, and permanent fixtures. Leave a clear route through the room. Do not remove damage, alter views, or improve the architecture.
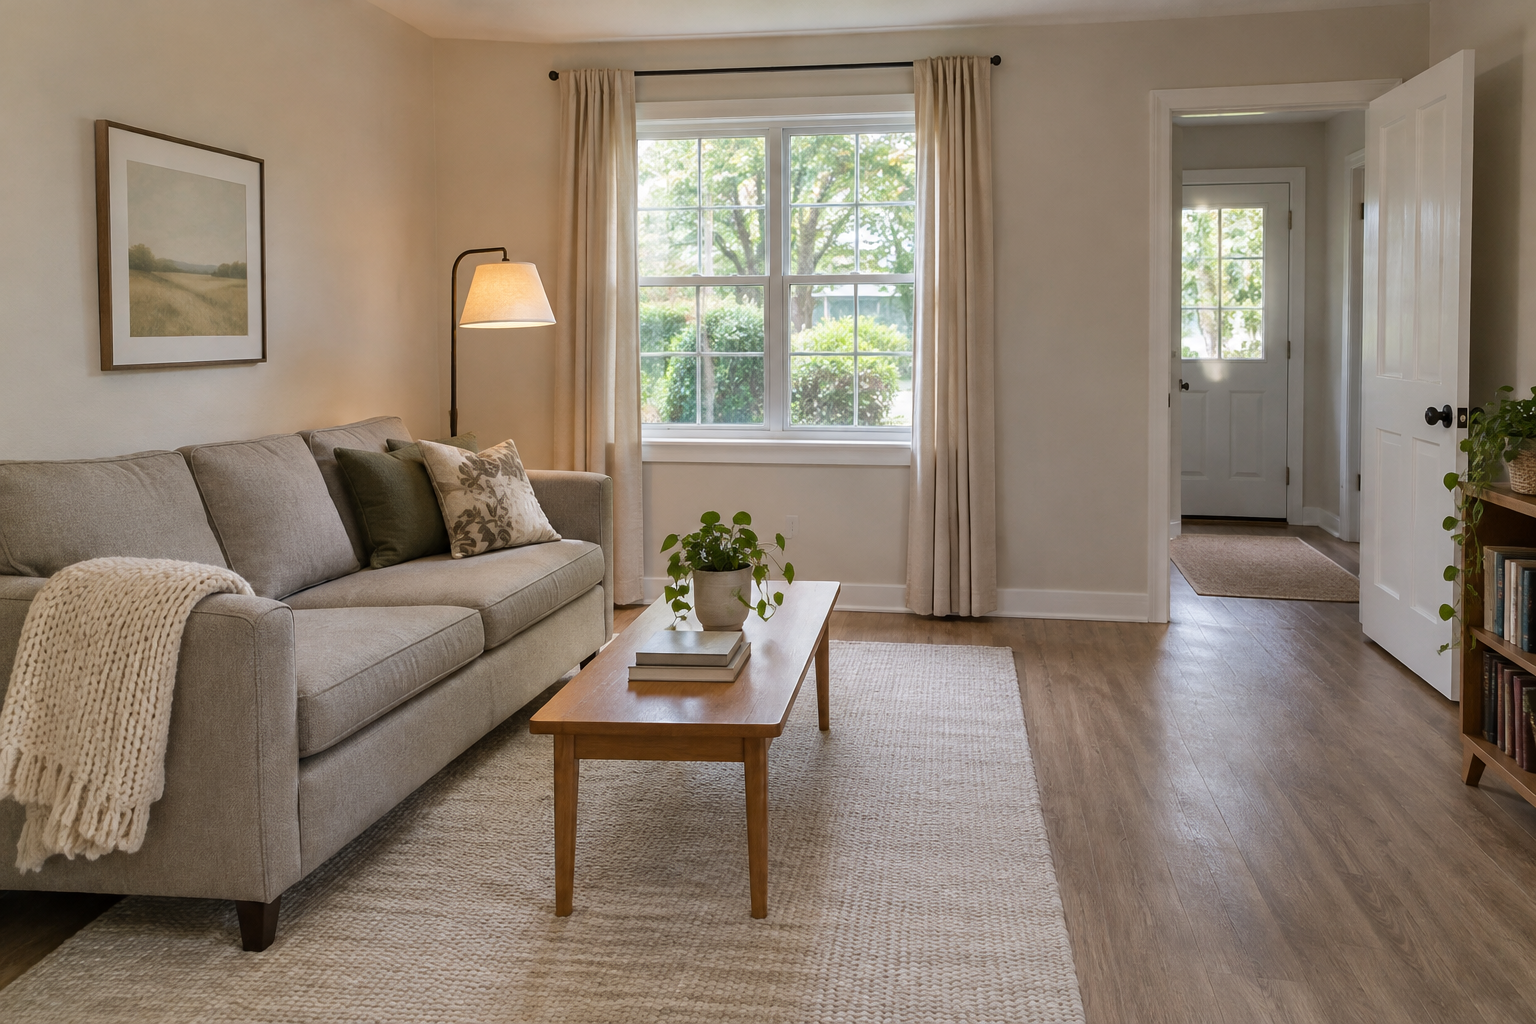
Check: Compare permanent features before assessing the furniture arrangement.
Add restrained condo furnishings to this empty room: a tailored sofa, two compact side tables, a wool rug, and a small dining set only within the existing dining area. Preserve all fixed finishes, windows, balcony access, and the original viewpoint. Avoid oversized furniture or invented architectural upgrades.
Check: Balcony access and the separation between living and dining zones should remain credible.
Show a compact studio furniture concept with a modest bed, a small two-seat table, and a narrow sofa only where the photo allows. Keep the kitchenette, windows, doors, flooring, and fixed storage. Leave routes between zones visible. Do not create extra floor area or a separate bedroom.
Check: Use measurements to decide whether all three functions can fit at once.
Add a simple bed, plain bedding, compact bedside furniture, and one lamp to this empty bedroom. Preserve the original walls, floor, window, radiator, sockets, and wardrobe doors. Keep access beside the bed visible. Do not add fitted wardrobes, new lighting recesses, or a different ceiling.
Check: Check the intended real bed dimensions against the room, not the generated mattress.
Lightly style this vacant kitchen with a small bowl, a folded tea towel, and stools only at an existing breakfast counter. Keep every cabinet, appliance, countertop, backsplash, floor, and window exactly as photographed. Do not replace finishes, hide defects, or add a dining area.
Check: Styling should not disguise condition or suggest fixtures that are not present.
For a rental, start with movable items and existing finishes. A picture cannot confirm that a wall treatment is removable, that a fitting is permitted, or that storage can safely be installed.
Refresh my rented room using freestanding furniture, a loose rug, plain curtains on the existing rail, and cushions in muted blue and rust. Keep the walls, floor, fixtures, and built-in storage unchanged. Do not add paint, wallpaper, drilled shelving, or adhesive finishes. Keep doorways and radiators clear.
Check: Any later installation still needs the relevant permission and fixing checks.
Explore a flexible studio arrangement using a compact sofa, a small folding table, and closed freestanding storage. Keep the bed, kitchenette, windows, doors, floor, and permanent fixtures. Use furnishings to suggest zones without adding walls. Leave the photographed route from the entrance to the window visible.
Check: Measure the table both open and folded before treating the arrangement as practical.
Make the furnishings in my dark room feel lighter using a pale rug, plain light curtains, a compact side table, and a shaded lamp. Keep the walls, windows, floor, and existing daylight. Do not invent sunlight, enlarge the window, remove neighboring buildings, or brighten every surface to white.
Check: Compare finishes under your actual light; a brighter render cannot change the window's exposure.
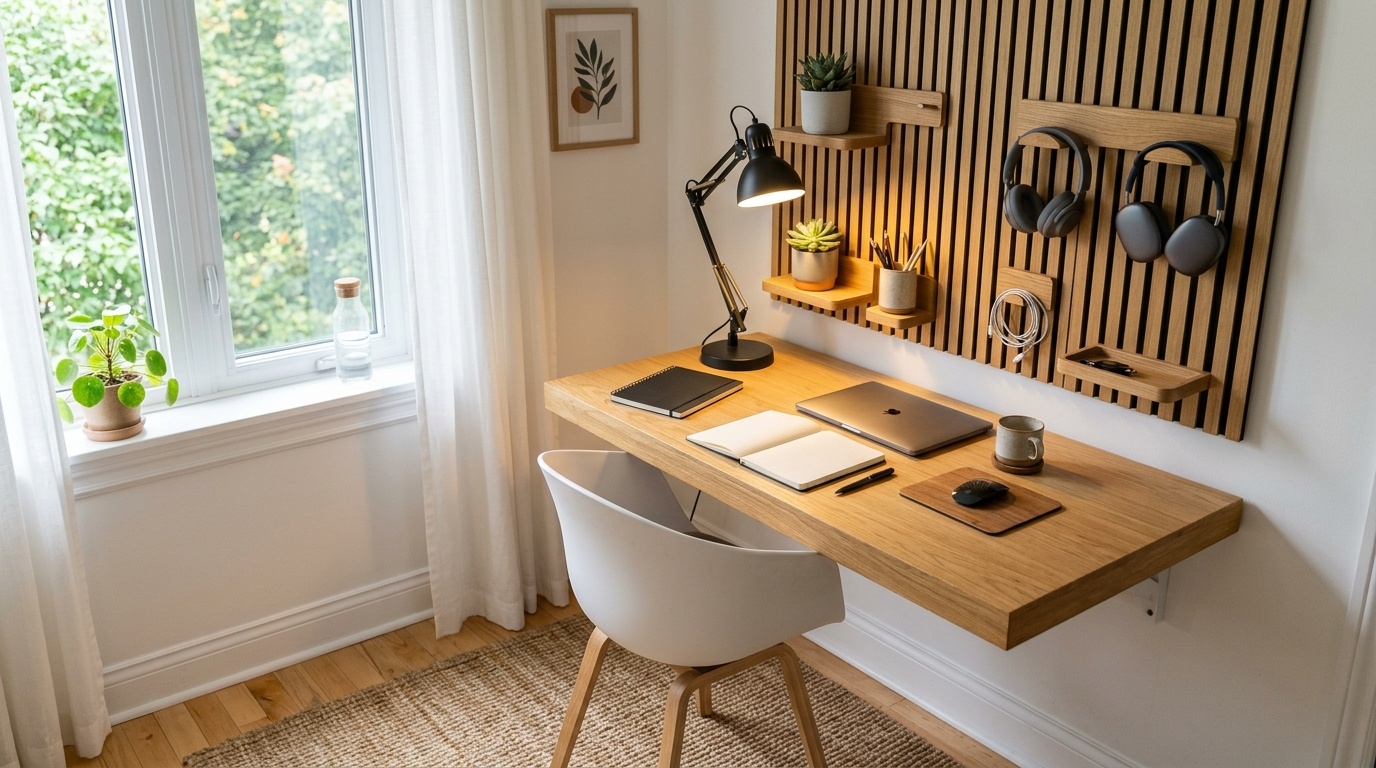
Show a compact work-from-home corner using a freestanding wood desk, an adjustable chair, a task lamp, and a small cable box. Keep the existing window, radiator, floor, outlets, and door clearance. Do not add built-in joinery or block the route through the room.
Check: Desk depth, chair movement, heat clearance, and socket access need real checks.
Style my existing balcony with two lightweight chairs, a small movable table, and a few freestanding pots. Keep the original railing, floor, door, drainage points, and outside view unchanged. Do not enclose the balcony, add hanging loads, change levels, or make it larger.
Check: Verify building rules, weather suitability, drainage, and permitted loads before buying.
“Keep the layout” is an instruction, not a lock. Put your own photo in the main-image input, name the fixed features, and compare each result with that photo. Count windows and doors, look for moved wall corners, and check whether a sofa has shrunk to make the layout appear workable.
References have a different job: they can suggest a material, shape, or mood. If the reference room has a bay window and yours does not, say that you want its curtain fabric, not its architecture. The guide to turning saved references into a room brief explains that distinction.
Correct the mismatch you can identify. Adding “better quality” does not explain that the kitchen has lost three drawers or that the sofa must stay gray.
| What Went Wrong | Follow-Up Instruction | What to Verify |
|---|---|---|
| A window moved | Return to the original photo. Keep the window's original position and width; change only the curtains | Window count, frame divisions, wall edges |
| The floor changed | Keep the photographed floor material and color; revise the sofa upholstery only | Board direction, tile pattern, exposed floor areas |
| A pattern spread | Apply the pattern only to the vanity backsplash; retain all surrounding surfaces | Pattern boundaries and reflections |
| The room looks larger | Use the original viewpoint and wall positions; remove added furniture rather than expanding the space | Door clearances and furniture measurements |
| The color seems wrong | Keep the same lighting and revise only the named surface's color | A physical sample in your room, not just the screen |
In Paintit.ai, you can add an image, describe the desired change, and continue with follow-up instructions in the design chat. If the conversation has accumulated conflicting changes, start a new chat with the chosen image and a short current brief. Review the result again; follow-up wording does not guarantee that everything else stays untouched.
For the complete upload-to-review process, use the step-by-step room design workflow. Keep this library open when you need a particular prompt rather than the full tutorial.
The best starting prompt names your task and limits the changes to the elements you actually want to explore. Pick a template close to your room, remove irrelevant features, and add the things that must stay. There is no universally best style label or fixed word count.
You can adapt the descriptions for an imagined room in an image tool that supports text-based generation. Remove instructions referring to an uploaded photo and describe the space instead. That produces a concept, not a visualization of your own room.
They are plain-language design briefs, not platform-specific commands. Image inputs, model behavior, settings, and editing features differ. Use our ChatGPT interior design prompt examples for that platform's separate workflow.
Our Gemini room prompt guide covers its own examples. Do not assume that a parameter or input supported by one service works in another.
Use language supported by your selected tool and describe the changes clearly. There is no universal English-only rule. Include a few relevant exclusions, such as not moving the sink, rather than a long list of unrelated defects. Check how your tool handles separate negative-prompt fields before using one.
No. An image can help you compare appearance, but it cannot certify furniture fit, reconstruct hidden dimensions, or reproduce a physical paint color exactly. Measure the space, inspect product specifications, and test material or paint samples before purchasing.