11 min. reading

Yulii Cherevko
CEO paintit.ai
Published: Updated:
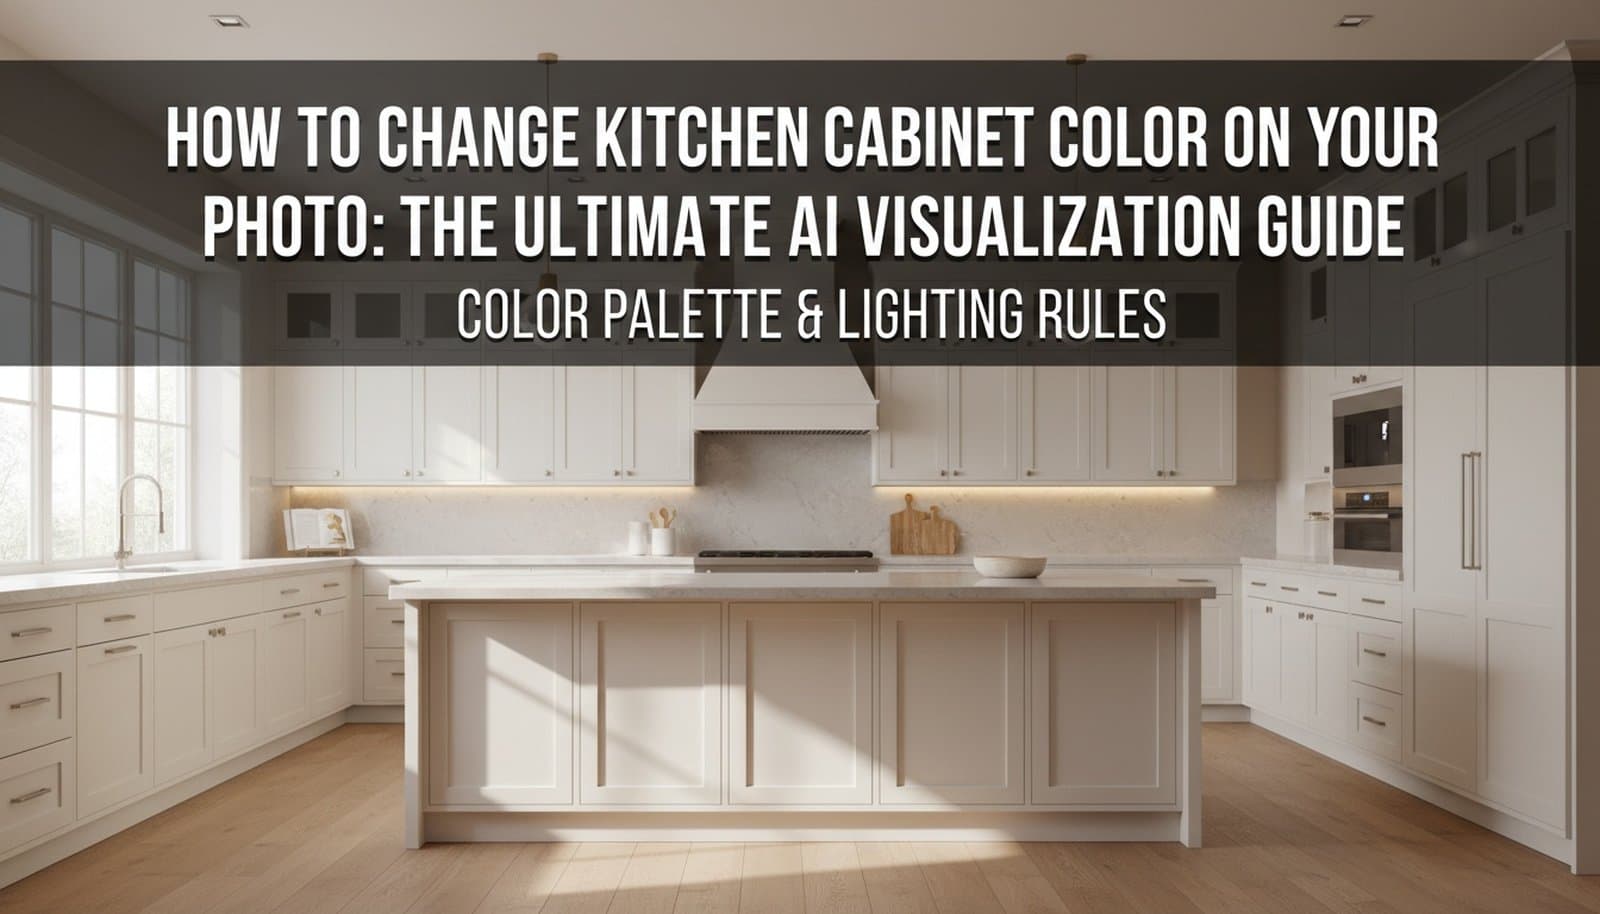
To change kitchen cabinet color in a photo, upload a clear picture of your kitchen, specify the doors and drawer fronts you want to repaint, and tell the AI what must stay unchanged. Compare two or three colors on the same original photo. Then check real paint and finish samples beside your countertop and floor before committing to the work.
A kitchen cabinet color visualizer shows a color direction in the context of your own kitchen. That matters when the countertop is staying, the floor has a strong undertone, or a dark island looks quite different from a small paint chip.
The useful comparison is narrow: the same doors and surrounding finishes, with a different cabinet color. If a result replaces the backsplash, smooths away the wood grain or removes an appliance, you are no longer comparing paint alone.
Paintit's cabinet appearance preview covers broader style and finish exploration. For a repaint decision, keep the brief more specific than “design a new kitchen.”
Take a level photo that shows the cabinet fronts, countertop, backsplash and some flooring together. Close the doors and drawers. Clear objects that hide the edges you need to judge, but leave fixed appliances and the existing fittings visible.
Use even light and avoid a strong camera filter. A straight-on or gentle corner view is easier to compare than a very wide shot that stretches the cabinets near the edges. Keep an untouched original so you can return to it for each first-round color.
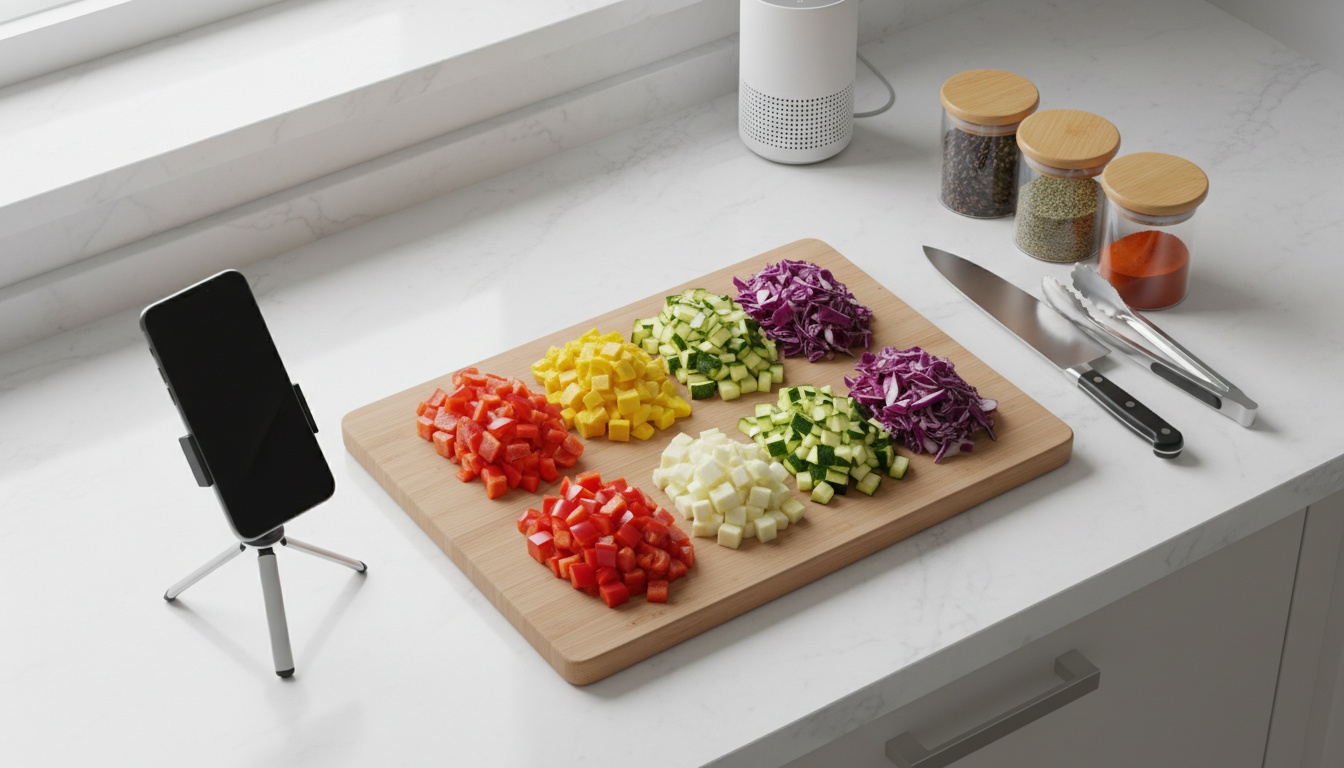
If the kitchen looks very different after dark, take a separate photo with its normal lights on. Compare color options within each lighting condition rather than treating a daylight photograph and an evening photograph as an identical test.
Name the parts you are changing: all cabinet fronts, lower cabinets only, or just the island. Include visible end panels and plinths if they are part of the repaint. Specify what stays rather than relying on “keep everything else.”
| Part of the Kitchen | First Comparison | Check Before Choosing |
|---|---|---|
| Cabinet fronts and visible panels | Change color; retain door style and cabinet positions. | Same number of doors and drawers, same proportions. |
| Handles and knobs | Keep their position, shape and finish. | No extra handles or altered spacing. |
| Countertop and backsplash | Leave material, color and pattern unchanged. | No brighter stone or new tiles improving the palette. |
| Appliances, sink and tap | Keep them visible and in place. | No dishwasher replaced with an invented cabinet front. |
| Floor, walls and lighting | Retain the original appearance. | No new floor or warmer light influencing the choice. |
This is especially important for oak cabinets. Repainting does not necessarily remove the appearance of the grain. Ask for the visible surface character to remain, then confirm the actual preparation and finish with your painter.
Open Paintit.ai's repaint workflow and upload your kitchen photograph. Describe the cabinet surfaces you want to change and include your keep list. Where the color picker is available, select a catalog color rather than relying only on a broad word such as “white.”
You can use this starting prompt:
Change only the existing kitchen cabinet doors, drawer fronts, visible end panels and plinths to a muted sage green. Keep the door style, wood texture, handles, countertop, backsplash, appliances, floor, walls, lighting and camera angle unchanged. Do not add or remove cabinets.
For a second direction, return to the untouched source photo and change only the requested color. If you build option B from option A, small changes to the countertop or handles can carry forward and make the comparison less useful.
Check the first result before creating more variations. Is the dishwasher still there? Are the handles in the same positions? Do the countertop and floor still look like yours? Correcting the brief at this point is more useful than collecting ten attractive but inconsistent pictures.
Paintit.ai includes paint catalogs from Behr, Benjamin Moore, Dulux, Nippon Paint and Sherwin-Williams. Its color picker supports brand filters, searches by name, code or HEX, and a “Find similar color” action. These references help you record and compare choices; they do not guarantee a physical paint match.
For example, Benjamin Moore White Dove OC-17 and Sherwin-Williams Naval SW 6244 give you two clearly named light and dark directions. Test them separately on the same cabinets before deciding whether to combine them. These are example catalog references, not a claim that either suits every kitchen or is available in every cabinet coating.
Write down the full manufacturer and color reference beside each saved concept. A similar color from another brand is a new candidate to sample, not an approved substitute. In the UK, also check local availability in the intended cupboard or woodwork finish.
A convincing picture can conceal a poor comparison. Look at fixed objects before judging whether the color works. An AI concept that quietly changes the floor may make a dark cabinet scheme look more coordinated than it would in your actual kitchen.
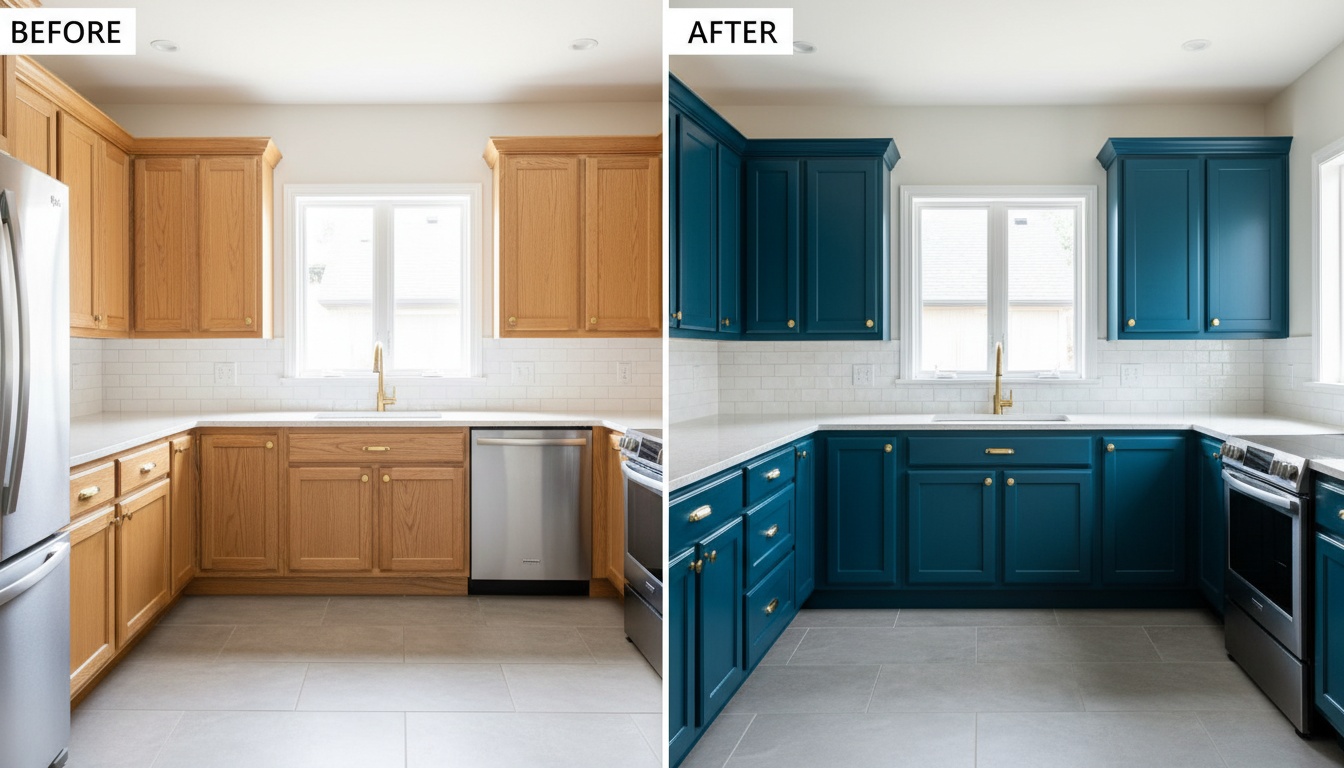
In this illustration, the light floor becomes darker and the visible dishwasher beside the sink is replaced by cabinet fronts. The cabinet color also changes. It is useful as a color idea, but it is not a controlled cabinet-only preview.
If your own result does this, return to the original photo and narrow the request. Do not keep the altered floor simply because it makes the new cabinet color look better. Our guide to keeping the room recognizable during an AI edit explains how to name and check the details that matter.
Keep the source photo beside your preferred concept when reviewing it with someone else. Otherwise, a family member or painter may be reacting to the redesigned surroundings rather than the proposed paint.
Once you have a body color worth sampling, decide whether the upper cabinets, lower cabinets and island should all match. Name the groups separately. “Two-tone kitchen” can leave the tool guessing where each color belongs.
Use a soft off-white on the upper cabinet fronts and a deep navy on the lower cabinet fronts. Keep the existing door style and handles. Leave the countertop, backsplash, appliances, floor, walls and lighting unchanged. Keep any glass-fronted doors as glass.
If there is an island, state its color too. Ask for a separate version with the island as the only accent rather than changing the island, perimeter and hardware at once. You can then judge whether the darker color works across the room or only on a smaller group of doors.

Choose two or three starting points that suit the finishes you are keeping. The style names below describe visual directions, not a requirement to replace your doors or a list of tested paint formulas.
| Direction | What to Explore | Keep the Comparison Honest |
|---|---|---|
| Modern farmhouse white | A white painted direction on your existing doors. | Do not add shaker detailing if the doors are flat-panel. |
| Transitional greige | A gray-beige direction against stone or tile. | Keep the countertop pattern and wall color consistent. |
| Contemporary navy | A deep blue on all fronts or just the lower cabinets. | Check it with the original light, not a brighter generated room. |
| Scandinavian light wood | A light wood-look concept. | Treat this as a material or refacing idea, not a paint-only result. |
| Black with existing wood accents | Black cabinets beside wood already in the kitchen. | Do not introduce a new wood floor to make the scheme work. |
| Sage green | A muted green against the fixed backsplash. | Compare it with both the counter and the floor. |
| Creamy off-white | A warmer alternative to a crisp white. | Check whether it makes nearby white appliances look different. |
| White uppers, dark lowers | A two-tone division by cabinet group. | Specify end panels, plinths and any island separately. |
| Industrial charcoal or dark stain | A dark painted direction or a separate wood-stain concept. | Paint and stain are different jobs; do not assume one can achieve the other. |
| Coastal blue-gray | A softer blue-gray with the existing metal finishes. | Keep the hardware unchanged until the cabinet color is shortlisted. |
A matte-looking image cannot tell you how a cabinet coating will clean, cure or resist wear. You can request a visual finish direction, but judge its real sheen with a suitable physical sample. Do not use a generated highlight as proof that you have selected the right product.
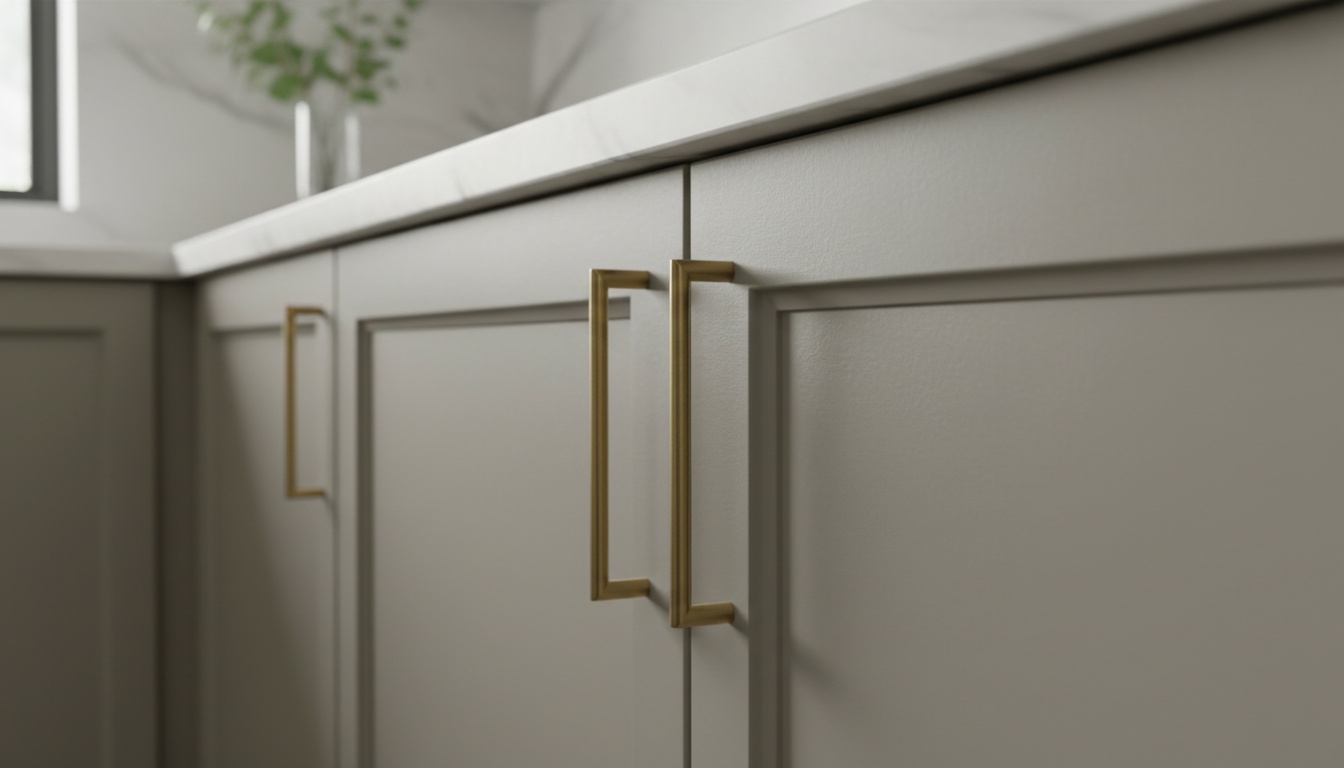
Make the same distinction with hardware. A brass handle can change the impression of greige or green cabinets, but a generated replacement does not establish its real size or fixing-hole spacing. Keep the original handles for the first color comparison, then explore a replacement as a separate version.
New door profiles, wood veneers, countertop materials and different cabinet layouts belong in a broader renovation brief. Our kitchen design workflow covers that next stage without confusing it with repainting the cabinets you already have.
Take two or three shortlisted references into the kitchen and view physical samples upright beside the counter, backsplash and floor. Check them in daylight and with the lights you normally use. A screen preview and a printed image are not substitutes for seeing the actual color and finish.
For physical preparation, Benjamin Moore's cabinet painting guide covers cleaning, surface preparation, priming and the distinction between drying and curing. Confirm the appropriate system for your existing doors rather than applying a generic sanding or coating schedule from a visualization article.
For UK sampling, Dulux's tester guidance also advises checking that the chosen color is available in the finish you intend to buy. A tester helps you evaluate a color; it does not by itself verify the suitability or performance of a cabinet coating.
Give your painter the original photo, the preferred concept and a written list of surfaces to repaint. Add the manufacturer, color code and proposed product once confirmed. Mark any finish or hardware choice that remains undecided.

Paintit.ai can help you preview a cabinet color from your kitchen photo. Use a cabinet-only brief and compare the result with the original before refining it. You can change kitchen cabinet color online without turning the brief into a full kitchen redesign.
Request that only the cabinet fronts change, and explicitly keep the countertop, backsplash and floor. Then inspect those boundaries. AI can still alter surrounding details, so a written instruction is a constraint to check, not a guarantee.
Paintit.ai offers free credits after registration. Check the credits available in your account before generating more options. It is not unlimited free use, and you do not get a separate no-signup trial generation.
No. Catalog references help identify the intended shade, but the photograph, generated result, screen and room lighting affect its appearance. Test the actual paint color and finish before buying the quantity needed for the job.
You can explore the appearance digitally without touching the cabinets. Changing the real kitchen may involve painting, refacing, replacement fronts or another method suited to the existing surface. A wood-look or stained concept does not prove that your current doors can achieve that result.
A photo concept is not a quote. A useful estimate needs the number and condition of the doors and drawers, surface type, preparation, product, labor and any hardware work. Ask a painter or cabinet specialist to assess those details.