13 min. reading

Yulii Cherevko
CEO paintit.ai
Published: Updated:
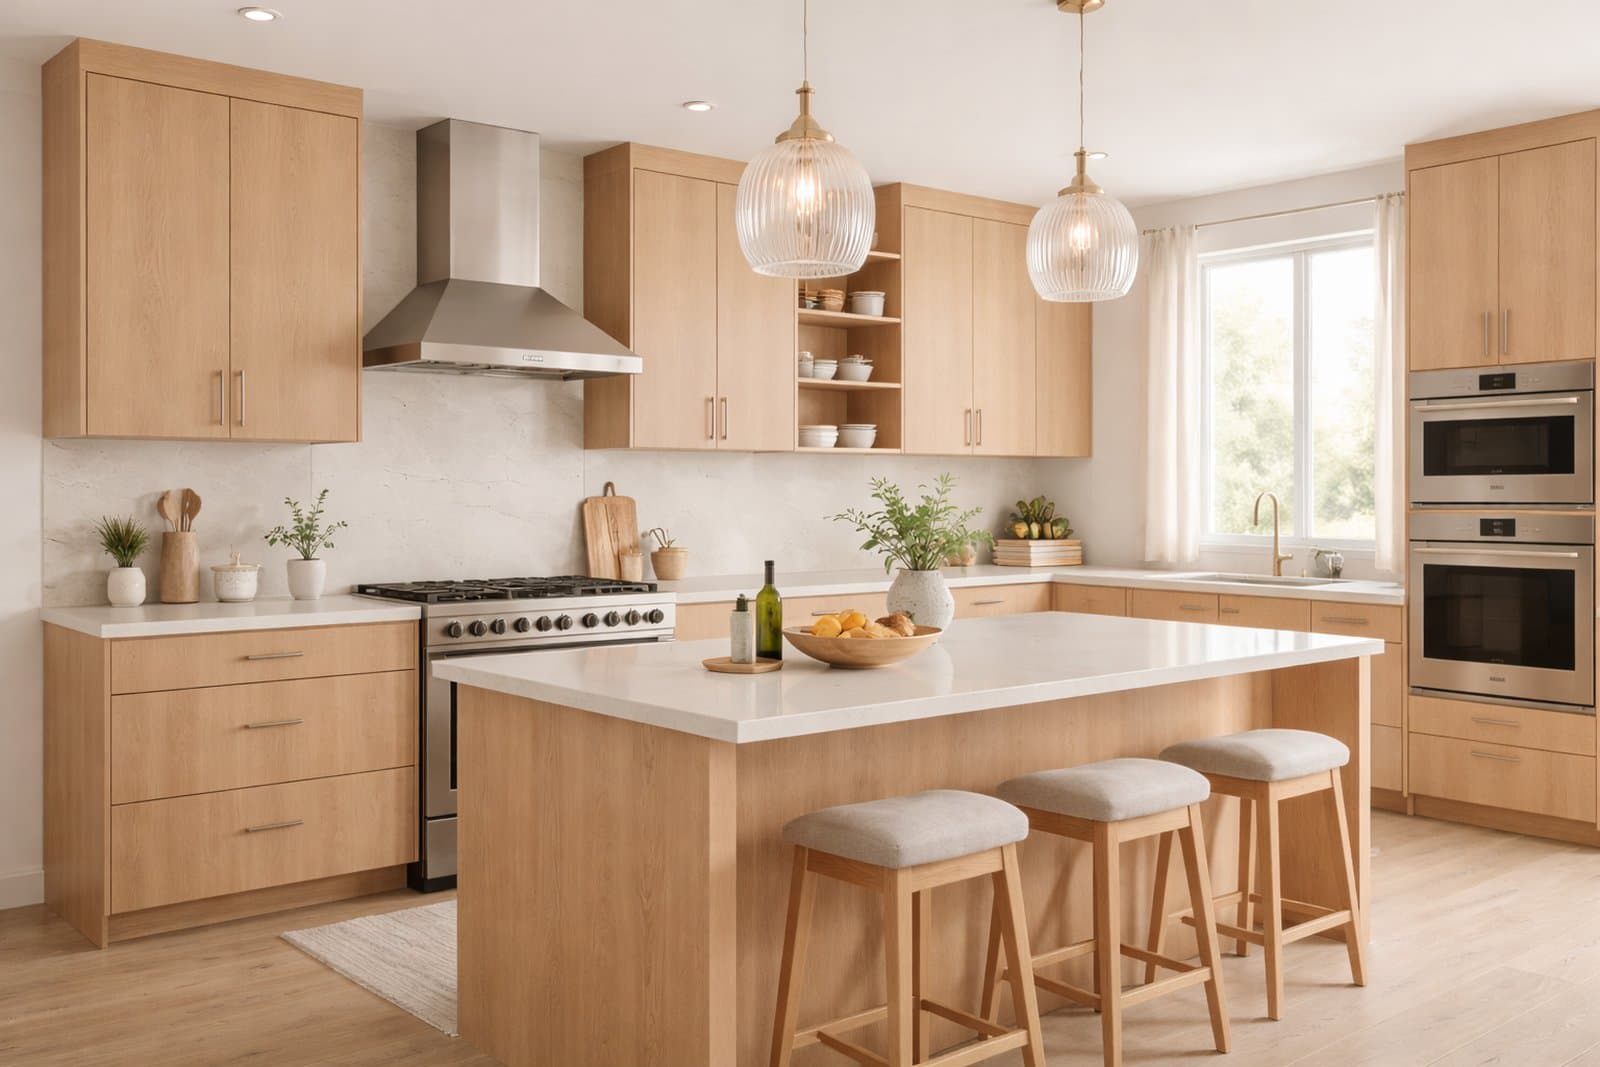
To plan a kitchen remodel with AI, start with a photo of your existing kitchen and a short list of what you want to keep. Compare cabinet, countertop and backsplash options before considering a different layout. Use the preferred image to explain your choices to a kitchen designer or contractor, alongside real measurements and a written scope. An AI concept can show a direction; it cannot confirm that the kitchen will fit, function safely or cost a particular amount.
AI is useful when you can describe what bothers you but cannot yet picture the alternative. Perhaps oak cabinets make the room feel too yellow, or the countertop and backsplash compete. A photo concept lets you examine a different finish combination in the context of the room you already have.
A convincing image is not necessarily a workable kitchen. Cabinet doors can merge, a dishwasher can disappear behind a matching panel, or an island can gain seating without leaving enough real space behind it. The photograph does not reveal hidden services, wall construction or every dimension.
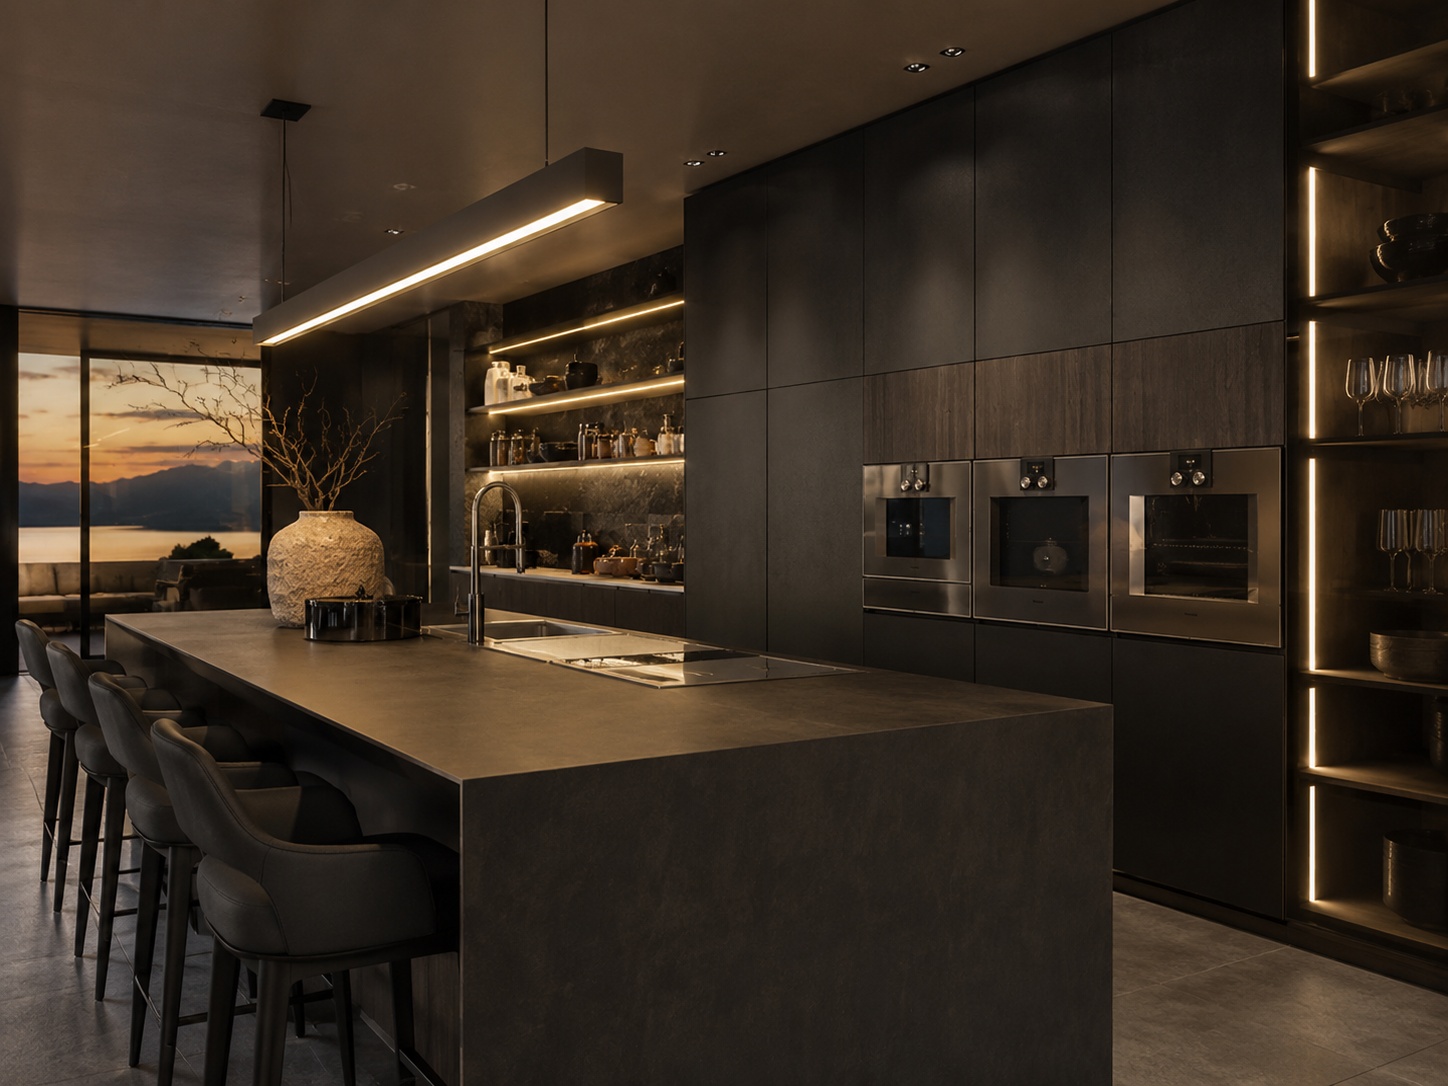
Paintit's photo-based kitchen remodel tool provides a starting point for exploring those visual changes. Treat each result as something to inspect and annotate, not as permission to begin construction.
Write down which kind of project you are considering. A cabinet color preview does not answer the same questions as replacing a whole kitchen, even if both images look equally finished.
| Project | Useful AI Comparison | What Still Needs Checking |
|---|---|---|
| Finish refresh | Cabinet paint, handles, wall color or backsplash appearance. | Existing surface condition, coating or fixing method, samples and preparation. |
| Replacement in the same layout | Door styles, material combinations and the visual effect of new units. | Room survey, cabinet and appliance dimensions, fillers, openings and installation details. |
| Layout change | A way to discuss a proposed island, storage wall or different arrangement. | Measured planning, circulation, services, ventilation, structural work and applicable requirements. |
If changing the cabinet color is the whole project, use the narrower guide to previewing a cabinet repaint. You do not need to redesign the appliances and flooring to choose a paint direction.
Take a level photograph from a doorway or corner that shows the cabinet runs, major appliances, countertop, openings and some flooring. Use ordinary, even light. Remove loose objects that obscure important edges, but leave the fixed features visible.
Keep an untouched copy. If you add a second angle, label it separately so you do not mistake a different viewpoint for a change in layout. Check for personal paperwork or identifying details before uploading.
Make a separate measurement note. It should record the room, openings, appliance models and known service locations, with uncertain items marked for verification. Do not estimate these from the AI image. IKEA's kitchen measurement guidance covers room dimensions, doors, windows, service connections and obstructions. An initial sketch for a discussion is not the final installation survey.
Start with the things you are not replacing. If the wood floor, refrigerator and sink position are staying, say so before listing new finishes. “Make this kitchen modern” leaves all of those decisions open.
Use five kitchen anchors as a visual checklist: sink zone, cooking zone, storage wall, preparation surface and circulation. Name the features that matter in your photo. Keep the sink below its existing window, for example, and the refrigerator opening at the end of the same cabinet run.
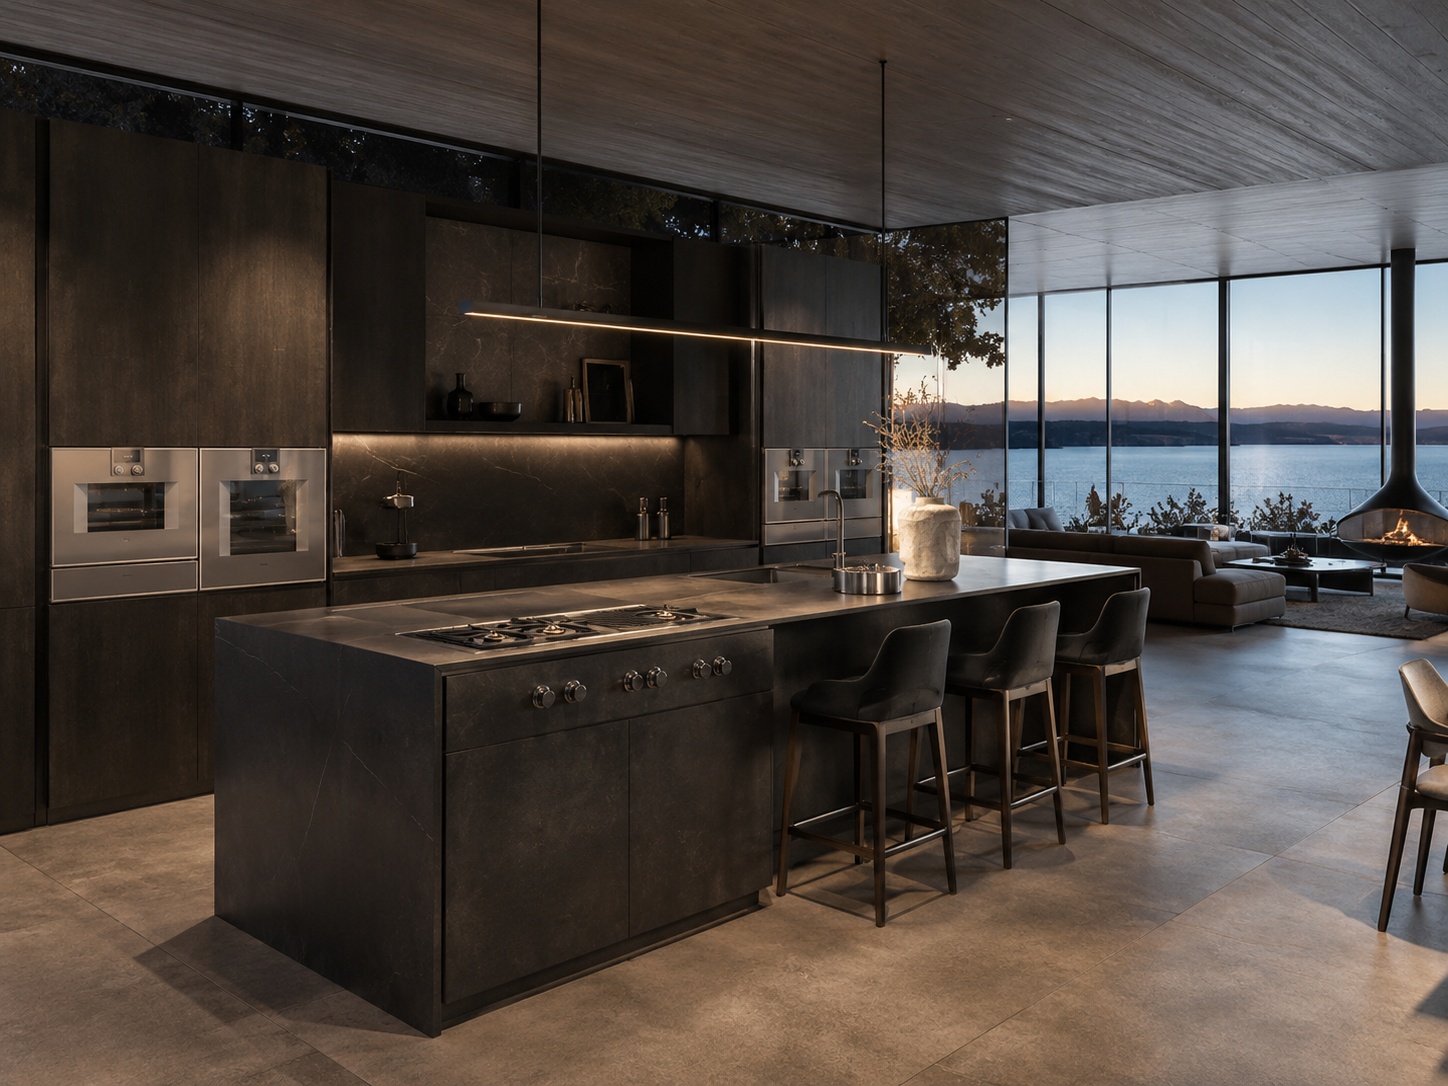
Here is a brief for a finish-led update:
Explore a warmer finish scheme for this L-shaped kitchen. Keep the sink, cooker, dishwasher, refrigerator, cabinet arrangement, windows, doorway and existing wood floor as photographed. Change the cabinet fronts to a muted green, the countertop to a light stone appearance and the backsplash to plain warm-white tile. Keep the current daylight. Do not add an island or conceal appliances that are currently visible.
This is an example brief, not a tested result or an instruction to buy those materials. Replace the details with what is actually in your kitchen. If an appliance is being replaced, record that as a separate project decision rather than letting the image choose it for you.
Open Paintit.ai, add your kitchen photo as the Main Image and describe the brief. Main Image means the room you are editing. A Reference Image provides selected qualities to borrow, such as a cabinet finish or backsplash treatment; it is not a second room to reconstruct.
Use a focused reference and explain its role: “Take the light oak cabinet appearance from this reference; keep the shape and positions of the cabinets in my kitchen.” A reference can also contain an island, a skylight or concealed appliances you do not want. Name those exclusions rather than assuming the app will distinguish them.
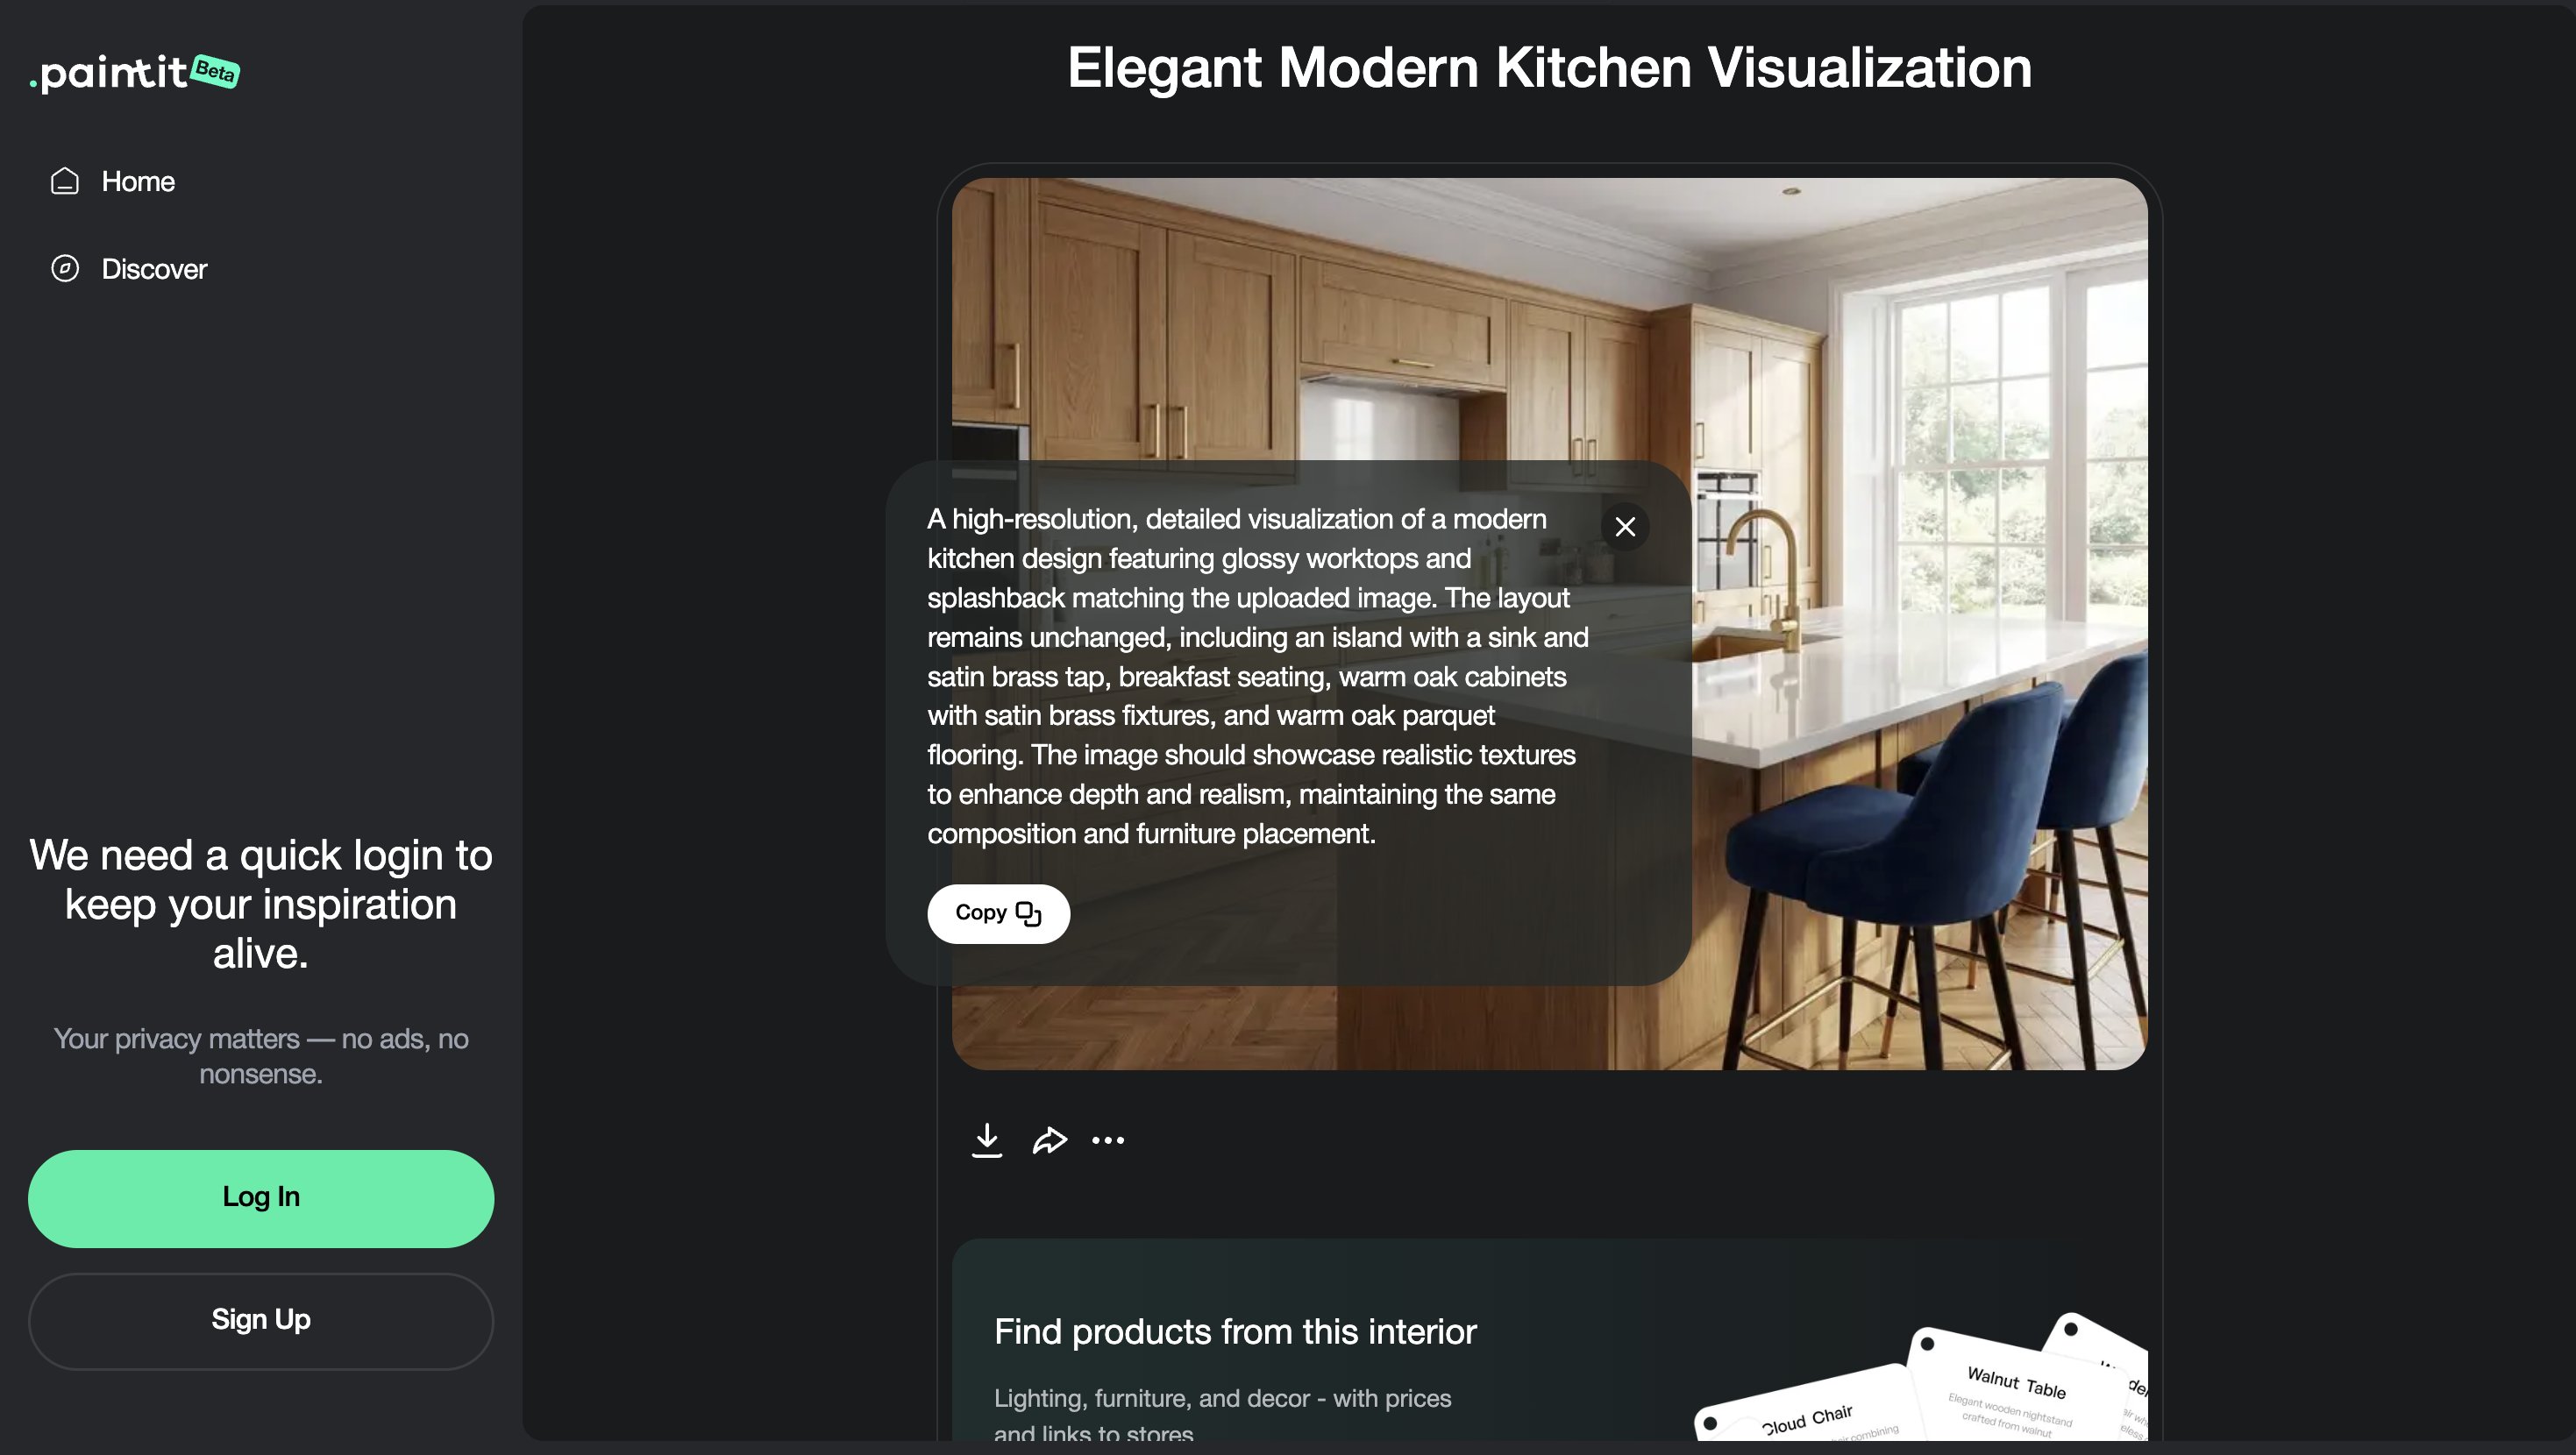
For a paint-only refinement, Paintit's color picker includes manufacturer catalogs and search by name, code or HEX. Record the brand and full reference. A catalog choice is a way to track the intended shade, not a guarantee that the generated pixels match dried paint.
If you are wondering how to use AI to design a kitchen without losing the room's identity, the keep list is only the first safeguard. You still need to compare openings, appliances and cabinet divisions after every edit.
Use the same source photo and the same keep list for both options. Compare a change you could actually choose, not a small refresh against a completely different luxury kitchen. Keep the lighting consistent while assessing the material combination.
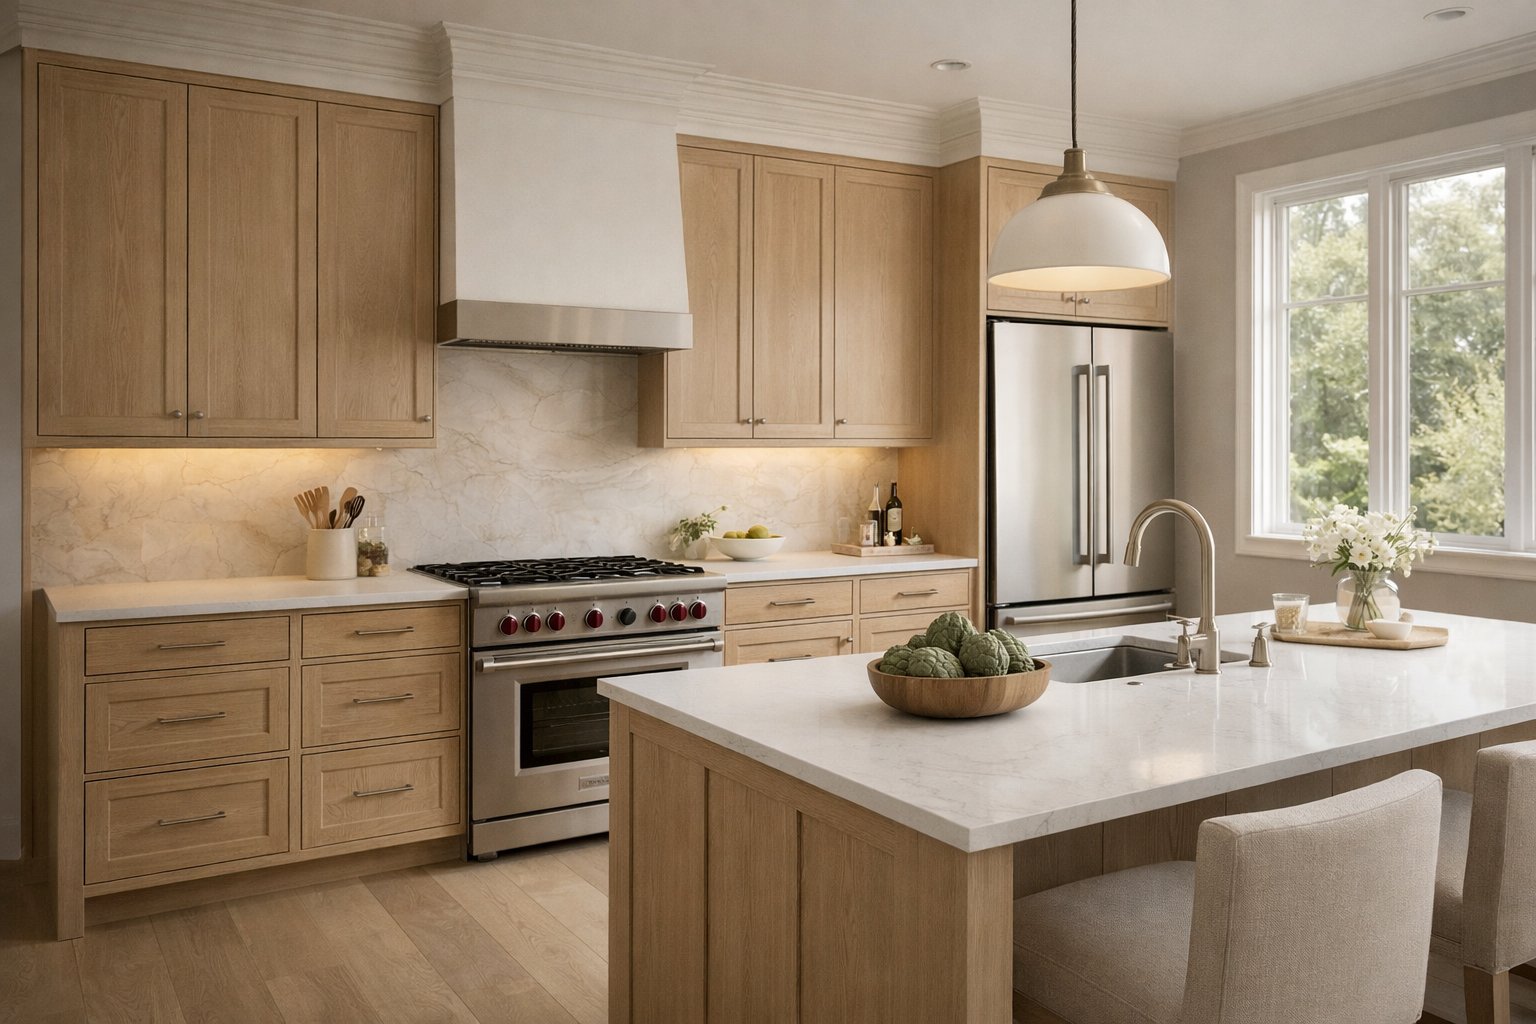
For example, a household wants a warmer L-shaped kitchen while retaining its floor and appliance positions. Option A explores painted fronts. Option B explores replacing the fronts with a light wood appearance. The difference between repainting and replacing should stay visible in the written brief, even if the images make both look easy.
| Decision | Option A | Option B |
|---|---|---|
| Cabinet direction | Muted green painted fronts; check whether the current doors can be refinished. | Light oak-look replacement fronts; confirm the actual material and compatibility. |
| Countertop and backsplash | Light stone appearance and warm-white tile. | The same light stone and tile, so the fronts remain the main comparison. |
| Details to keep | Existing floor, appliance positions, openings, cabinet arrangement and daylight. | |
| Reason to reject either image | It moves a sink, invents storage space, hides an appliance or changes the floor. |
Do not label the less attractive option “wrong” merely because it is darker. Write a useful observation: “The green looks too cool against the floor” or “The wood fronts compete with the existing wood grain.” That gives the next request a direction.
Choose a direction to compare, then add the keep list for your kitchen before using the prompt. A style name alone does not define the scope.
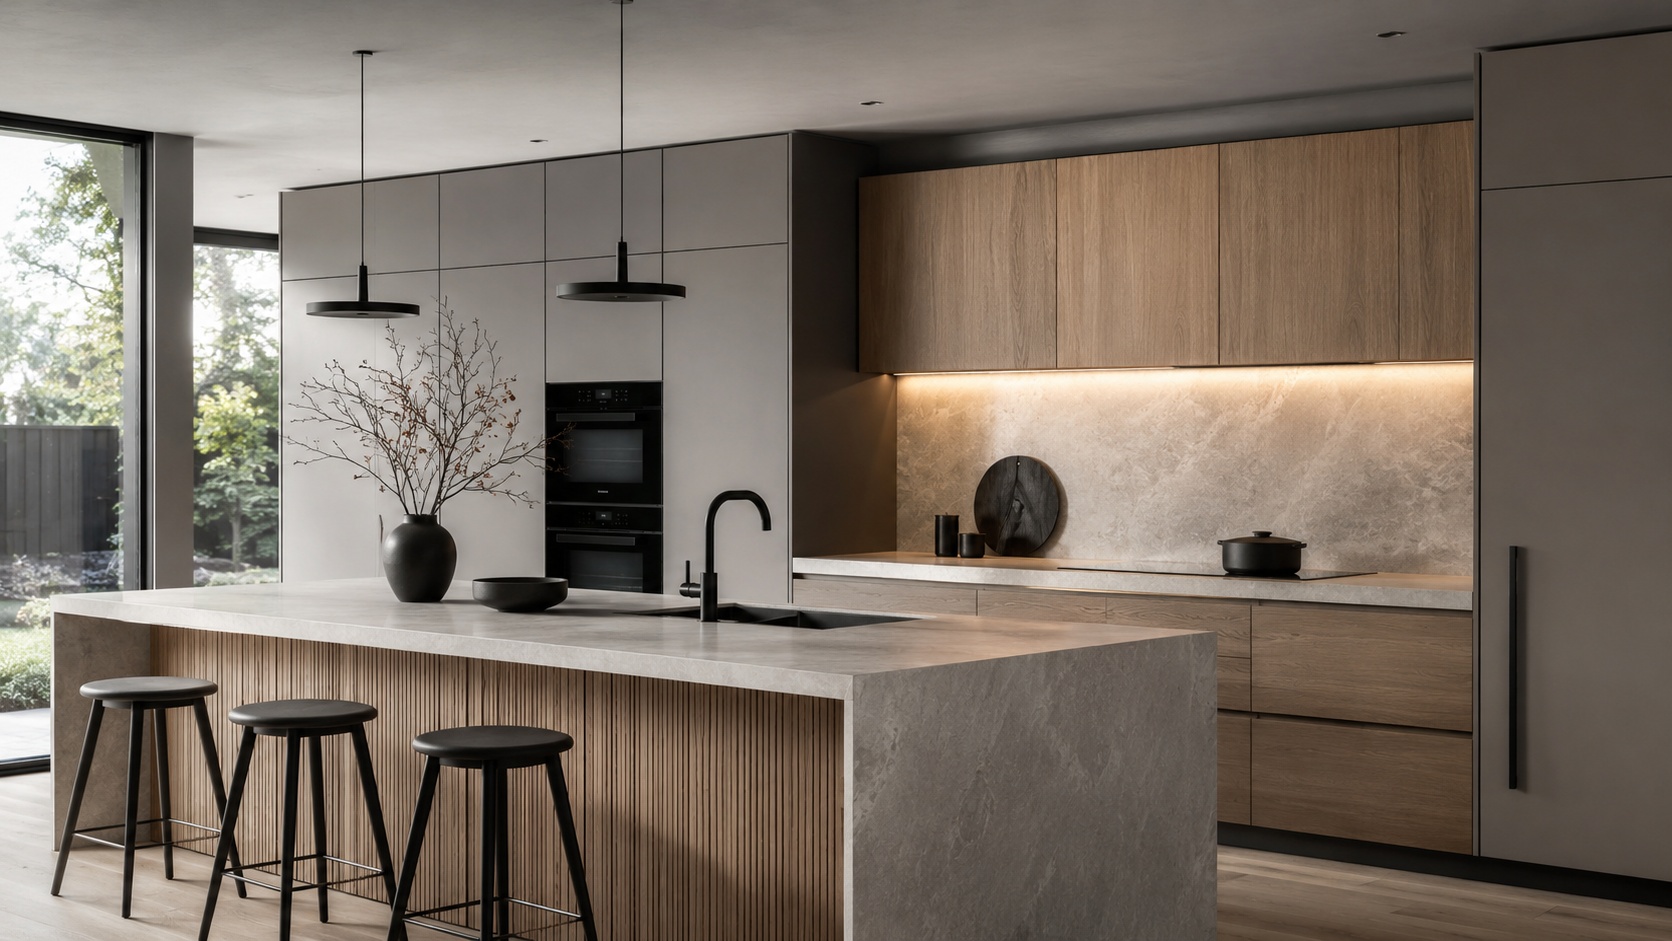
Explore light oak cabinet fronts, a pale stone-look countertop, simple handles and a plain backsplash. Keep the existing sink, appliances, floor, cabinet arrangement and openings. Retain the original daylight and show the material combination clearly.
Preview simple cabinet fronts in a soft matte gray, restrained handles and a low-pattern countertop. Keep all currently visible appliances visible. Preserve the layout and openings; do not remove cabinets or add concealed storage to make the image look cleaner.
Explore warm wood cabinet finishes with a subdued stone appearance and a quiet backsplash. Preserve the existing room and appliance positions. Keep decorative objects minimal so the wood, countertop and floor can be compared.
Try light cabinet fronts and a simple backsplash in this compact kitchen. Keep the same cabinet count, full-size appliances and door openings. Do not widen the room, shrink the refrigerator or add an island.
Keep the current island footprint and appliance positions. Explore a warm neutral cabinet scheme, a clear countertop and restrained pendant styles. Keep the circulation gaps visible; do not add extra stools or make the island larger.
For a proposed new island, create a separate concept and label it as a layout question for your designer. A convincing perspective cannot establish the aisle width or whether seating will fit.
Once a direction is useful, ask for the smallest change that answers your next question. If the countertop is too patterned, change that surface while keeping the cabinet choice. If the cabinets seem cold, try a warmer color before changing the floor as well.
Keep finish decisions separate from product decisions. A marble appearance does not identify a slab, a wood appearance does not identify a veneer or solid timber, and an integrated-looking refrigerator does not establish that your current appliance can accept panels.
Order or borrow real samples when you have a shortlist. Judge the cabinet color, countertop, backsplash and handle finish together in the kitchen. For UK projects, record the local worktop, hob and appliance references your supplier actually sells; do not treat an image of a US-style range as the required appliance specification.
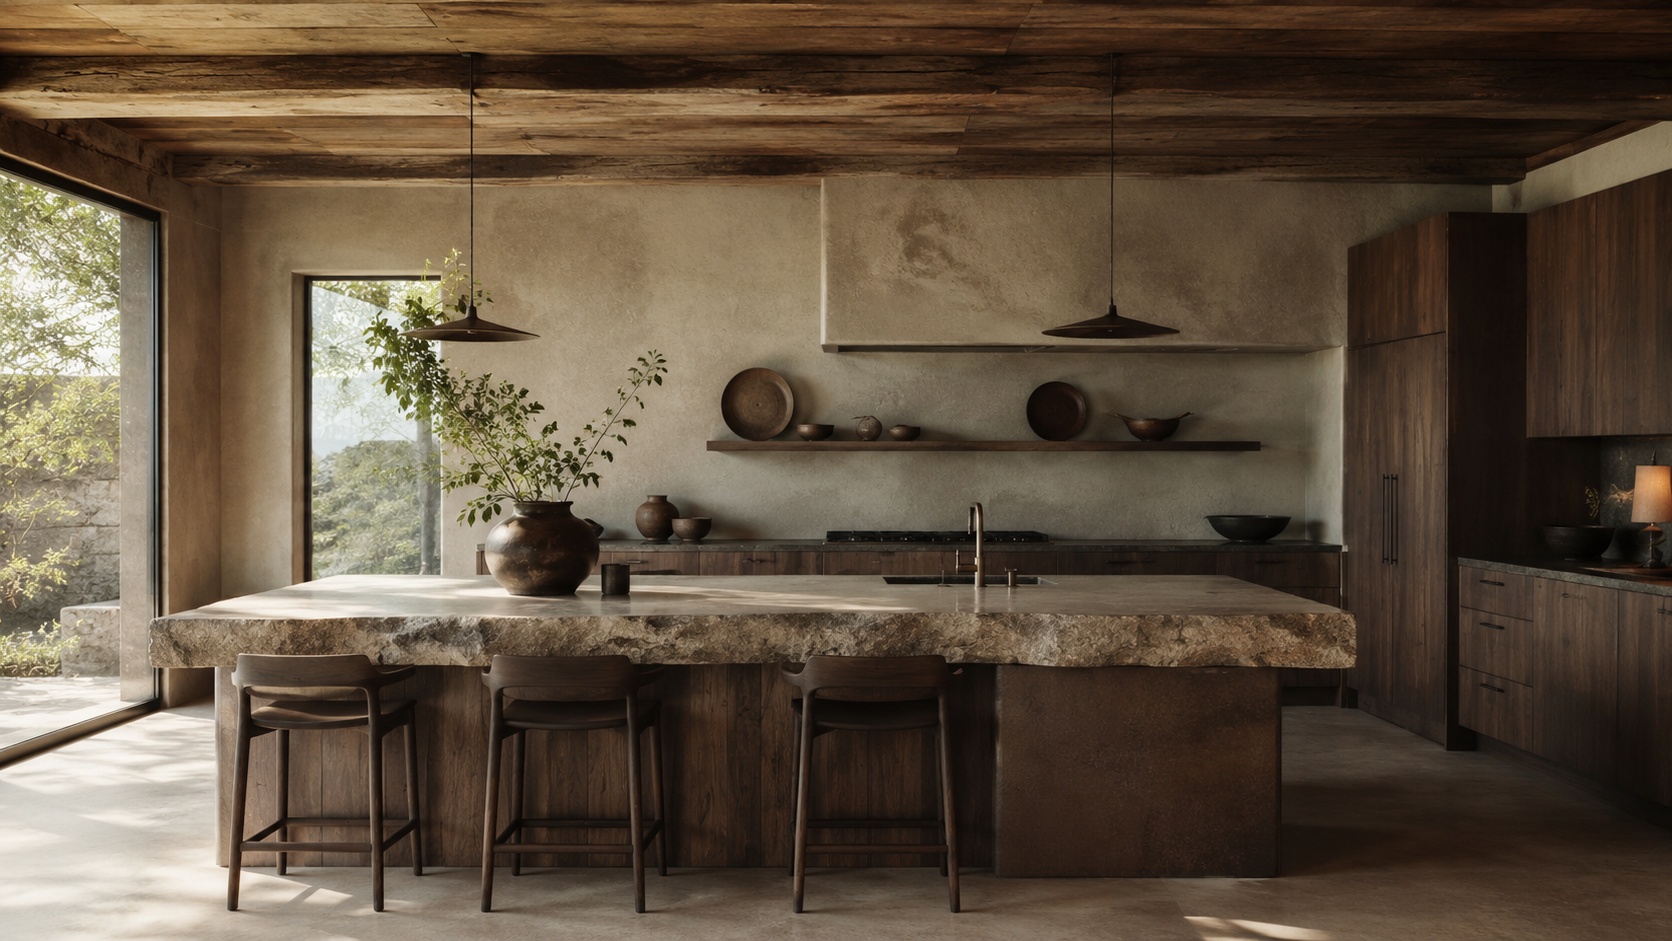
A concept that fails one of these checks may still suggest a useful palette. Keep that palette as a reference, but do not present the whole image as an achievable layout. Ask a narrower question on the original photo rather than building further changes on an error.
Take the original photo as well as the concept to the first discussion. The original shows what is there; the concept explains what you like. Add a short note that distinguishes decisions you have made from ideas that still need pricing or feasibility checks.
| Bring | Write Down | Ask the Professional |
|---|---|---|
| Original photo and selected concept | What changed, what stays and any visible AI errors. | Which parts of this idea are practical in this room? |
| Room sketch and appliance information | Known measurements, model numbers and unverified dimensions. | What needs a final survey or a manufacturer clearance check? |
| Material and color shortlist | Brand, color reference, samples and the finish you want. | Which actual products, preparation and installation details suit the project? |
| Scope and budget priorities | Must-haves, optional items and work not included. | What is included in the estimate, and which items remain provisional? |
Separate “keep the sink where it is” from “move the sink to the island.” They can look similarly straightforward in a rendering and require very different work. Before ordering, ask who is responsible for final measurements, appliance compatibility, service changes and installation drawings.
Do not ask the image for a reliable cost estimate. A useful quotation depends on the measured scope, products, site conditions, local labor and the work included. Use the concept to make the request clearer, then obtain project-specific pricing.
Yes, for exploring appearance and explaining a brief. An AI kitchen remodel concept can help you compare finishes, cabinet styles and visual priorities. It does not verify dimensions, hidden services, structural feasibility or the installation requirements of real products.
Use your own photo, name the cabinet runs and fixed features to preserve, and request a limited finish change. Check the generated result against the original before refining it. A written constraint helps define the task but does not guarantee that every feature will remain unchanged.
No. A perspective image can show a plausible arrangement without providing verified widths, heights, clearances or cabinet sizes. Use a measured planning process and professional checks for dimensions and fit. Do not scale dimensions from a generated photograph.
Paintit.ai offers free credits after registration. Check the available balance and current generation options in the app. This is not unlimited free use or a separate no-signup trial generation.
It can illustrate a proposed look, but it cannot confirm fit from the image alone. A final survey, cabinet specifications, appliance clearances, fillers and opening directions need to be checked before ordering.
Start with two materially different options under the same scope. A third is useful if an important choice is still unresolved. Once one direction works, refine it rather than generating unrelated kitchens that change the floor, appliances and lighting together.