Sitemizin çalışması için zorunlu çerezler kullanıyoruz. Onay verirseniz deneyiminizi iyileştirmek, içeriği kişiselleştirmek ve trafiği analiz etmek için isteğe bağlı çerezler de kullanabiliriz. Bu amaçlarla site kullanım verilerinizi sosyal medya ve analiz ortaklarımızla paylaşabiliriz. “Kabul et” düğmesine tıklayarak çerezlerin Çerez Politikamızda açıklandığı şekilde kullanılmasını kabul edersiniz. Çerez ayarlarınızı istediğiniz zaman tarayıcınızdan değiştirebilirsiniz.
  • Hakkımızda
  • Fiyatlar
  • Blog
  • İletişim
AiEi

Ürünler

  • İç mimarlar için
  • E-ticaret için
  • Gayrimenkul sektörü için

Araçlar

Yapay zekâ ile mimari tasarım
Yapay zekâ ile konsept oluşturma
Yapay zekâ ile dış mekân tasarımı
Yapay zekâ ile ev tasarımı
Yapay zekâ ile ev boyama
Yapay zekâ ile peyzaj tasarımı
Yapay zekâ ile görselleştirme
Yapay zekâ ile oda tasarımı
Ev dış cephe tasarım aracı
Yapay zekâ ile sanal dekorasyon
Yapay zekâ ile banyo yenileme
Yapay zekâ ile kat planı oluşturma
Yapay zekâ ile mobilya tasarımı
Yapay zekâ ile mobilya yerleşimi
Ev dış cephe yenileme
Yapay zekâ ile boya rengi önizleme
Yapay zekâ ile mutfak yenileme
Yapay zekâ ile halı önizleme
Gayrimenkul fotoğraflarını iyileştirme
Yapay zekâ ile iç mekân görselleştirme
Yapay zekâ ile duvar tasarımı
Yapay zekâ ile kapı tasarımı
Yapay zekâ ile kat planı görselleştirme
Yapay zekâ ile zemin tasarımı
Araç yolu tasarım aracı
Parke taşı döşeme tasarım aracı
Ev genişletme planları
Yapay zekâ ile eskizden görselleştirmeye
Cephe çiziminden görselleştirmeye
Yapay zekâ ile dolap tasarımı
Yapay zekâ ile teras tasarımı
Yapay zekâ ile bahçe planlama
Yapay zekâ ile iç mekân yenileme
Yapay zekâ ile pencere önizleme
Mobilya boyası önizleme
Mutfak tezgâhı önizleme
Peyzaj aydınlatması tasarım aracı
Yapay zekâ ile perde önizleme
Yapay zekâ ile görselleştirme kalitesini artırma

Kullanım alanları

Yapay zekâ ile mutfak tasarımı
Yapay zekâ ile oturma odası tasarımı
Yapay zekâ ile yatak odası tasarımı
Yapay zekâ ile banyo tasarımı
Yapay zekâ ile peyzaj tasarımı
Yapay zekâ ile giyinme odası tasarımı
Yapay zekâ ile ofis tasarımı
Yapay zekâ ile havuz tasarımı
Yapay zekâ ile çamaşır odası tasarımı
Yapay zekâ ile restoran tasarımı
Yapay zekâ ile sınıf tasarımı
Yapay zekâ ile bodrum katı tasarımı
  • Hizmet Koşulları
  • Gizlilik Politikası
  • Güven
  • Satış ortaklığı programı
Logo
Paintit.ai: ücretsiz yapay zekâ destekli iç mekân tasarım aracı

© 2026

Ukrayna'yı destekleyin
PAINTITAI LTD, 52 Leytonstone road, London, E15 1SQ, UK
  • English/
  • Español/
  • Português (Brasil)/
  • Deutsch/
  • Français/
  • Italiano/
  • Polski/
  • Bahasa Indonesia/
  • Türkçe
Paintit.ai ile ücretsiz yapay zekâ destekli ev tasarımı
  • Fiyatlar
  • Hakkımızda
  • Blog
  • İletişim
/Blog/Paint Room AI Guide
AI interior design

5 min. reading

How to Paint a Room: Step-by-Step Guide + How to Test Colors Before You Start 

avatar-blog

Yulii Cherevko

CEO paintit.ai

Published: 18 May 2026

Share
  • ChatGPT
  • Perplexity
  • Claude
  • Grok
  • Google AI
How to Paint a Room: Step-by-Step Guide + How to Test Colors Before You Start

Page 
Contents: 

  • 1. Before You Touch a Brush: Test Colors the Modern Way
  • 2. Step 1: Choosing Your Palette and Gathering Supplies
  • 3. Step 2: Preparing Your Room for a Smooth Finish
  • 4. Step 3: The Painting Process, from Ceiling to Floor
  • 5. Step 4: Finishing Touches
  • 6. Frequently Asked Questions

Painting is one of the most personal and instant ways to transform how a space feels. It’s no surprise that 91% of homeowners plan to use paint to decorate their walls, according to a survey by Houzz. Taking on a painting project yourself also saves money. The real challenge isn't just the physical labor; it’s committing to a color based on a tiny swatch and hoping it truly works on all four walls.

Honestly, the biggest problem in any painting project happens before you even open a can: picking the wrong color. At Paintit.ai, we see this frustration all the time. The answer isn't just buying more physical sample pots; it’s about better visualization. This guide will show you how to paint a room, starting with the crucial first step many people skip: seeing the finished result before you even begin.
section1

Before You Touch a Brush: Test Colors the Modern Way

Traditional color testing is rarely accurate. You buy sample pots, paint small patches on your wall, and then struggle to imagine what an entire room will truly feel like. Those patches look different in morning light, under artificial lamps at night, and are always influenced by the old color surrounding them. It's an expensive, often inaccurate guessing game.

This is exactly why so many DIY projects fail. In fact, 80% of DIYers admit to making mistakes, with nearly half saying they’ve "completely butchered" a project, as reported by the National Association of REALTORS®. The most common and expensive mistake? A full repaint because of color regret.

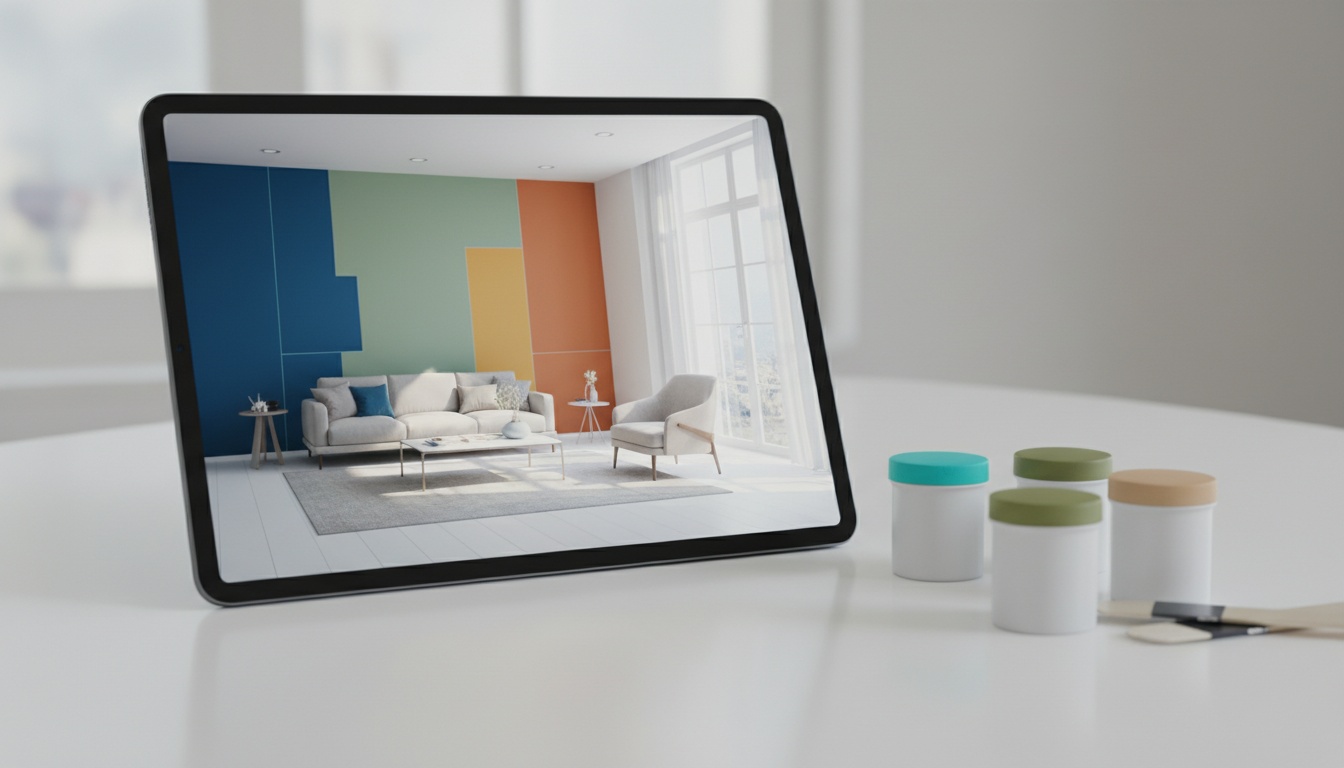
AI visualization transforms how we approach this. Instead of guessing, you can upload a photo of your actual room and test hundreds of colors in seconds. Based on Paintit.ai user data, we’ve observed that the most effective design process is iterative. People don't just pick one color; they refine it. We see thousands of prompts with phrases like "make it a bit warmer" or "a slightly darker shade of blue." This intuitive flow of decision-making is something only a dynamic tool can support, allowing you to find the perfect shade for your specific lighting and furniture. By using our virtual house painter, you can cycle through options and gain confidence in your choice.
section2

Step 1: Choosing Your Palette and Gathering Supplies

Once you have a clear visual direction, you can move on to the physical materials with confidence.

How to Get a Realistic Preview

The key to getting a truly useful digital preview is providing the right context. In our analysis of over 13,000 user sessions, we found that nearly 70% of homeowners use simple, short prompts like "paint the walls beige." While this works, adding a little more detail creates a much more accurate result. For instance, less than 10% of users specify lighting conditions (e.g., "warm afternoon light," "bright, indirect sunlight").

To get the best way to paint a room previewed accurately, try adding modifiers like:

  • Lighting: "Paint walls Benjamin Moore 'Swiss Coffee' in soft, morning light."
  • Keep Elements: "Repaint the walls in a deep green, but keep the wooden beams and white trim."
  • Mood: "A calm and airy living room with light gray walls."

This process turns a simple color test into a full design preview. It helps you anticipate how the final painting interior will truly feel. This is an essential part of painting walls for beginners who want a professional outcome.

Your Painting Toolkit

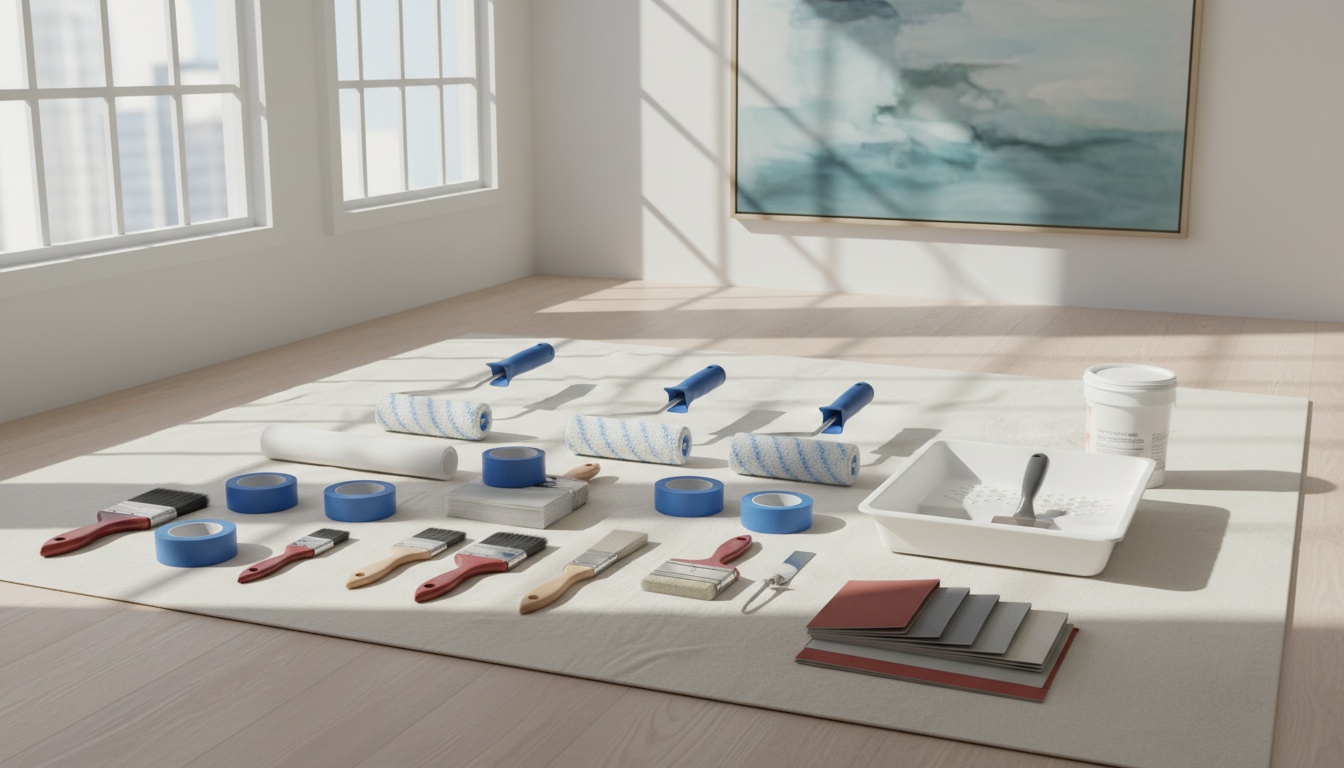
With your color confidently chosen, it’s time to shop. Here’s a basic checklist:

  • Paint: One gallon (3.78 liters) typically covers 350-400 square feet with one coat.
  • Primer: Essential for covering dark colors, new drywall, or stains.
  • Paint Roller & Frame: A 9-inch roller with a 3/8-inch nap is standard for interior walls.
  • Roller Extension Pole: To save your back and easily reach high spots.
  • Paint Tray & Liners: For easy cleanup.
  • Brushes: A 2 to 2.5-inch angled brush for cutting in edges and trim.
  • Painter’s Tape: For crisp lines around trim, windows, and ceilings.
  • Drop Cloths: Canvas or plastic to protect floors and furniture.
  • Spackle & Putty Knife: For filling holes or cracks.
  • Sandpaper: A fine-grit block (180-220 grit) for smoothing patches.
  • Cleaning Supplies: Rags, soap, and a bucket.

Step 2: Preparing Your Room for a Smooth Finish

Proper preparation is what separates an amateur job from a professional one. It’s tedious, yes, but absolutely essential for a smooth, lasting finish. This is a core lesson in how to paint a room for beginners.

Clear, Clean, and Cover

Move as much furniture out of the room as possible. For any large items you can't move, push them to the center and cover them securely with a drop cloth. Make sure to cover the entire floor too. Then, use a simple solution of mild soap and water to wipe down the walls. This removes any dust, grease, and grime. Let them dry completely.

Patch and Sand

Inspect your walls closely for any holes, cracks, or imperfections. Apply spackle with a putty knife, slightly overfilling each hole. Once dry, sand the patch until it’s perfectly smooth, flush with the wall. Wipe away any sanding dust with a damp cloth.

Tape with Precision

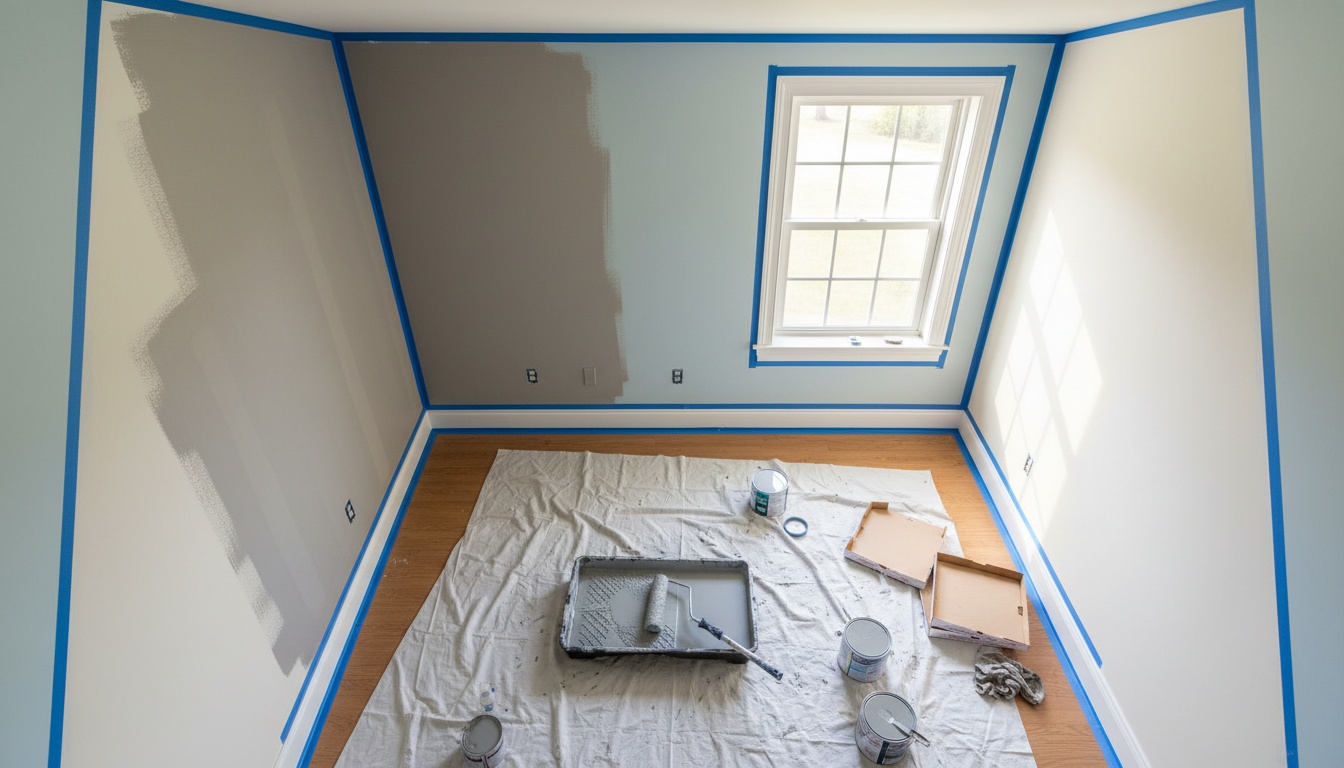
Apply painter’s tape along the top edge of baseboards, around window and door frames, and along the ceiling line (if you're not painting it). Press down firmly on the edge of the tape to create a tight seal. This stops paint from bleeding underneath. This one step is critical to learning how to paint walls correctly.
section3

Step 3: The Painting Process, from Ceiling to Floor

With the prep work done, you can finally paint a room. The key is a methodical approach and the right technique. Learning how to paint a room step by step saves you from fixing drips or mistakes later.

Always Start with Primer

If you’re making a drastic color change (like dark to light), painting over stains, or working on new drywall, it’s essential to prime. Primer seals the surface, ensures even paint absorption, and helps the true color of your paint show through beautifully. Apply one full coat just as you would with paint.

The Order of Operations: Ceiling, Walls, Trim

Pros follow a specific sequence to manage drips and ensure clean lines, every time:

  1. Ceiling First: If you’re painting the ceiling, do it first so any drips or splatters land on unpainted walls and trim.
  2. Walls Second: Once the ceiling is dry, you can tape it off (if needed) and paint the walls.
  3. Trim Last: Baseboards, windows, and door frames are done last for the sharpest possible finish.

How to Cut In and Roll for a Professional Finish

“Cutting in” means painting the edges and corners with a brush, reaching spots a roller can't. This technique is essential for anyone wanting to know how to paint a room like a pro.

  1. Cut In: Use your angled brush to paint a 2-3 inch band along the ceiling line, corners, and around trim. Work in small sections, focusing on one wall at a time.
  2. Roll: While the cut-in paint is still wet, use your roller to fill in the main part of the wall. Roll in a "W" or "M" pattern to distribute paint evenly, then go back over the section with straight, parallel strokes from top to bottom. This seamless, flowing blending of brushed and rolled areas is known as maintaining a "wet edge."

Let the first coat dry completely according to the manufacturer's instructions (usually 2-4 hours) before applying a second coat for a rich, even color. For many homeowners, a digital preview of the project with our AI room design tool can serve as a constant reference during this phase.

Step 4: Finishing Touches

Once your final coat is dry to the touch (but not fully cured), carefully remove the painter's tape. Pull it off at a 45-degree angle to avoid peeling any new paint. Allow the paint to cure for the recommended time (often several days) before moving furniture back against the walls. This is when you can finally step back and truly enjoy the space you've created — a space you saw and approved of with confidence long before you even began.

The ability to preview your painted house with AI doesn’t just save you from color regret; it gives you the confidence to start the project at all. You can apply the same logic to furniture and decor with our virtual staging tool or learn exactly how to virtually repaint your room as a smart first step.

Frequently Asked Questions

How much paint do I need for a room?

A general rule is one gallon per 400 square feet of wall space. To calculate, add the lengths of all walls, multiply by the room height, and then subtract the area of windows and doors. It's always wise to buy a little extra for touch-ups.

Do I really need to use primer?

It's highly recommended if you're painting over a dark color, a glossy finish, or bare drywall. Primer ensures better adhesion and a more uniform final color. If you are painting over a similar, flat-finish color, a paint-and-primer-in-one product may suffice.

How long should I wait between coats of paint?

Check the paint can for specific instructions, but a typical wait time is 2 to 4 hours for latex paint. Rushing the second coat can cause the first coat to peel off with the roller.

What's the best way to clean paint brushes and rollers?

For latex (water-based) paint, use soap and warm water. For oil-based paint, you'll need mineral spirits or turpentine. A painter's comb can help remove excess paint from brush bristles. Clean your tools thoroughly if you want them to last for the next project.

  • English/
  • Español/
  • Português (Brasil)/
  • Deutsch/
  • Français/
  • Italiano/
  • Polski/
  • Bahasa Indonesia/
  • Türkçe

Trending 

Ideas
12 min read
Front Porch Christmas Decorating Ideas for Small Spaces
Ideas
11 min read
Christmas Living Room Decor Ideas for Small Spaces
AI interior design
6 min read
Choosing Tile With AI: What 19 Design Chats Reveal
Paintit.ai Guides
11 min read
Interior Design Proposal Template: Scope, Fees and Example
Paintit.ai Guides
13 min read
Interior Design Questionnaire: Free Template and Example

Related articles 

Christmas Dining Table Decor Ideas for Real Homes
Ideas
17 november 2026

11 min read

Christmas Dining Table Decor Ideas for Real Homes

Ten Christmas table ideas that leave space for dinner, with practical arrangements for different table shapes and a photo-based way to compare the look.

avatar-blog

Yulii Cherevko

CEO paintit.ai

Front Porch Christmas Decorating Ideas for Small Spaces
Ideas
16 november 2026

12 min read

Front Porch Christmas Decorating Ideas for Small Spaces

Plan a festive entrance with ten removable decorating ideas, small-porch checks, three palettes, and a focused photo prompt for Paintit.ai.

avatar-blog

Yulii Cherevko

CEO paintit.ai

Christmas Living Room Decor Ideas for Small Spaces
Ideas
13 november 2026

11 min read

Christmas Living Room Decor Ideas for Small Spaces

Make a small living room ready for Christmas with practical tree-placement checks, removable decorations, three palettes, and a photo-based AI concept.

avatar-blog

Yulii Cherevko

CEO paintit.ai

Choosing Tile With AI: What 19 Design Chats Reveal
AI interior design
11 november 2026

6 min read

Choosing Tile With AI: What 19 Design Chats Reveal

What 19 design chats reveal about tile coverage, size and layout. Use the worked comparisons and printable decision card before ordering.

avatar-blog

Yulii Cherevko

CEO paintit.ai

Interior Design Proposal Template: Scope, Fees and Example
Paintit.ai Guides
9 november 2026

11 min read

Interior Design Proposal Template: Scope, Fees and Example

A fillable proposal worksheet and a worked home-office example, with defined deliverables, fees, revision limits and clearly labeled visual concepts.

avatar-blog

Yulii Cherevko

CEO paintit.ai

Interior Design Questionnaire: Free Template and Example
Paintit.ai Guides
9 november 2026

13 min read

Interior Design Questionnaire: Free Template and Example

A 32-question client template with a fillable PDF, a completed living-room example and a clear route from client answers to an early design brief.

avatar-blog

Yulii Cherevko

CEO paintit.ai